
Four Rapid Methods to Improve Your Sourdough Bread.
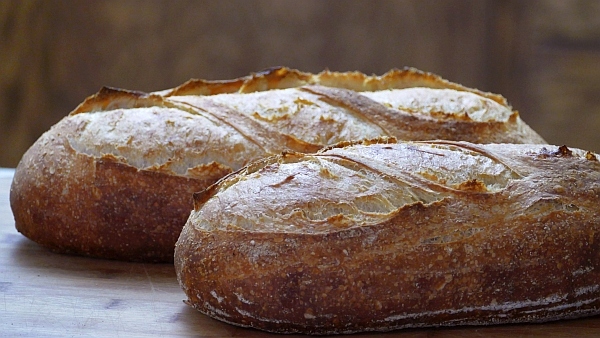
Follow this mini-guide and prepare to significantly level up, not only your finished loaves, but your skill and intuition with your process. Ditch the nagging fear of making mistakes and the haunting thought that you might be a bread baking imposter! These easy tips can be perused and filed away in the back of your mind or you can use the applicable steps to have some fun experimenting and benefit from hands on experience. They are all based on counter-acting prevailing tendencies among the less-experienced baker. This little guide assumes you will be baking two loaves at a time for comparison purposes.
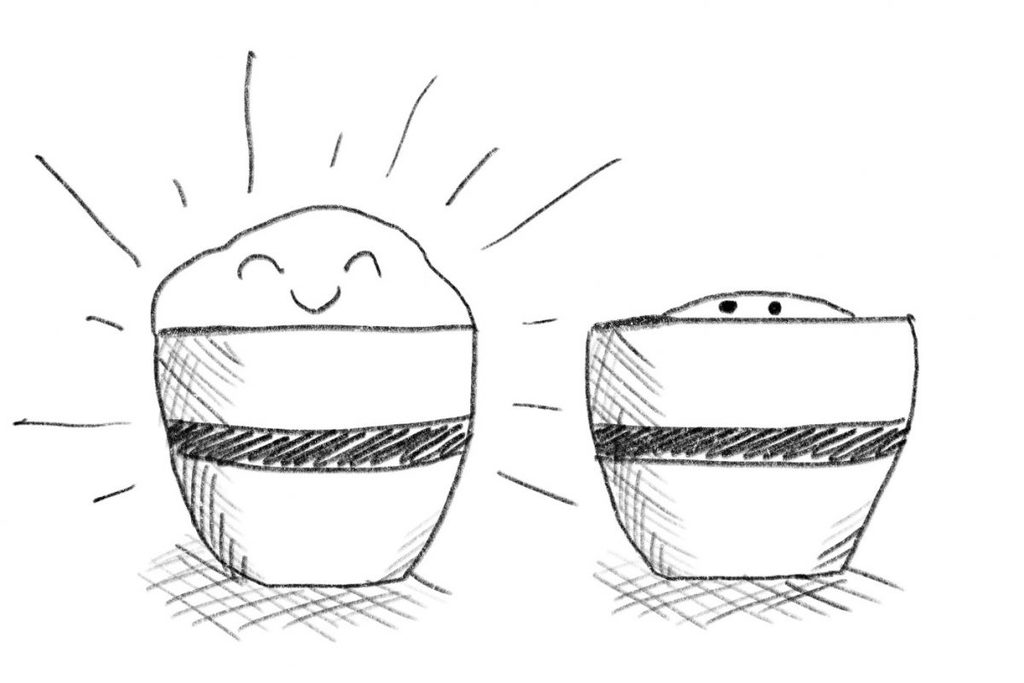
#1 Glut Feed Your Starter
Ok so that’s not actually an official baking term, but I think it gets the point across! It could be that you don’t realize how much fresh water/flour it needs to keep it lively, or you could feel guilty about dumping excess old starter so instead you leave it swimming in the crock past it’s prime. It is common to under-feed a starter or leave it for too long in the fridge unfed. Both of these situations lead to sluggish or dead starter and vigorous starter is a requirement for a beautiful loaf.
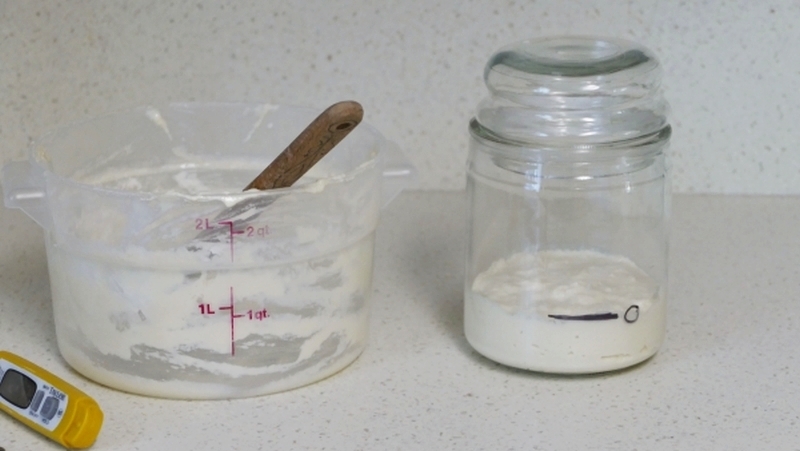
Start thinking smaller. You really only need a Tablespoon of starter to get a batch of bread going. Get rid of your giant crock or jar and move to a pint or quart size mason jar with a tight lid. Begin with a tiny bit of starter because you need to feed it approximately three times (at least every 8-12 hours) before you bake and you don’t want to end up with a giant pot of starter!
Quick tip: If you do end up with extra, consider making pancakes:
https://thebakingnetwork.com/skillset/easy-small-batch-sourdough-pancakes/
Or biscuits:
https://thebakingnetwork.com/sourdough-buttermilk-biscuits/
Example Starter Ratio:
- 1 part leftover starter (by weight)
- 2 part flour (by weight)
- 2 part water (by weight)
Applicable Ratio:
In the late morning the day before you bake, remove your starter from the fridge and move 10 grams of it to a clean jar. Total you are mixing together:
- 10 grams old starter
- 20 grams flour
- 20 grams water
This will produce 50 grams of starter bubbly away nicely. Leave it out at room temperature. In the evening, pour out half of your starter and add to 25 grams of starter:
- 50 grams flour
- 50 grams water
The next morning there will be 125 grams of starter looking gorgeous and fluffy. Discard 45 grams of your starter and then add to the remaining 80 grams of starter:
- 100 grams flour
- 100 grams water
At the end of these three feeds you will have 280 grams of starter, which is more than enough to start a two-loaf batch of dough that afternoon (check your recipe to plan accordingly!) After you measure out what you need, feed again and store in the fridge for next time.
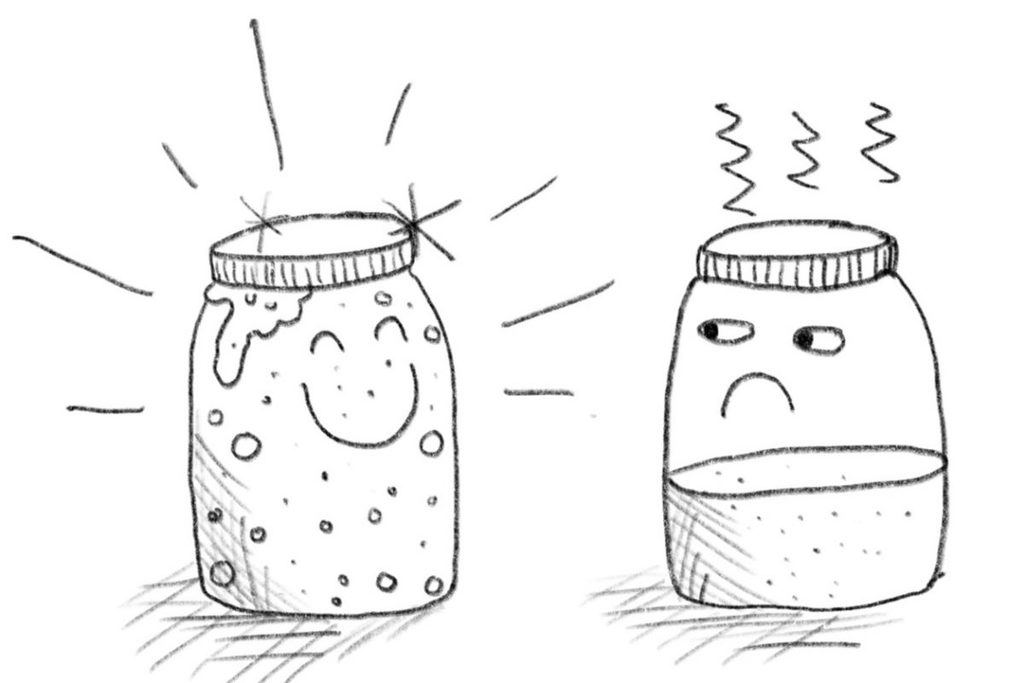
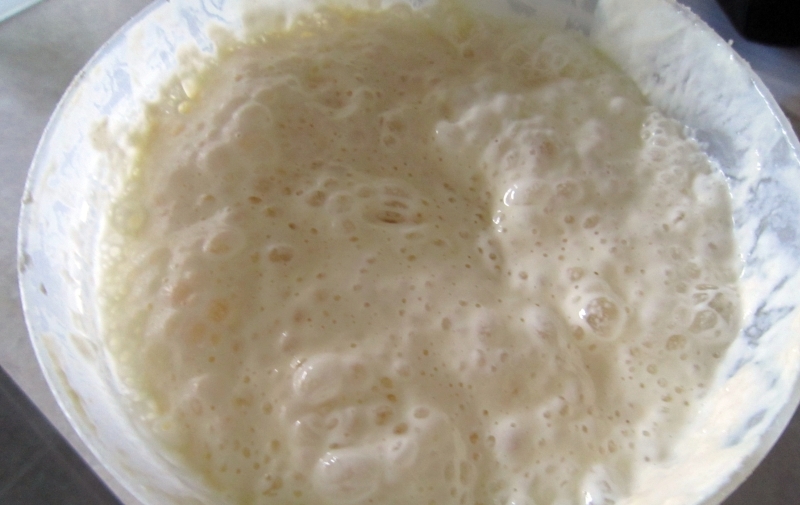
What you want to see in your starter:
- Light and airy
- See and hear it moving as if alive
- Sweet yeasty smell
- Thick and stretchy
What you don’t want to see:
- Yellow-ish color
- Vinegar or sharp smell
- Flat and lacking air bubbles
- Thin and goopy
#2 Over-kill Your Bulk Ferment
When you first mix your batch of dough and let it sit in your bowl and rise the first time, it is called bulk ferment or bulk proof. This is where the majority of your dough development happens. The frequent tendency is to not let it ferment long enough, especially with naturally risen bread. It takes a long time to develop the gluten and get the yeast and bacteria flourishing. So here’s how to deduce if a longer bulk ferment would yield better results for you.
Applicable steps:
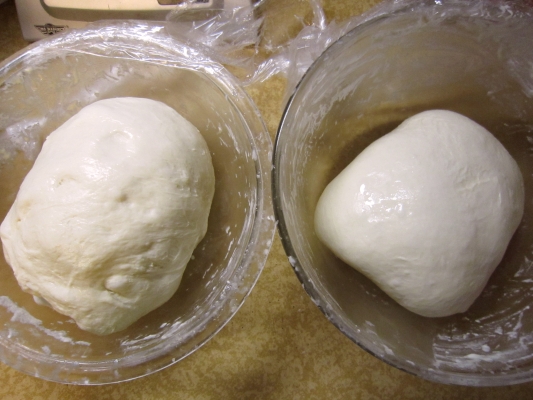
Mix up a batch of dough as usual and stick with the same recipe for a few weeks. For the first bake, divide the dough in half when you think the bulk ferment is done. Shape one loaf and move to the fridge. Let the remainder of the dough sit out for an hour longer before shaping and moving to the fridge. Mark them so you remember which had a longer bulk ferment. Bake the same way and when completely cool cut the loaves in half. Take a picture of the finished loaves and and take notes of any differences you observe.
For the next bake do the same but leave the remaining dough out two hours longer. Try this a few times, extending the difference in proofing time. Continue experimenting until you reach a point that you feel confident the remaining dough must be bulk fermented too long or until one loaf has double the bulk ferment time.
Review your notes and pictures. What do they tell you? Do you intuitively have a better feel for the dough? Hopefully this experiment will give you a greater feel for how far you can push your bulk ferment. It will let you know with certainty if you have been mistakenly shorting your bulk ferment.
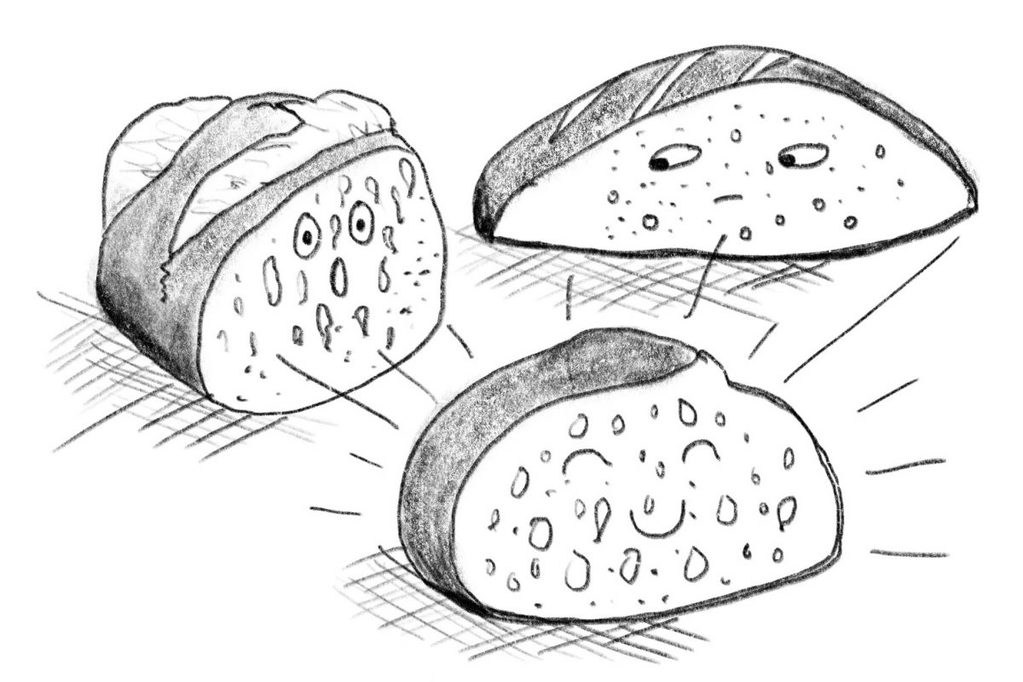
Signs of a too-short bulk ferment:
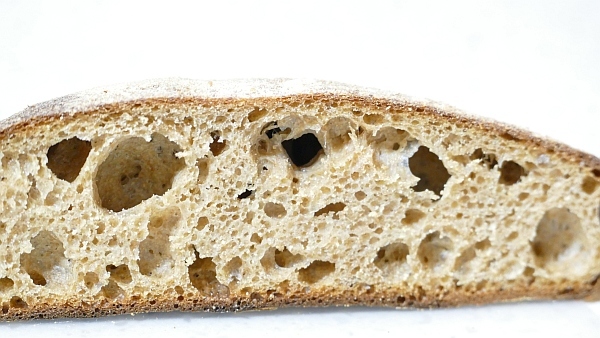
- Strange combination of too large and too small holes in your crumb
- Dense crumb
- Pale crust
- Tough crust
- Sluggish rise during final proof
- Blow-outs in your crust
Signs of a too-long bulk ferment:
- Gummy or dense crumb
- Comparatively sour or off flavor
- Dough or crust that tears easily
- Flat loaf
- Poor oven spring
- Bread ear (score) is flat, doesn’t open
- Airy at the top of the loaf and dense at the bottom
#3 Skimp Your Final Proof
Better under-proofed than over-proofed! I’m not sure there is a leaning toward either one or the other when it comes to the final proof of your loaf. Hopefully this example will give you greater confidence when making the call. It’s often considered the most confusing and intimidating aspect for new bakers!
A loaf that is under-proofed might blow out the scoring or have a crumb that looks more vertical like the bubbles were racing to the top of the loaf, but it’s still much more appealing than an over-proofed loaf. Once a loaf has proofed too long, it will begin to collapse on itself, the crumb will be not so airy and might end up gummy, the loaf could look a little deflated, the scoring lines won’t have popped very much. It will be super nerve-wracking to move the loaf into your Dutch Oven or hot stone because you can almost feel how delicate the structure is getting.
Quick tip: If you feel your dough is under-proofed but you’re not sure, a deeper score will help open up the loaf during baking.

Applicable steps:
Take your two loaves out to final proof at the same time. Put the first in to bake when you think it is getting close to being ready. When you press into the dough with your fore-finger the indent should not fill in immediately, it should fill in slowly and steadily. If you press in your finger and the indent remains you have over-proofed. Also the overall feel of the loaf should be bouncy, bubbly and airy instead of dense.
After removing the first finished loaf from the oven, the second loaf will have sat proofing roughly 30 minutes longer. Bake the second loaf in the same way and let both loaves cool fully before slicing right in the middle of each loaf. Take a photo of the crumb on your loaves and make notes on what you see.
During the next baking session let the second loaf sit out 45 minutes longer than the first loaf before baking and keep increasing the difference in timing until you are sure you have an over-proofed loaf.
Signs of an under-proofed loaf:
- Vertical shaped holes in the crumb
- Scoring lines that have spread very far apart or blown out
- Areas of dough that have blown out through the crust
- A rounded bottom crust
- A loaf shaped like a ball
- Dense crumb
- Areas of dense crumb mixed with some large holes
- Pale crust
Signs of an over-proofed loaf:
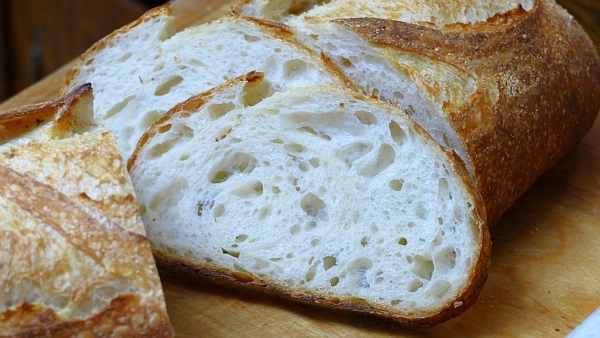
- Spongey crumb with small round holes
- Flat loaf
- Scoring lines that have hardly spread
- Oval or flat shaped loaf
- Collapsing during scoring
- Dense uneven crumb
#4 Prolong Your Bake

When first starting your bread journey, under-baking is a typical inclination. As bread bakes, the outer crust actually goes through the process of caramelization. The same process you use to get the best flavor from steak, vegetables, candies and truly most foods! This significantly affects the taste and texture of the final loaf. A deeply browned crust has more flavor and texture than a pale loaf. Start taking note of the crust color among your baking friends. Experienced bread bakers tend to push the color of their loaf a lot further than someone who is just starting out. There is a fear of over-baking but you are going to learn to counter-act that perspective!
Quick tip: Many new bakers also tend to not heat their oven/stone long enough or don’t bake at high enough temperatures for sourdough. An oven thermometer will help you determine how accurate your oven temperature is. A well heated oven and stone will give your dough the best opportunity to do a great oven spring and brown readily in the oven.
Applicable steps:
During your next two-loaf batch of dough, bake the first loaf as you normally would. Extend the bake (uncovered portion of the bake to be precise) on the second loaf by five minutes. Let the loaves cool completely and then take a picture of the finished loaves side by side. Keep notes on the flavor and texture and how long it was in the oven. You can even give a star rating on your finished loaves.
On your subsequent bake try a difference of ten minutes between loaves. If you are up for a third go-round try a difference of 20 minutes per bake, don’t be afraid of burning it, just concentrate on how far you can push it so that you gain a more experienced perspective. Review your photos and notes, you might be surprised at how your attitude toward the crust changes.
Note that an under-proofed or over-proofed loaf will take longer to brown either because the sugars in the dough are not optimized or because they are used up. So for accurate results don’t combine this experiment with the other experiments on proofing!
Signs of an under-baked loaf:
- Pale and thin crust
- Difficult to slice
- Lacking flavor
- Wet crumb
- Raw-ish dough in the center
Signs of an over-baked crust:
- Crust is too thick
- Crust is difficult to chew
- Large areas of blackened crust (a few black tips of the ear are fine)
- Loaf is dry and goes stale quickly
By now, maybe even only a couple of weeks later, your baking experience and perspective will far exceed what it was when sticking to your safe and set baking routine. Hopefully this mini-guide has not only been relevant but fun! Please tag thebakingnetwork on Instagram or share your results in the perfectsourdough Facebook group. We can’t wait to see how your baking has evolved.
Oh my gosh, so informative. And the two loaf controlled experimental approach is brilliant. Of course! I already glut feed but have only dabbled in the others. Testing batch by batch makes so much sense. Thank you!
It’s pretty fun to use two loaves to check the results of your techniques! Plus we always eat it all so no worry about waste in this house! 🙂
Teresa
This is a very helpful article. Thank you!
I have made some ok bread for years but these tips will help take it to the next level.
I always have trouble knowing if the bulk ferment is timed right. Most often my bread looks ready to bake right from the fridge the next morning. It has proofed to the top of the bannetons. I am not sure if that means it was under-proofed in the bulk ferment. I make sure my bread is at least 200 degrees before I take it from the oven. However, it sometimes feels a bit moist.
Thanks for all your help.
Dennis
Hi Dennis, I’m glad you enjoyed the article. 🙂