
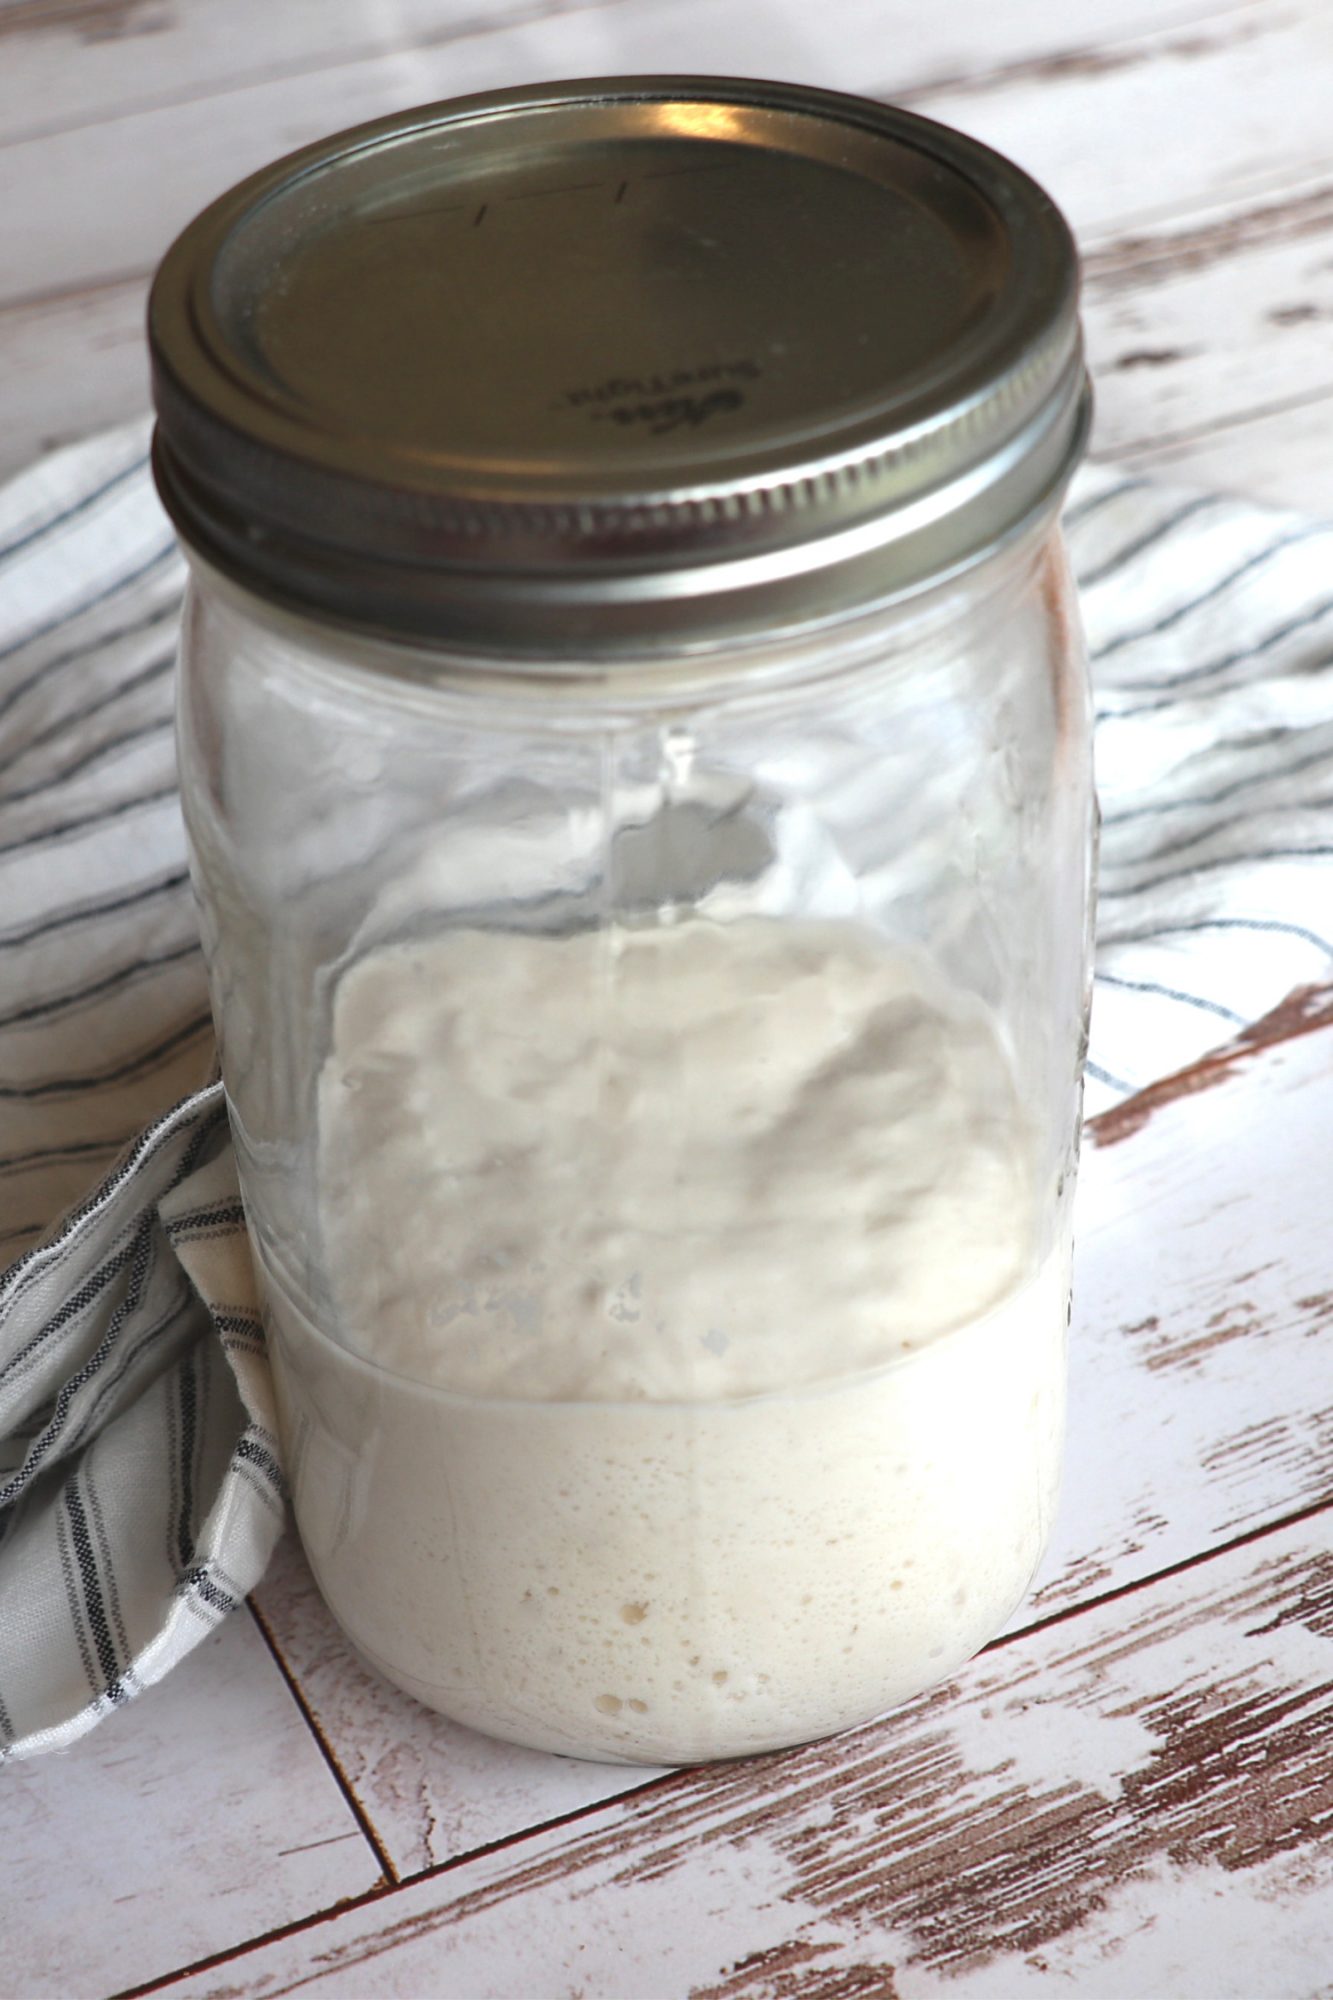
25 Sourdough Clean up Hacks – Smart Ways to Minimize the Mess.
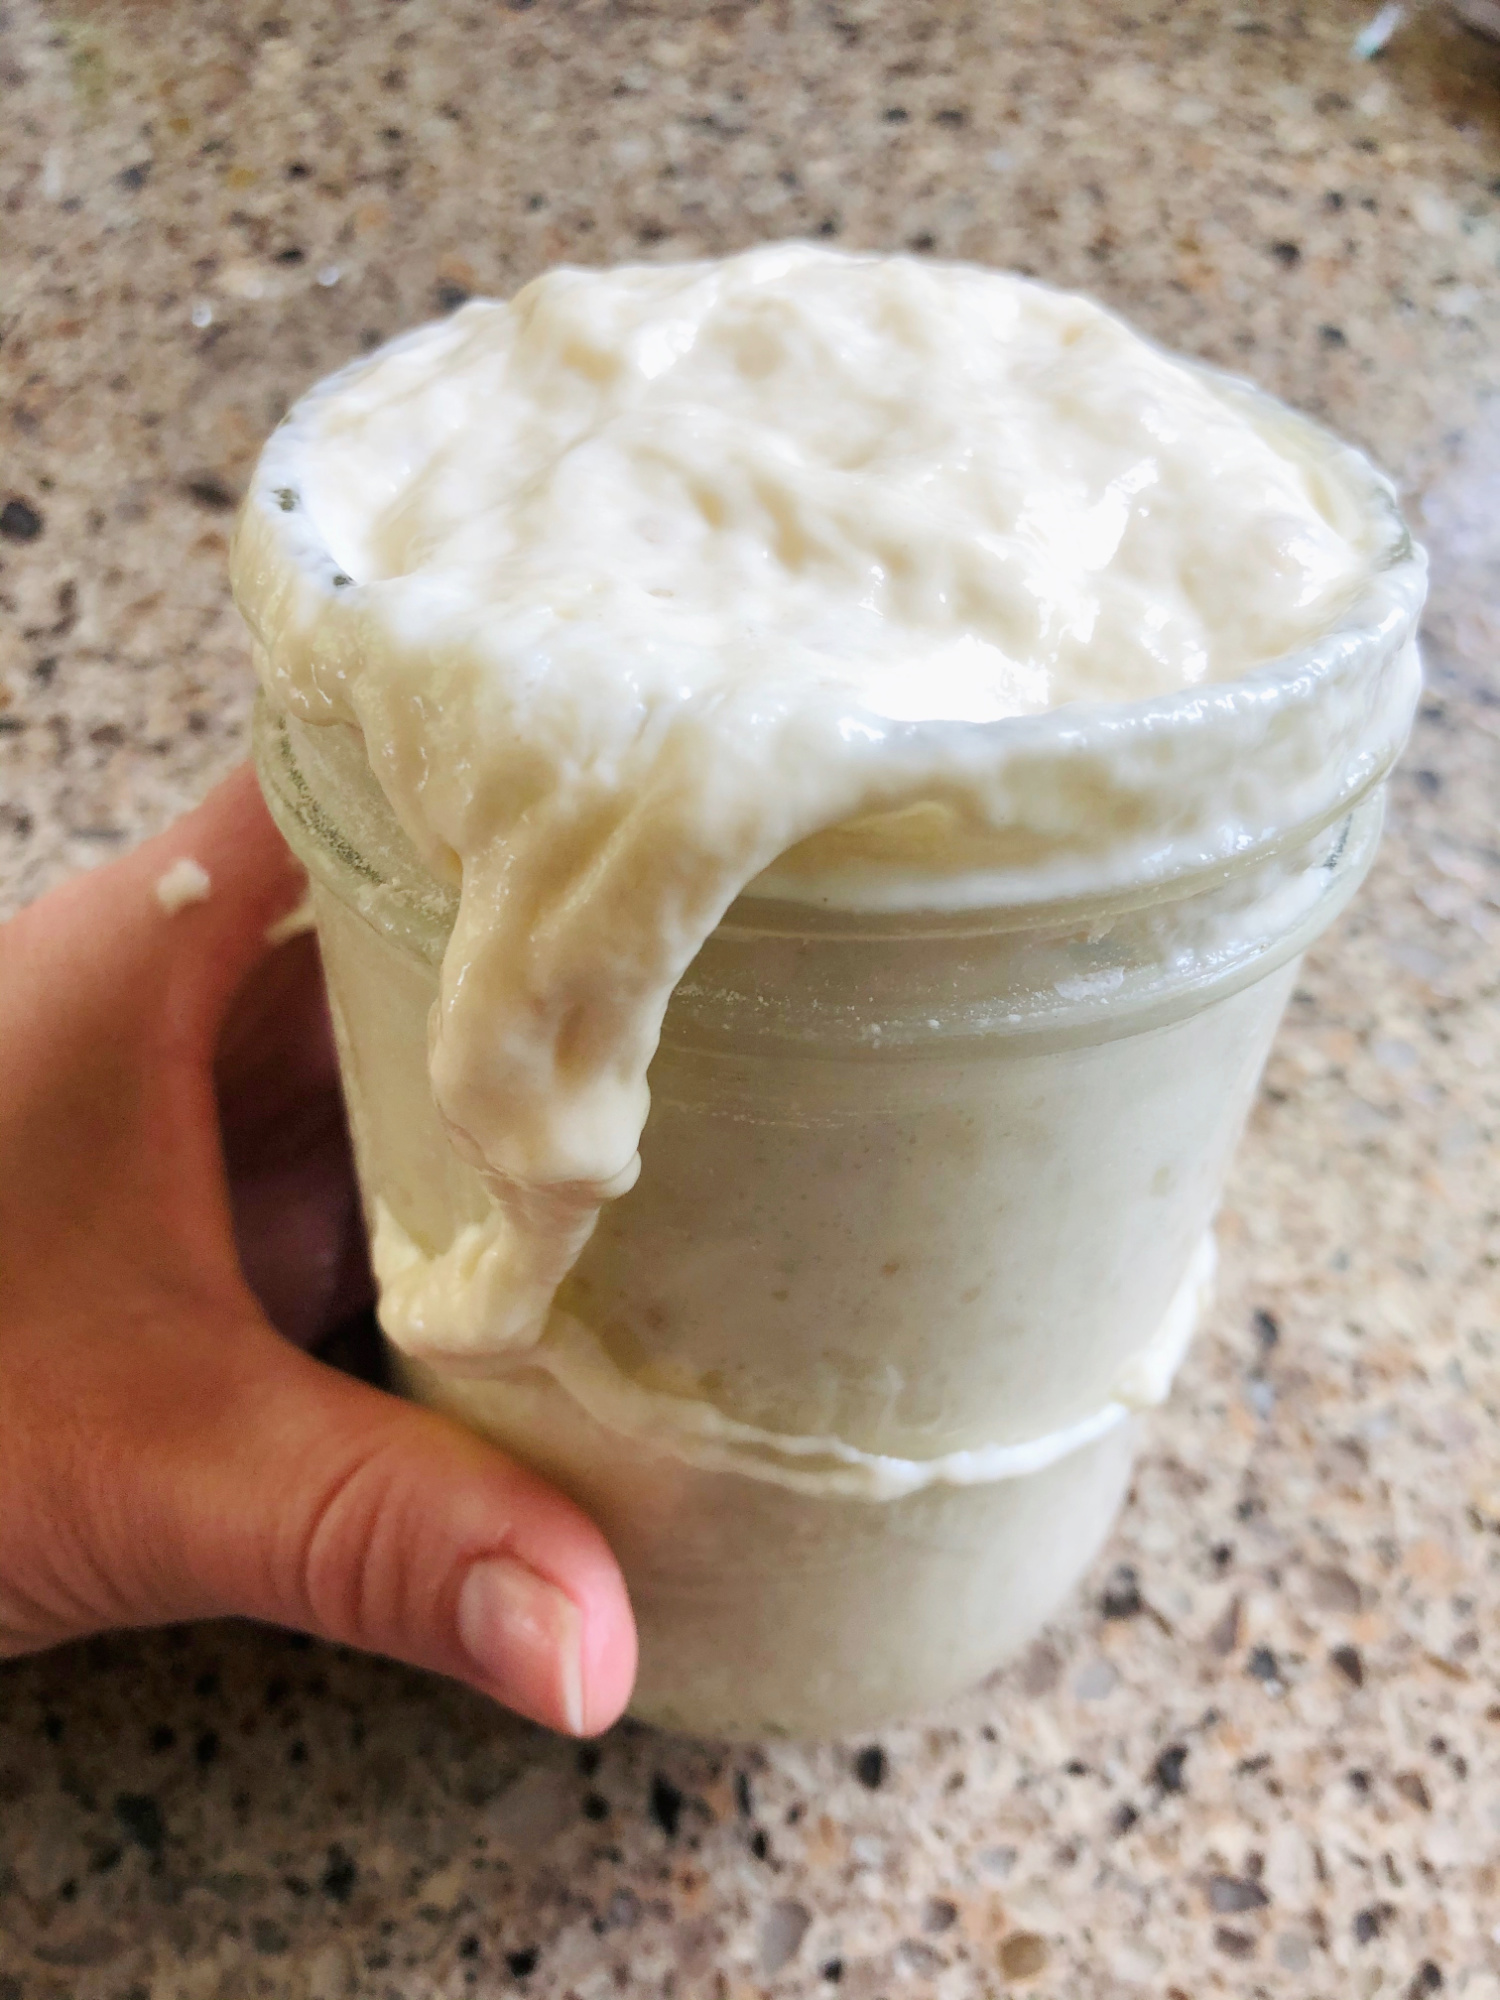
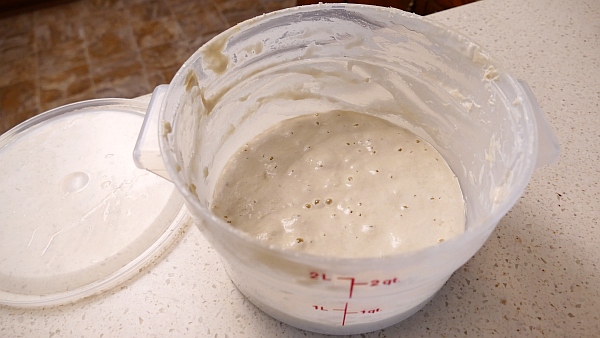
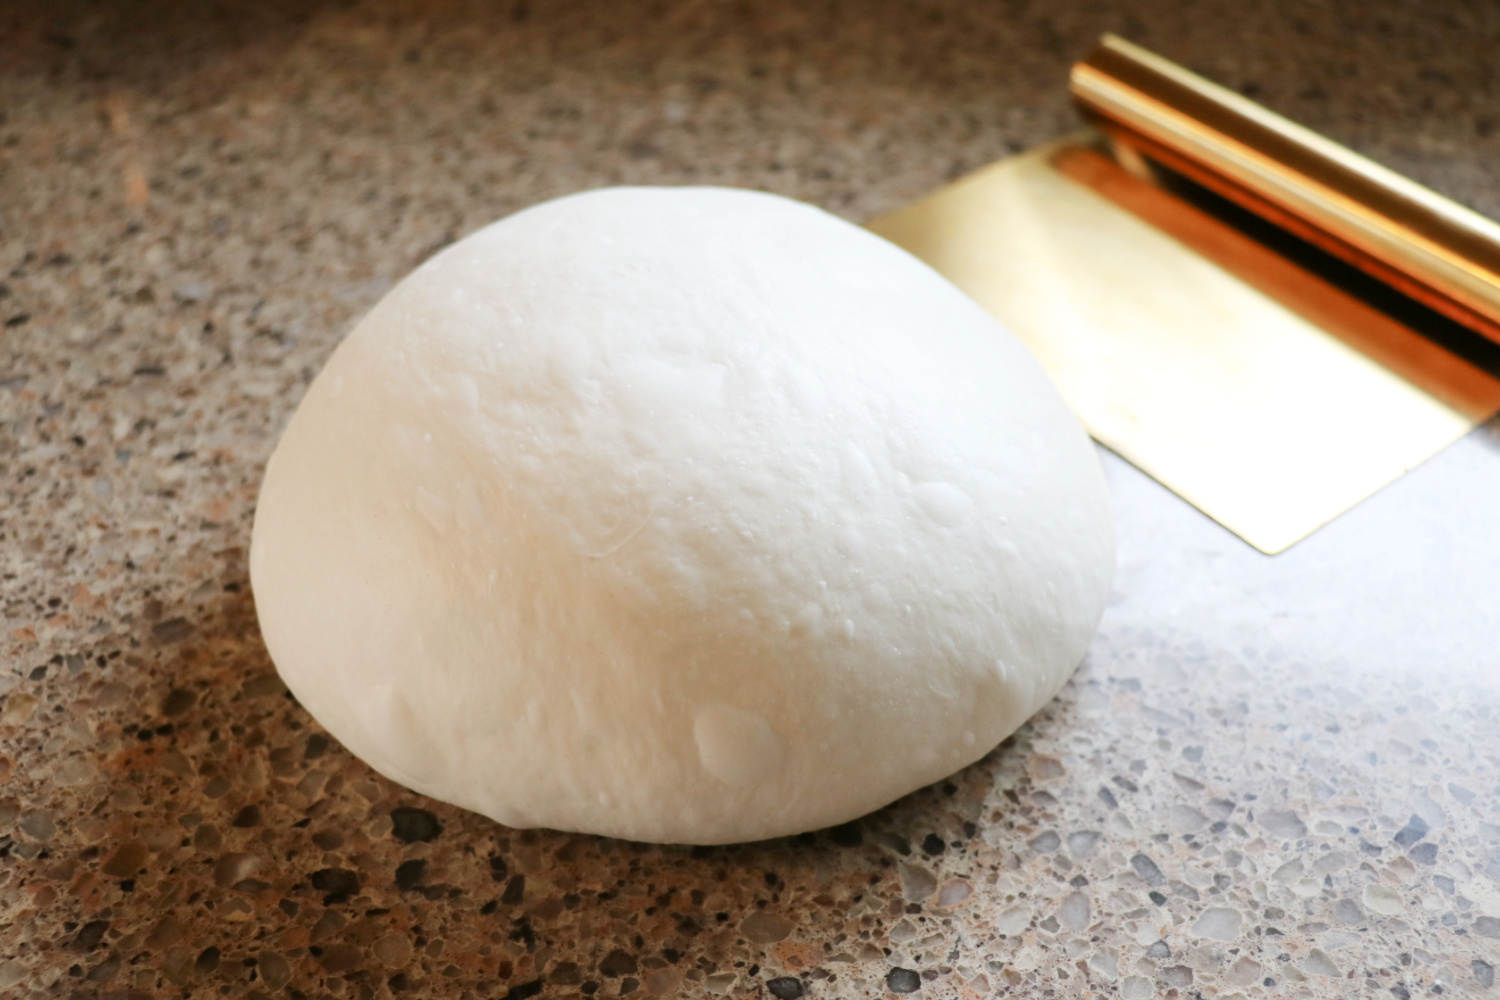
(1) Keep Starter in a Generously Sized Container. Ideally use a container that will allow your starter to expand 3-4x it’s size after mixing. I use a wide mouth glass mason jar but sometimes I switch it out with a larger container if I need a larger amount of starter. Don’t use a jar with shoulders or a container that has indents or areas that are difficult to clean. Use something with a tight fitting lid to prevent mold and other undesirable organisms, which often require oxygen to colonize.
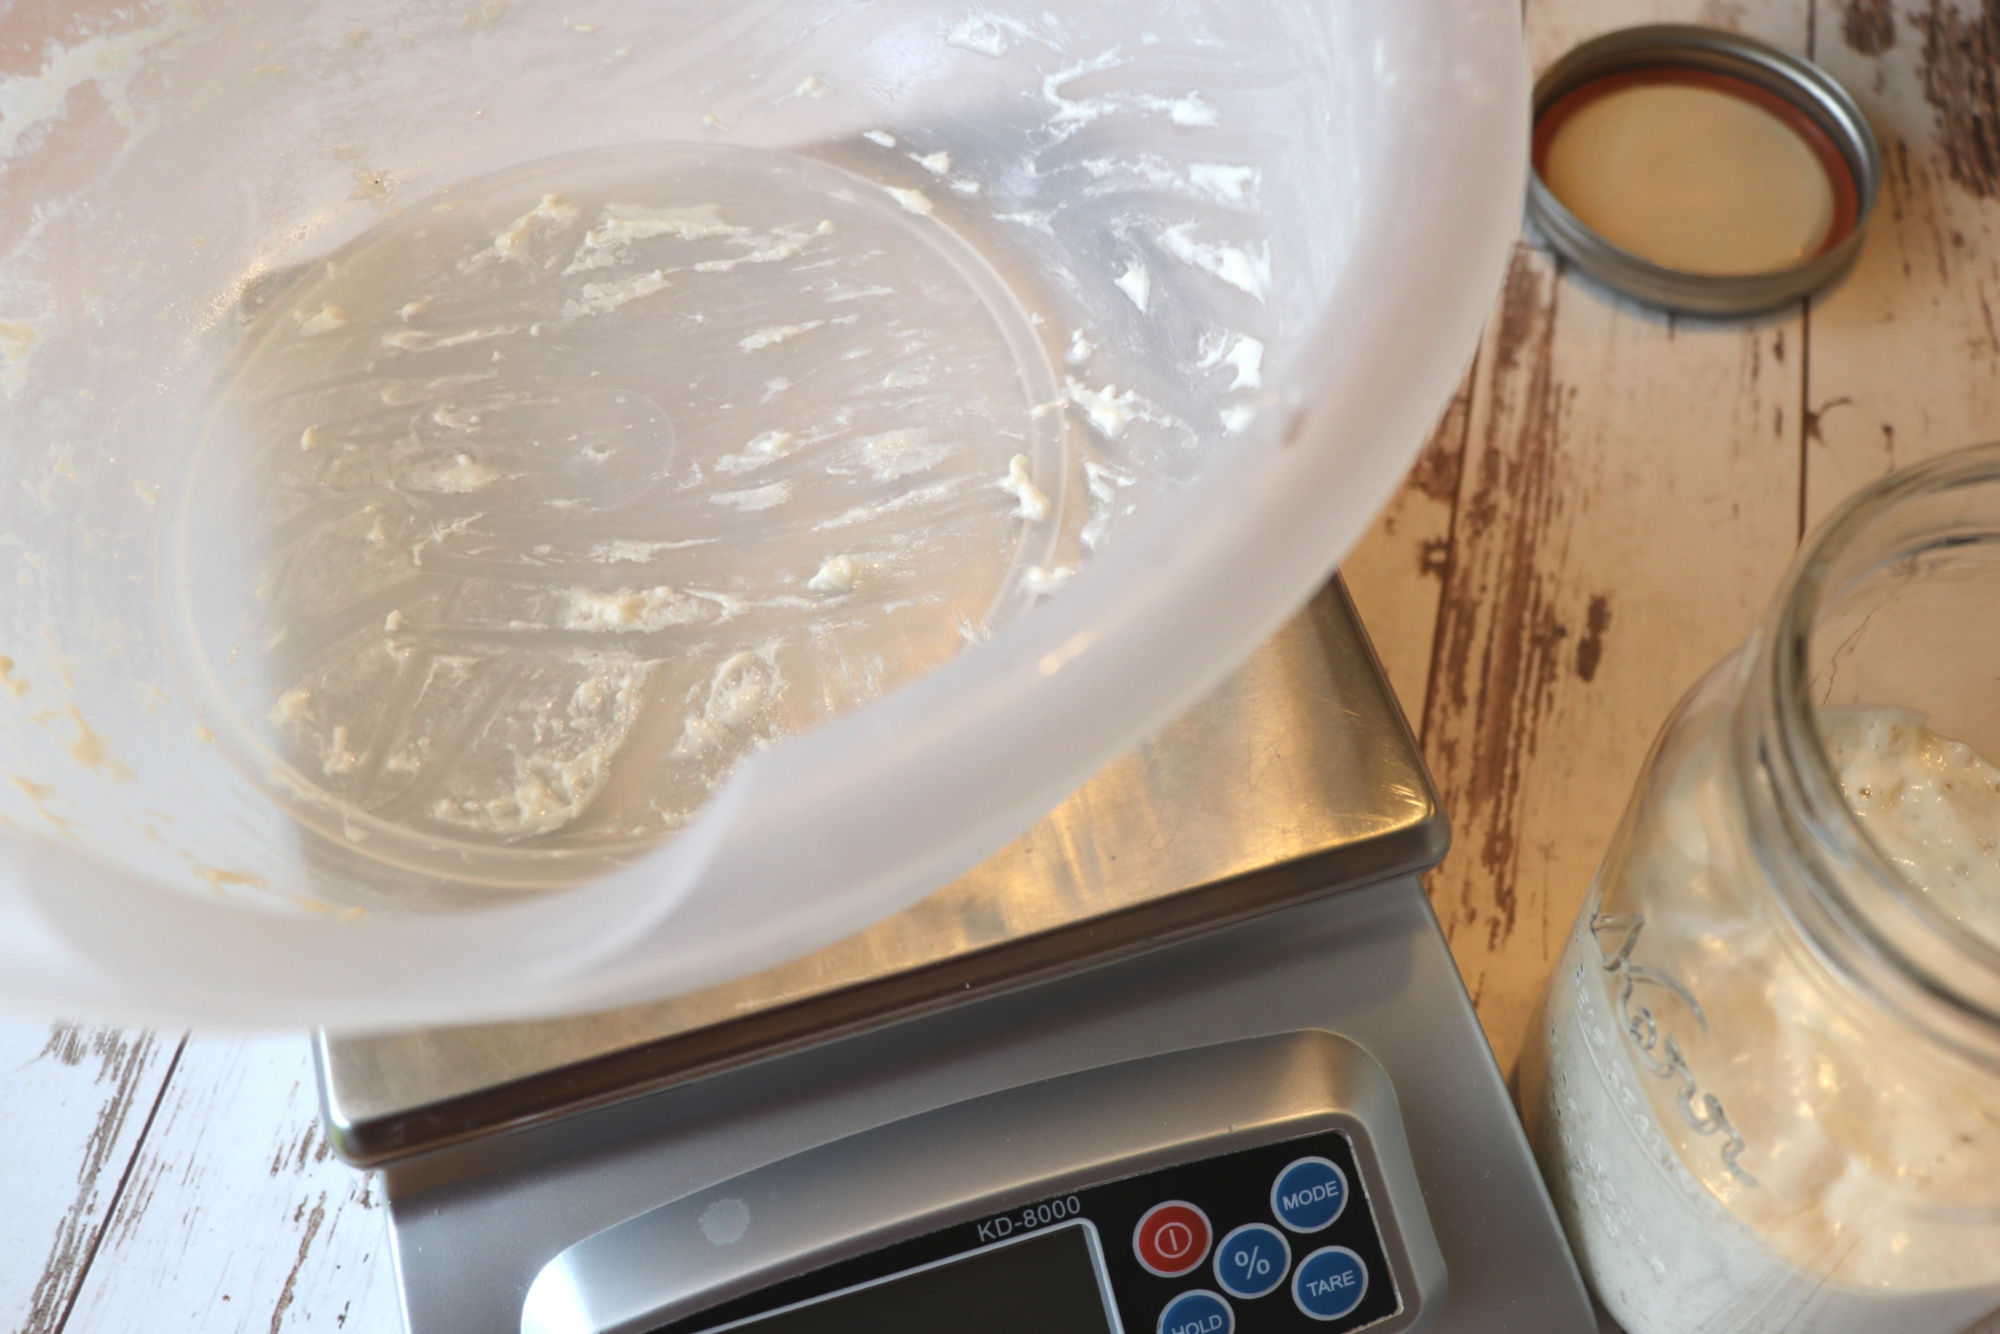
(2) Rinse Mixing Utensils Immediately.
I know it’s super tempting to toss your mixing utensil directly into the sink while you are busy with baking activities but wipe each utensil off with a paper towel and then rinse in cool water right away. Another technique is to rub the utensil with flour until all the stickiness falls off in crumbs into the garbage bin.

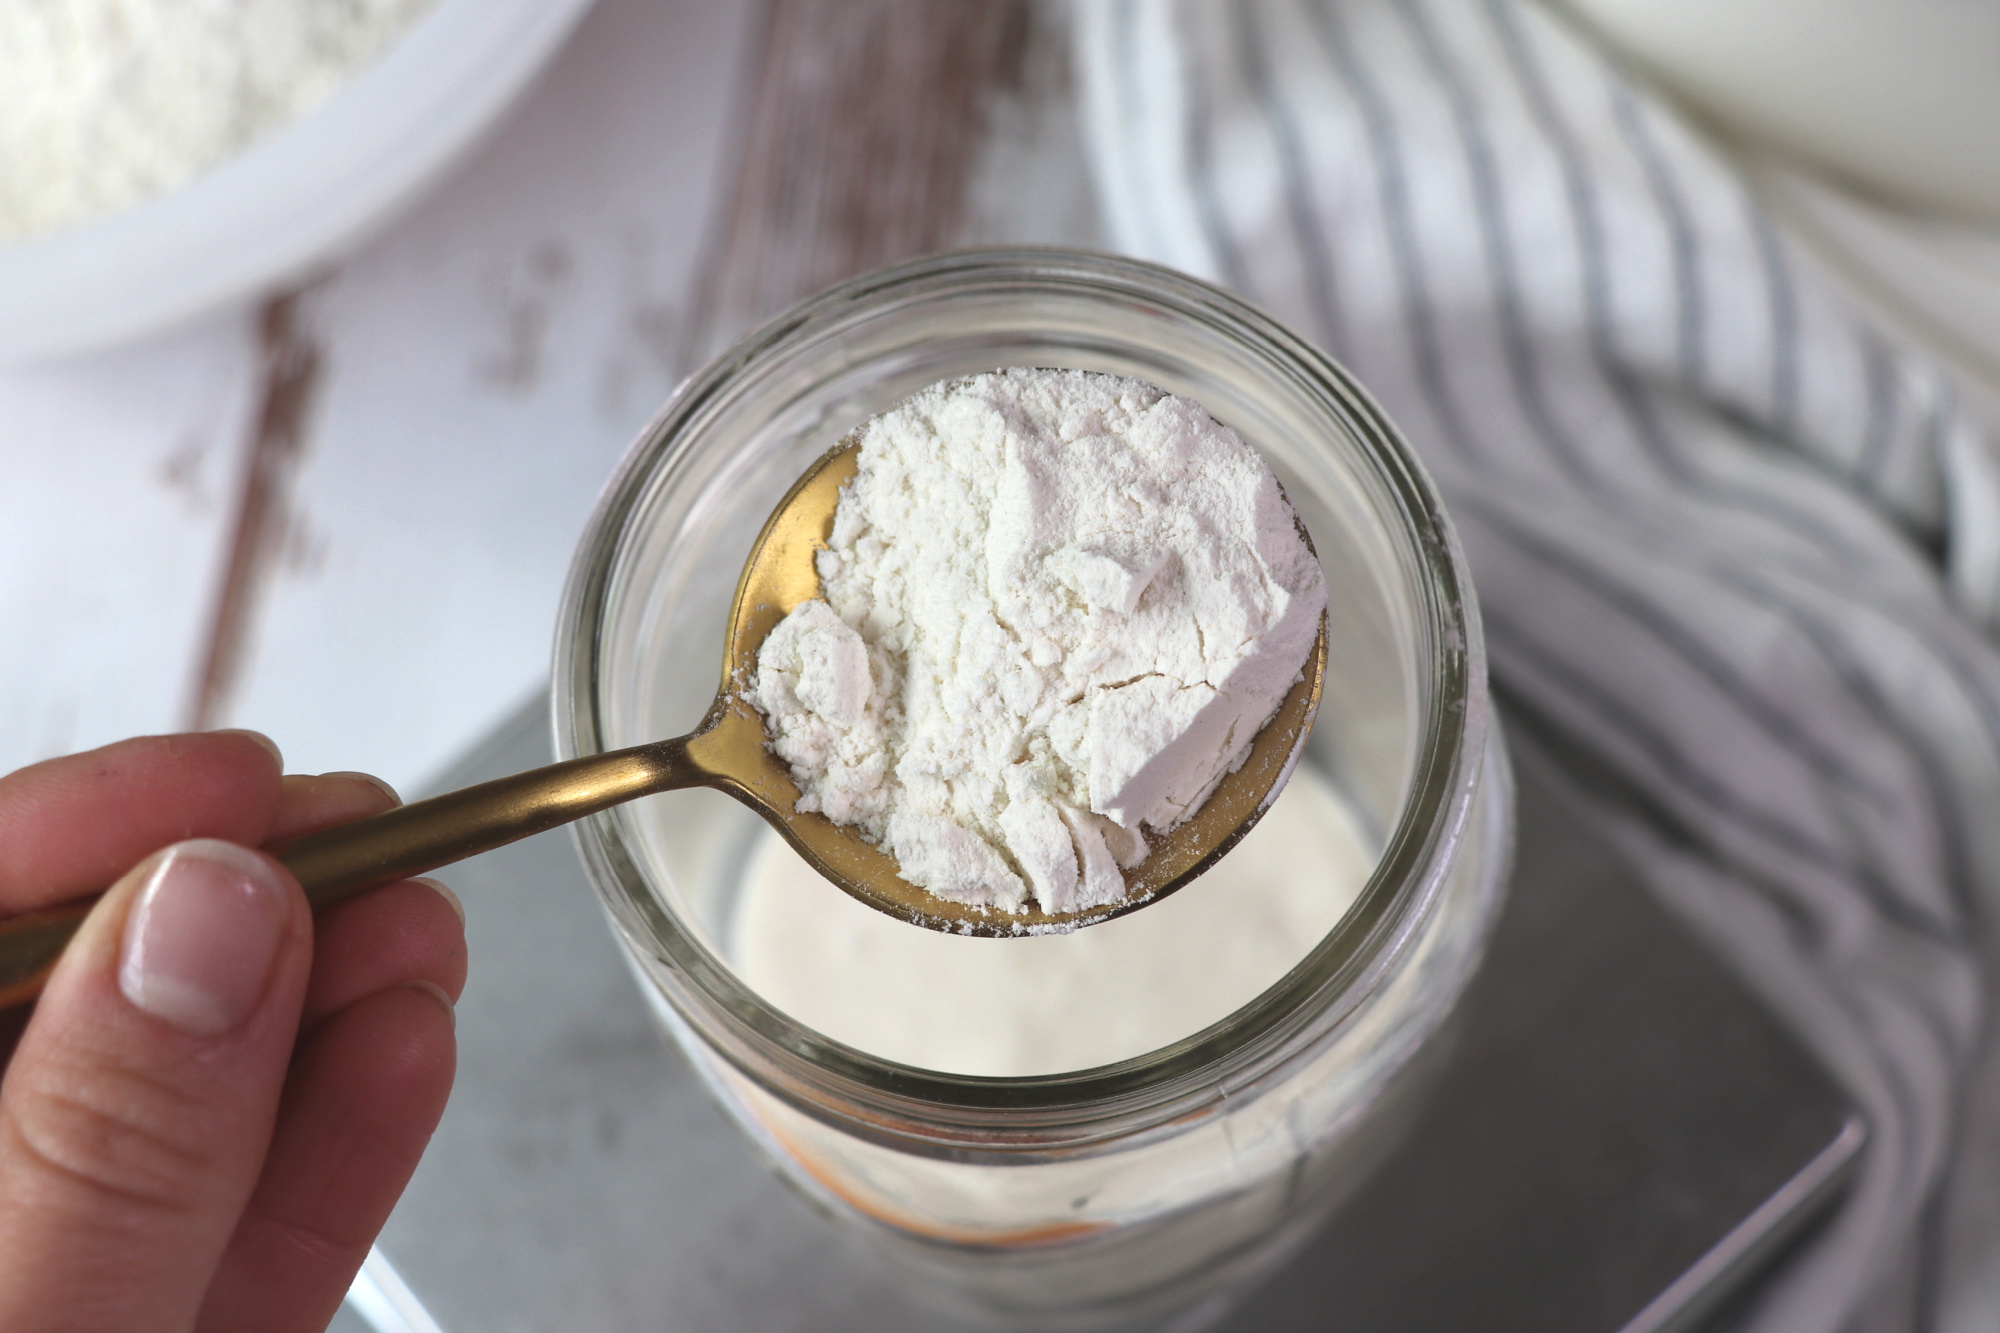
(3) Use an Appropriate Scoop.
The flour scoop I keep in my flour bin is quite large. I use it to scoop 400-1400 grams of flour for my recipes so the quicker I can move it to my dough trough the better. I’m always tempted to use the very corner of my flour scoop when feeding my sourdough starter but it’s really too big and usually leaves a powdering of flour all over my scale. Keep a spoon or small scoop that is smaller than the mouth of your container handy for starter feedings.
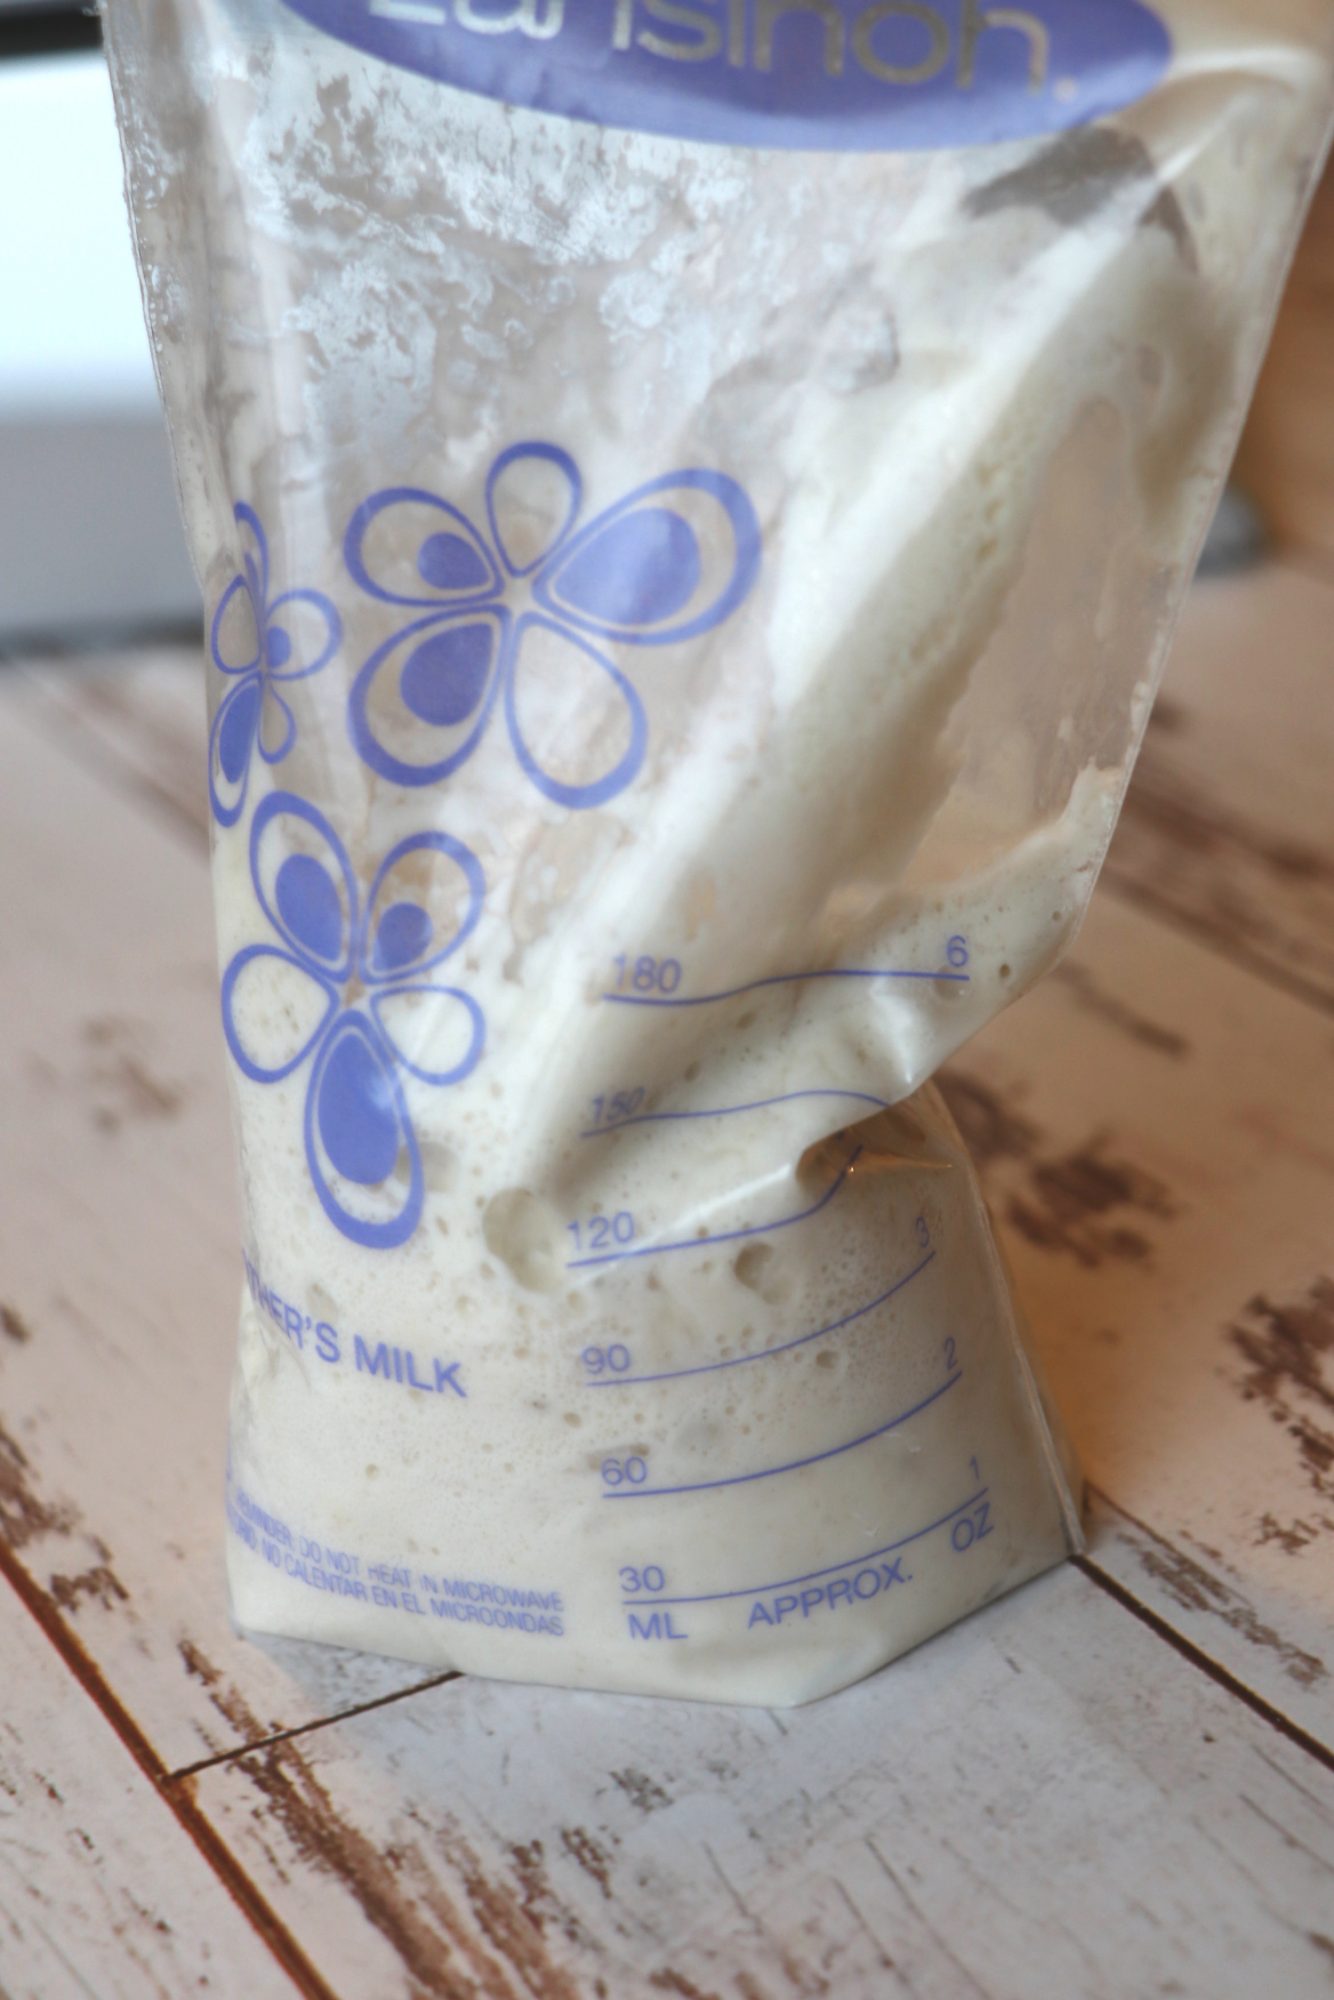
(4) Use Plastic Bags.
Plastic bags or stand up pouches are a perfect way to share starter or to store in the fridge long term when you know you would get super crusty dried bits on a regular container. Simply cut off the corner and squeeze out your hibernated starter and toss the bag away. It’s also the perfect way way to share your starter with a friend and they don’t have to worry about returning your container.
(5) Swap Out Your Container Every Few Bakes.
It’s tempting to put off cleaning out your starter jar. But if it’s cleaned consistently, it’s actually easier than chipping off many concrete-hard layers of build-up. Switching and washing containers frequently also prevents bad bacteria or mold from taking hold in crusty old build-up around the top of the jar and the lid. I move my starter to a new container and wash the old about once a week or every other bake.
(6) Plan It Out.
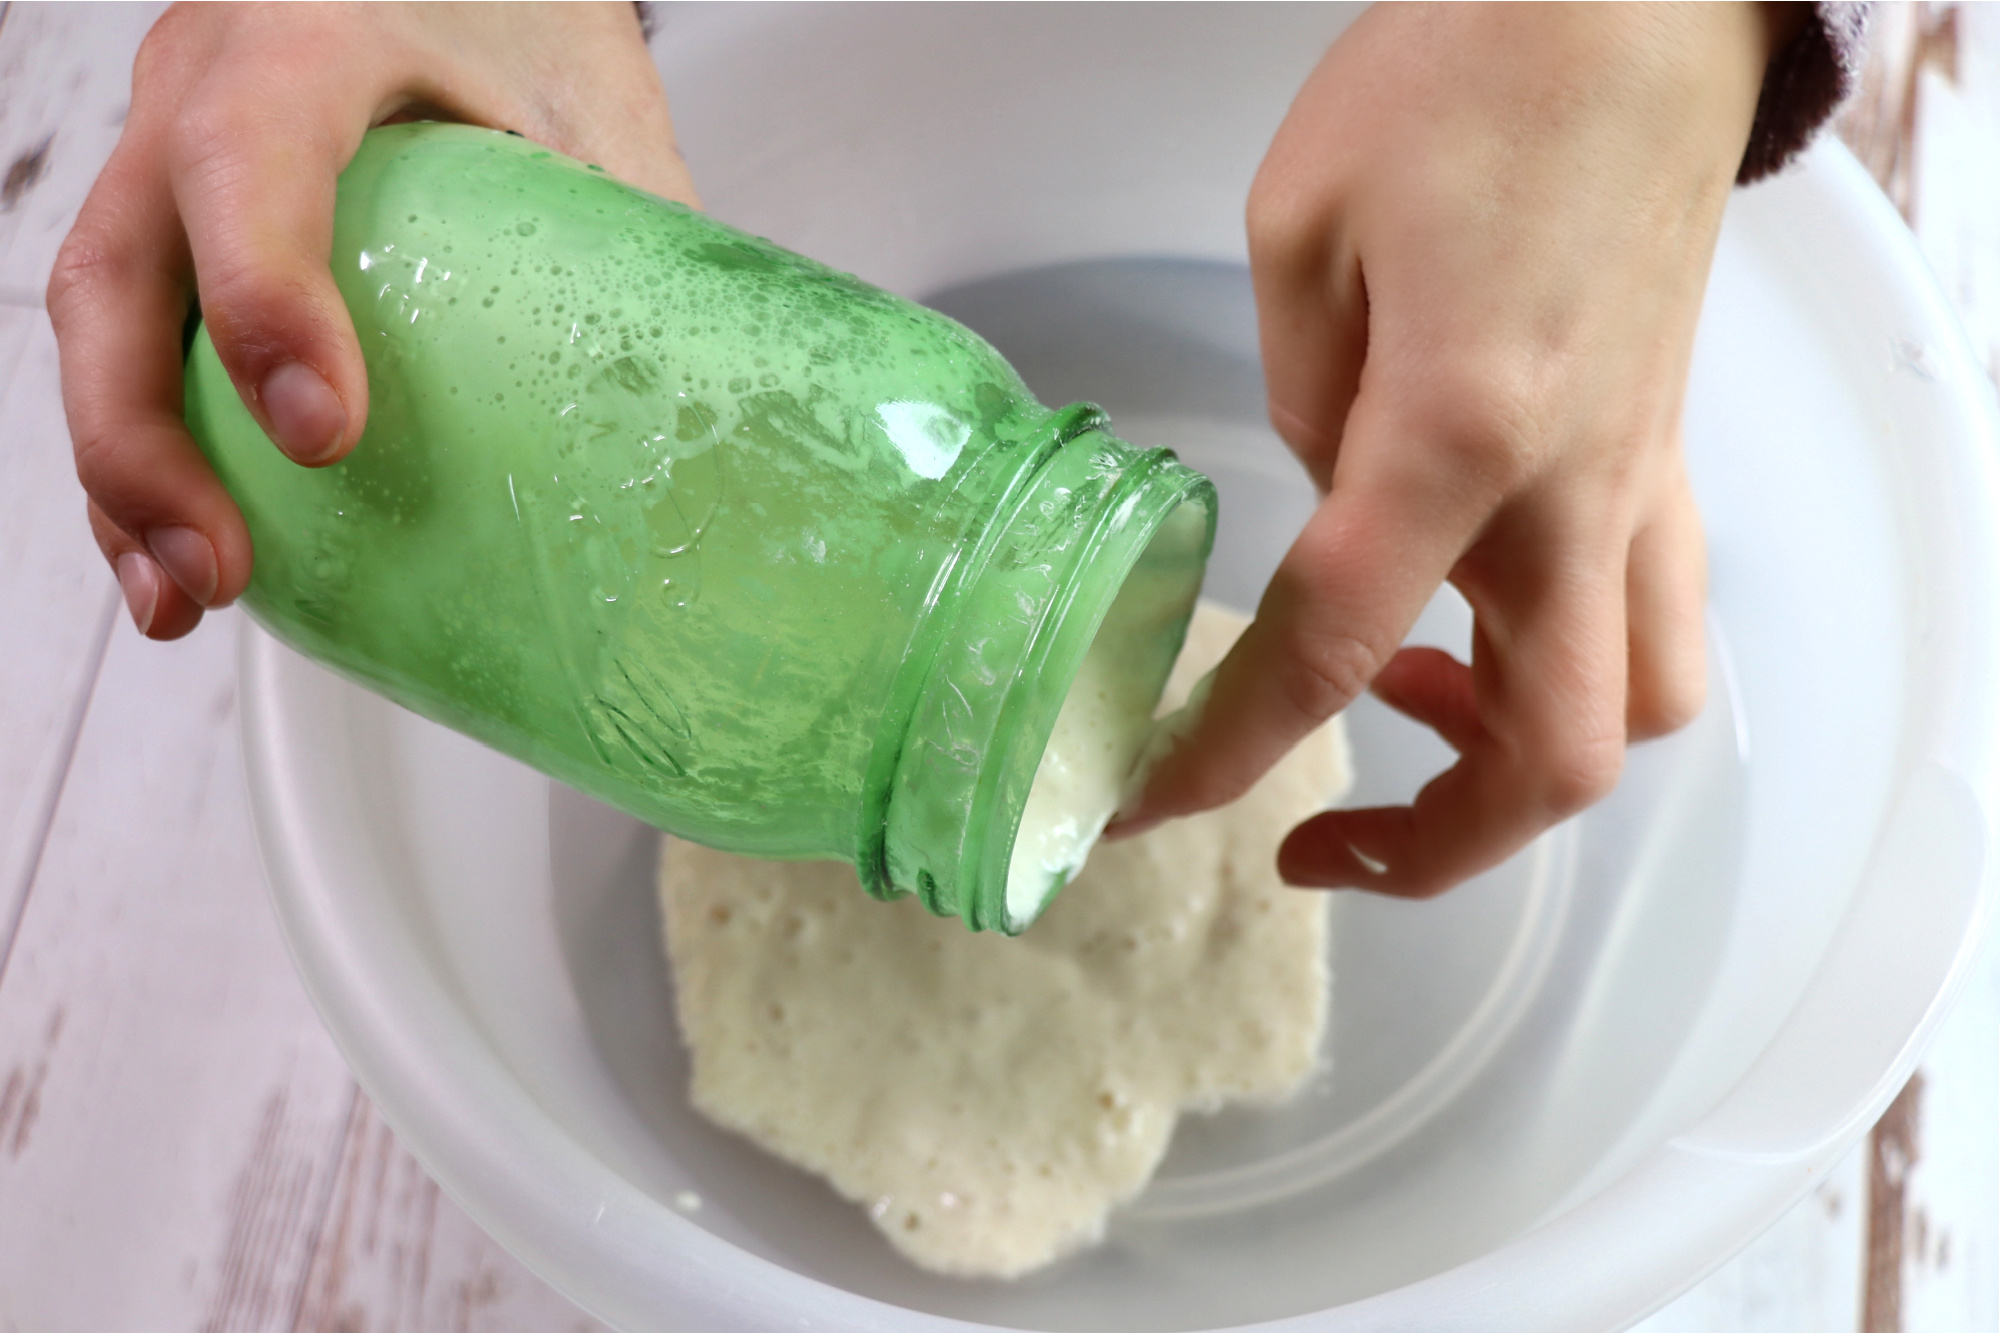
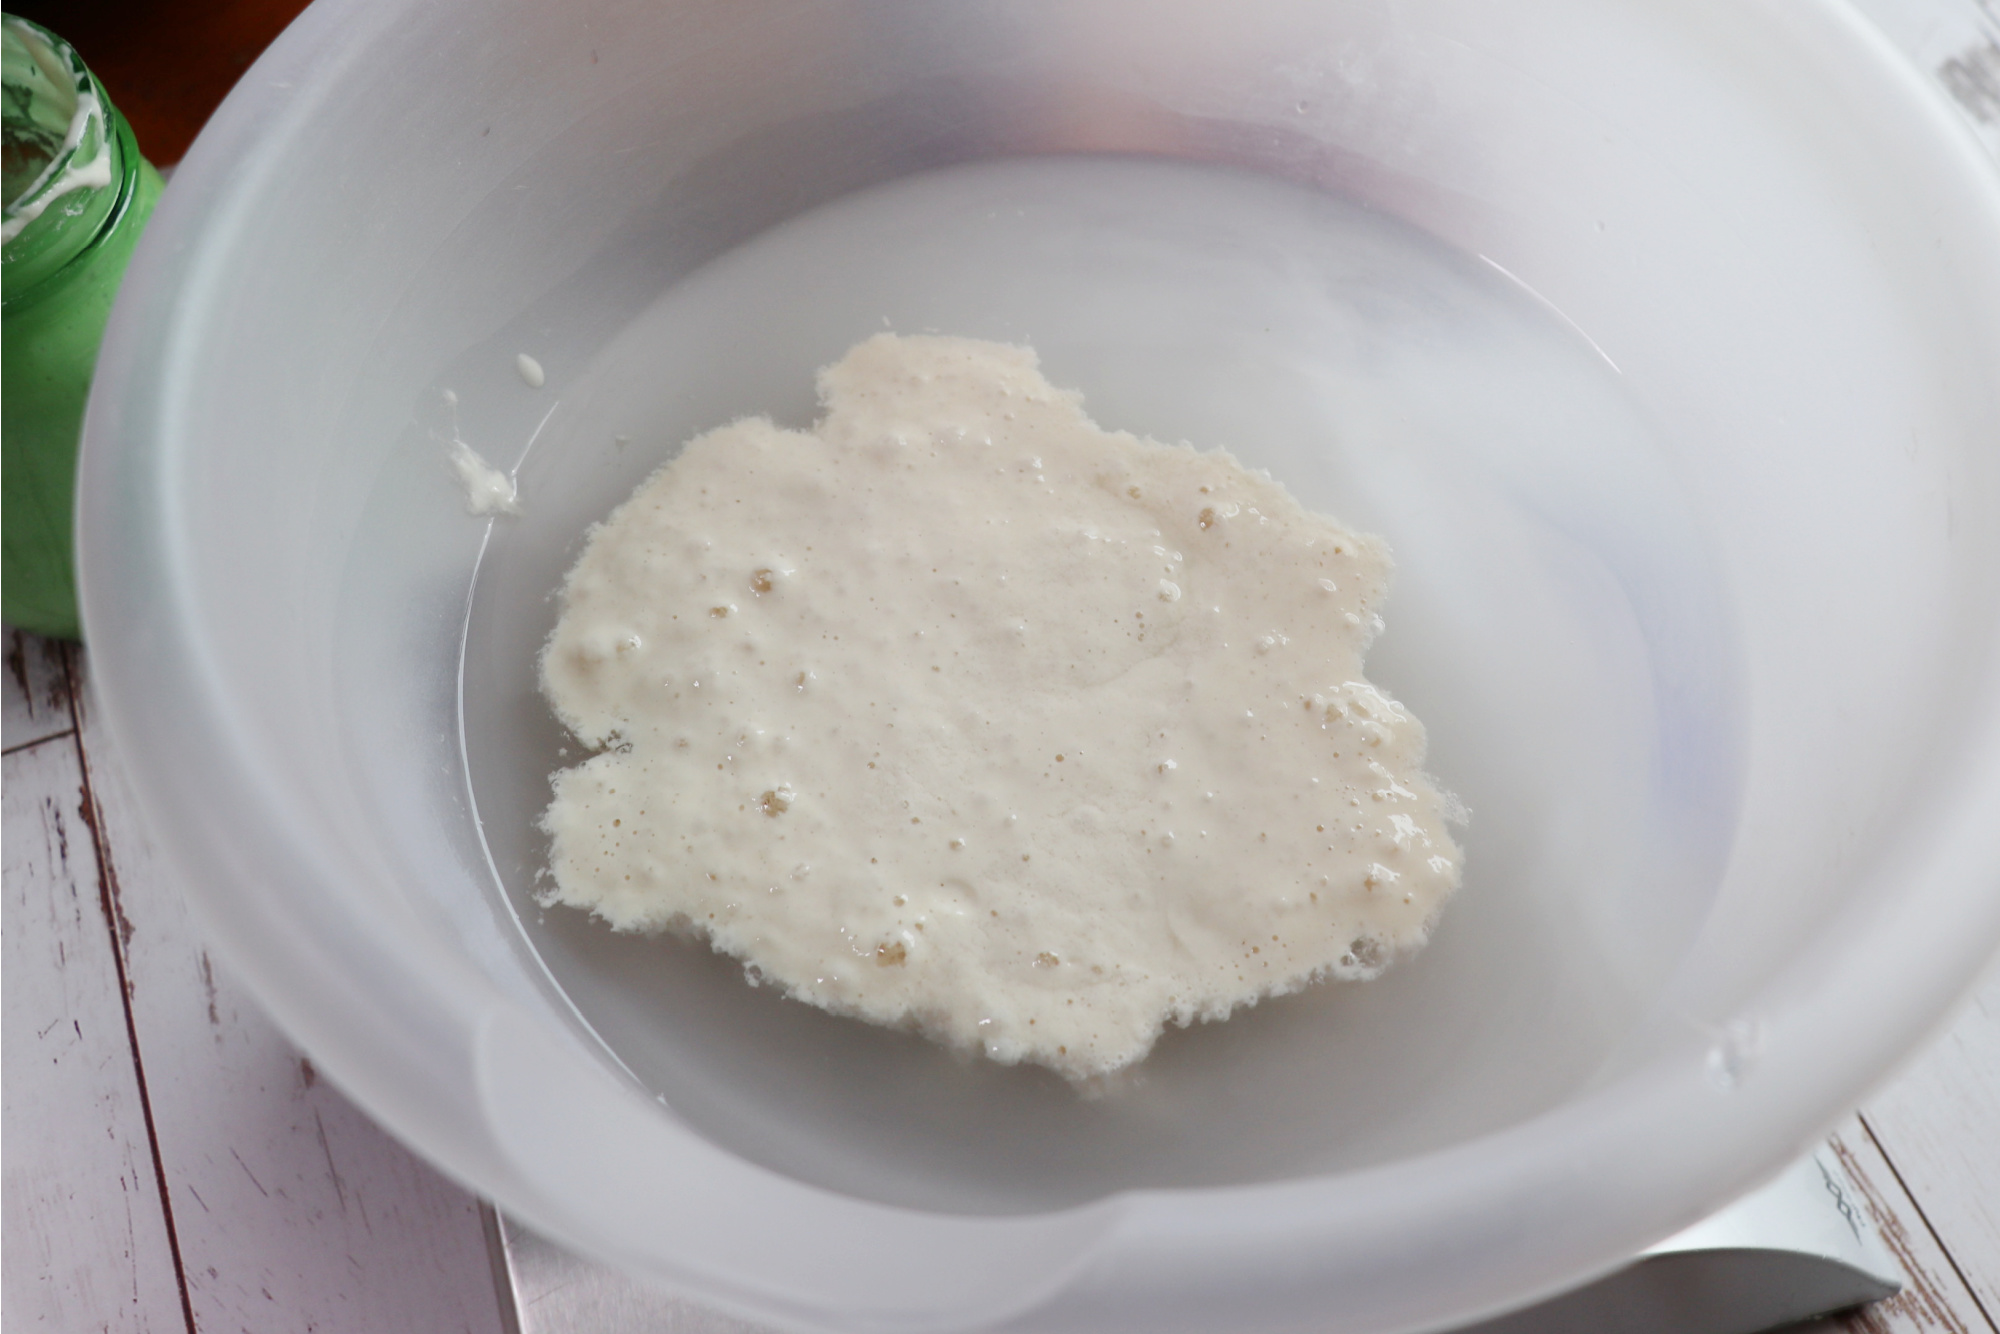
Very often extra mess or dirty dishes results from a lack of planning. Re-use dishes as often as you can. If you have to divide eggs, put the eggs yolks into the bowl you already melted butter in. If you need to use a measuring scoop use it for dry ingredients first and then wet. I use my finger to touch off the last drip of sourdough starter so that I can pour it directly from the jar and not use another utensil to scrape it out. Just take a minute to think before grabbing more dishes.
(7) Measure Liquid Ingredients First.
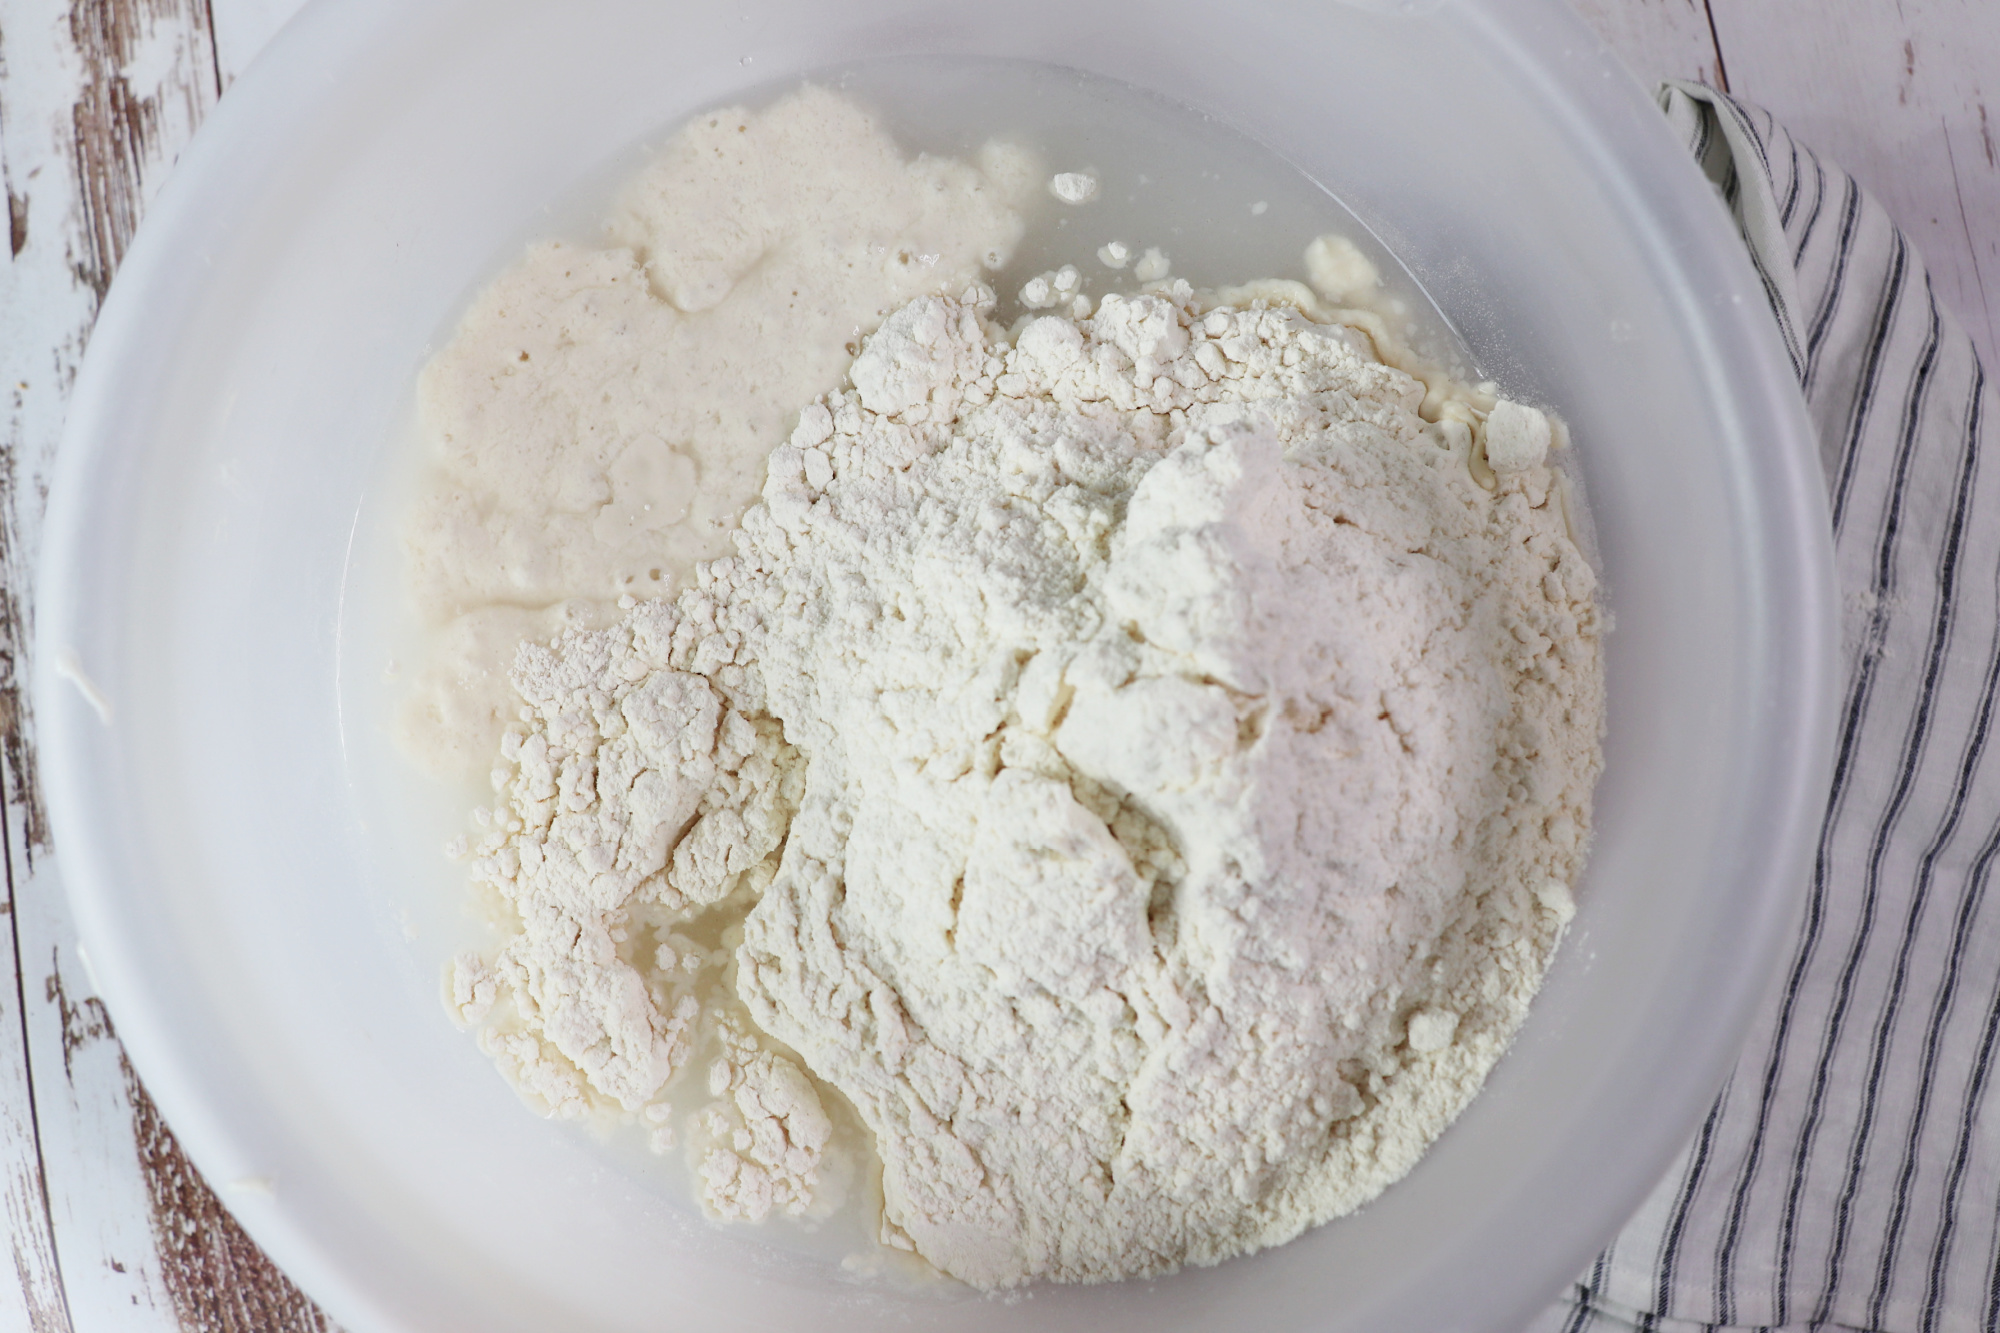
Measuring the liquid ingredients into your mixing bowl first leads to less flour caked onto the edges and stuck in the corners of your dough trough or bowl. It makes the container easier to clean and the dough easier to mix.
(8) Weigh Your Ingredients Directly Into The Trough or Stand Mixer.
Most serious bakers use a kitchen scale for baking. If you are one of those bakers who is resistant to the idea, it might be time to consider the dirty cup measures and spoons. With a scale you just pour it all into the same bowl. and skip any measuring utensils. Once you try it you will fall in love, I promise!
(9) Disposable Gloves to Mix.
Use disposable gloves to mix your dough. You only need one glove and I set it aside to use again for mixing in the salt after autolyze, handling the first sticky fold or adding in more water for a double hydration.
(10) Use The Right Utensil.
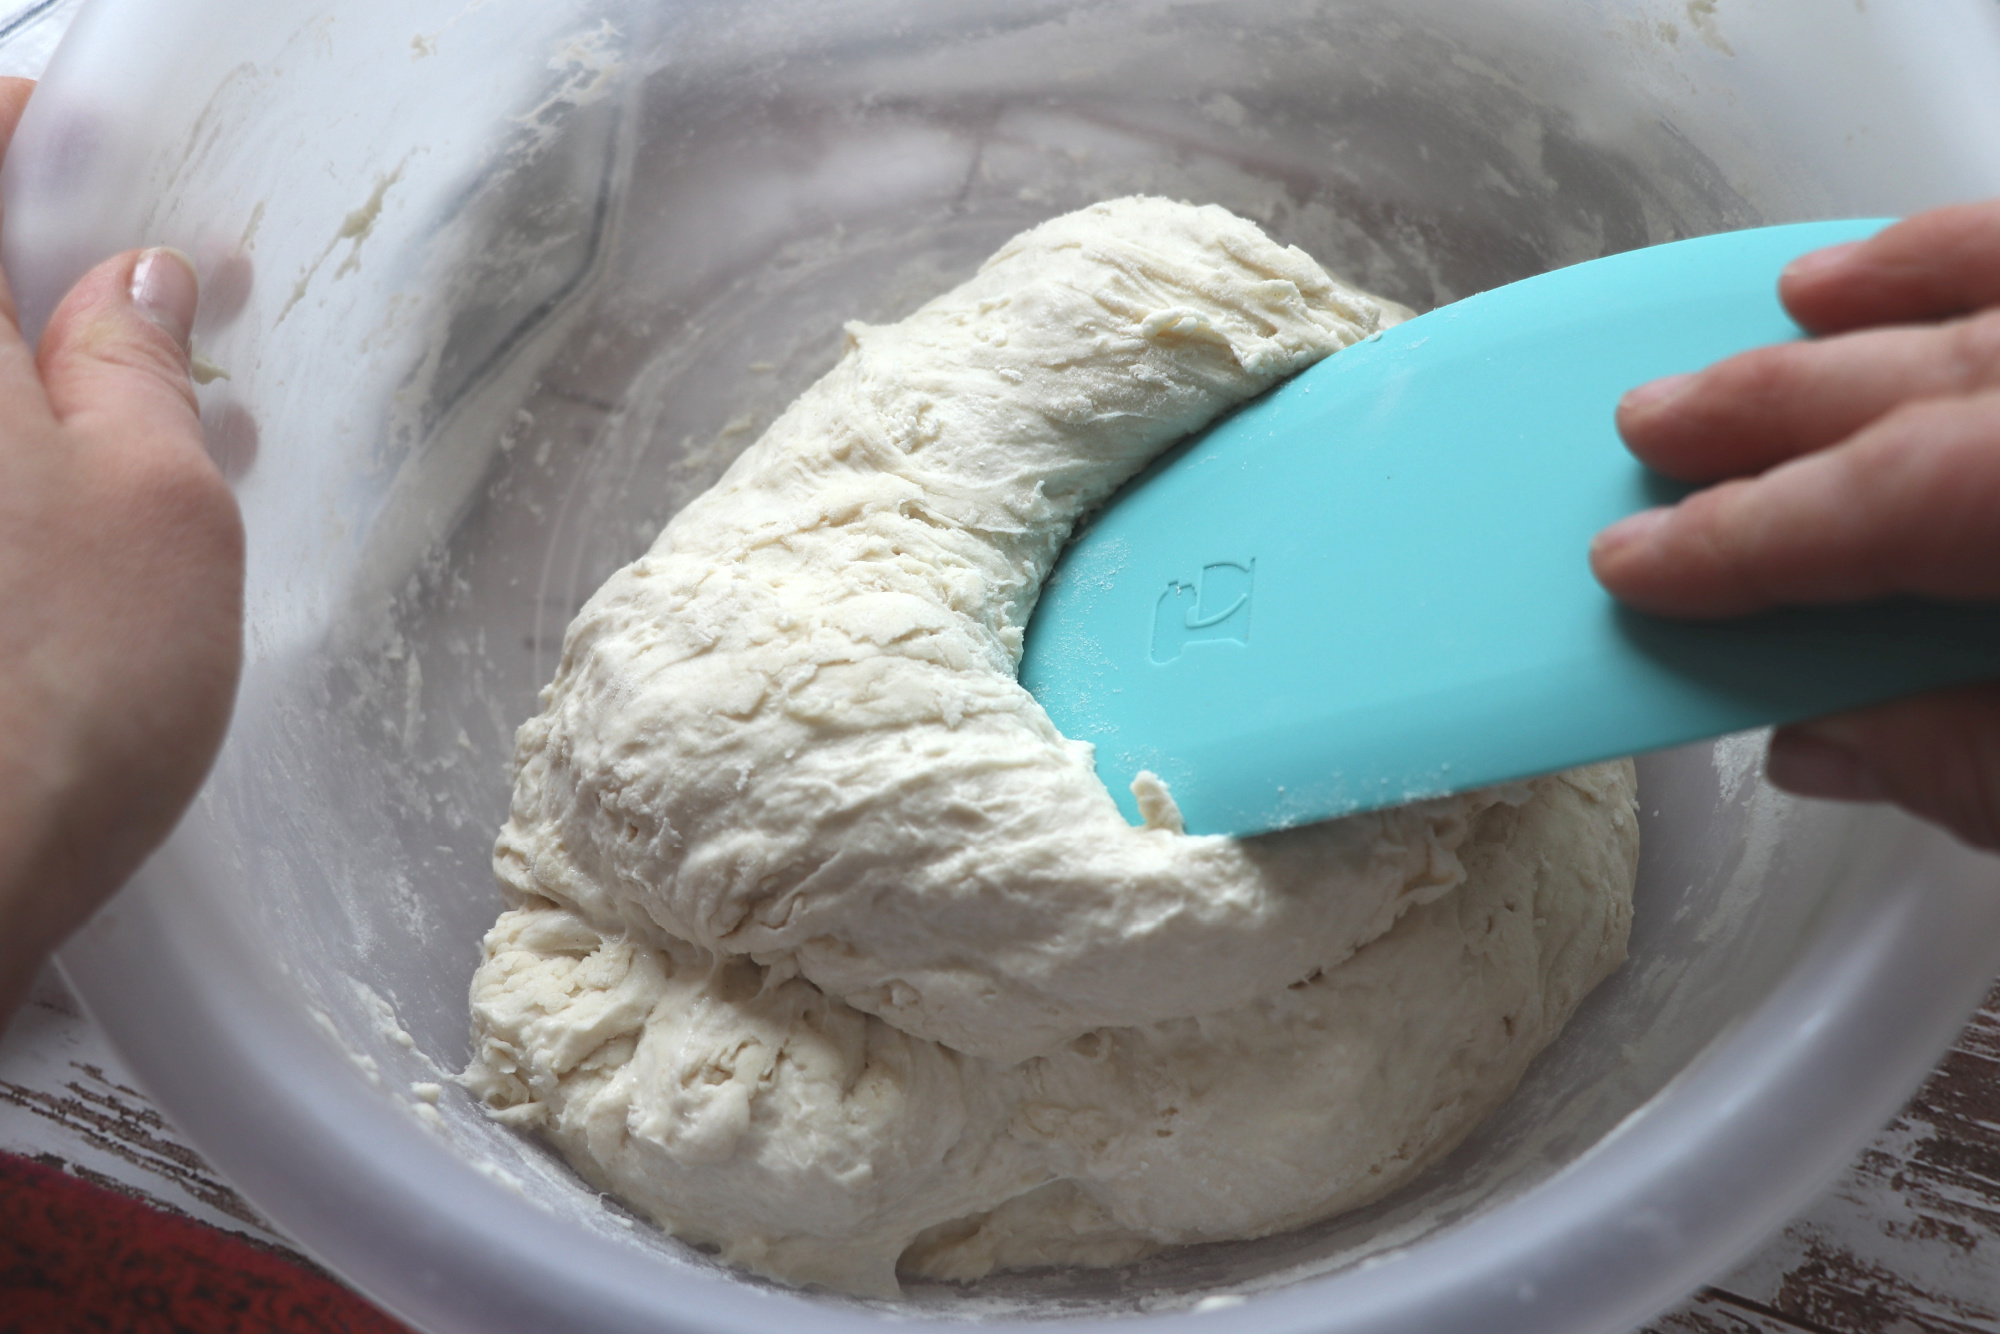
If you don’t have disposable gloves do the initial mix with a Danish whisk or large silicone scraper. Both of these utensils don’t retain lots of dough and are extremely quick to clean. You can view my favorite silicone scraper here: https://amzn.to/35mBhOZ
(11) Try Using a Dough Container instead of a Mixer.
Long fermented dough doesn’t need the same kneading action that a stand mixer offers. A single dough trough is much easier to clean than a mixing bowl and hook. Sometimes you will need the mixer action for certain types of dough, like Panettone, but most of the time you can stick to a dough trough with lid and simplify the clean-up. That being said, a mixer is essential for some bakers and we realize that.
(12) Re-use Your Bowls and Troughs.
It might sound odd at first mention, but I almost always have another batch of something that I can mix in a used bowl. I finish each bake by thinking about my next projects. Sometimes I need to start a batch of mother dough for a future bake or I have to start a sponge for pancakes in the morning and I’ll just used my recently emptied bowl with dough bits still attached.
If I don’t have another mix to do immediately I just set aside my used mixing bowls (with lid on) for for re-use. You should not do this for extended periods of time because it can lead to mold. I don’t save a used bowl unless I know I’m mixing something again the next day. If there is room in your fridge you can move the bowl to the fridge for a few days as long as the lid is tight and it will not dry out.
Optionally, you can let the dough trough/bowl dry out and then just knock out the dried dough (save it for backup starter) when you are ready to mix up your dough.
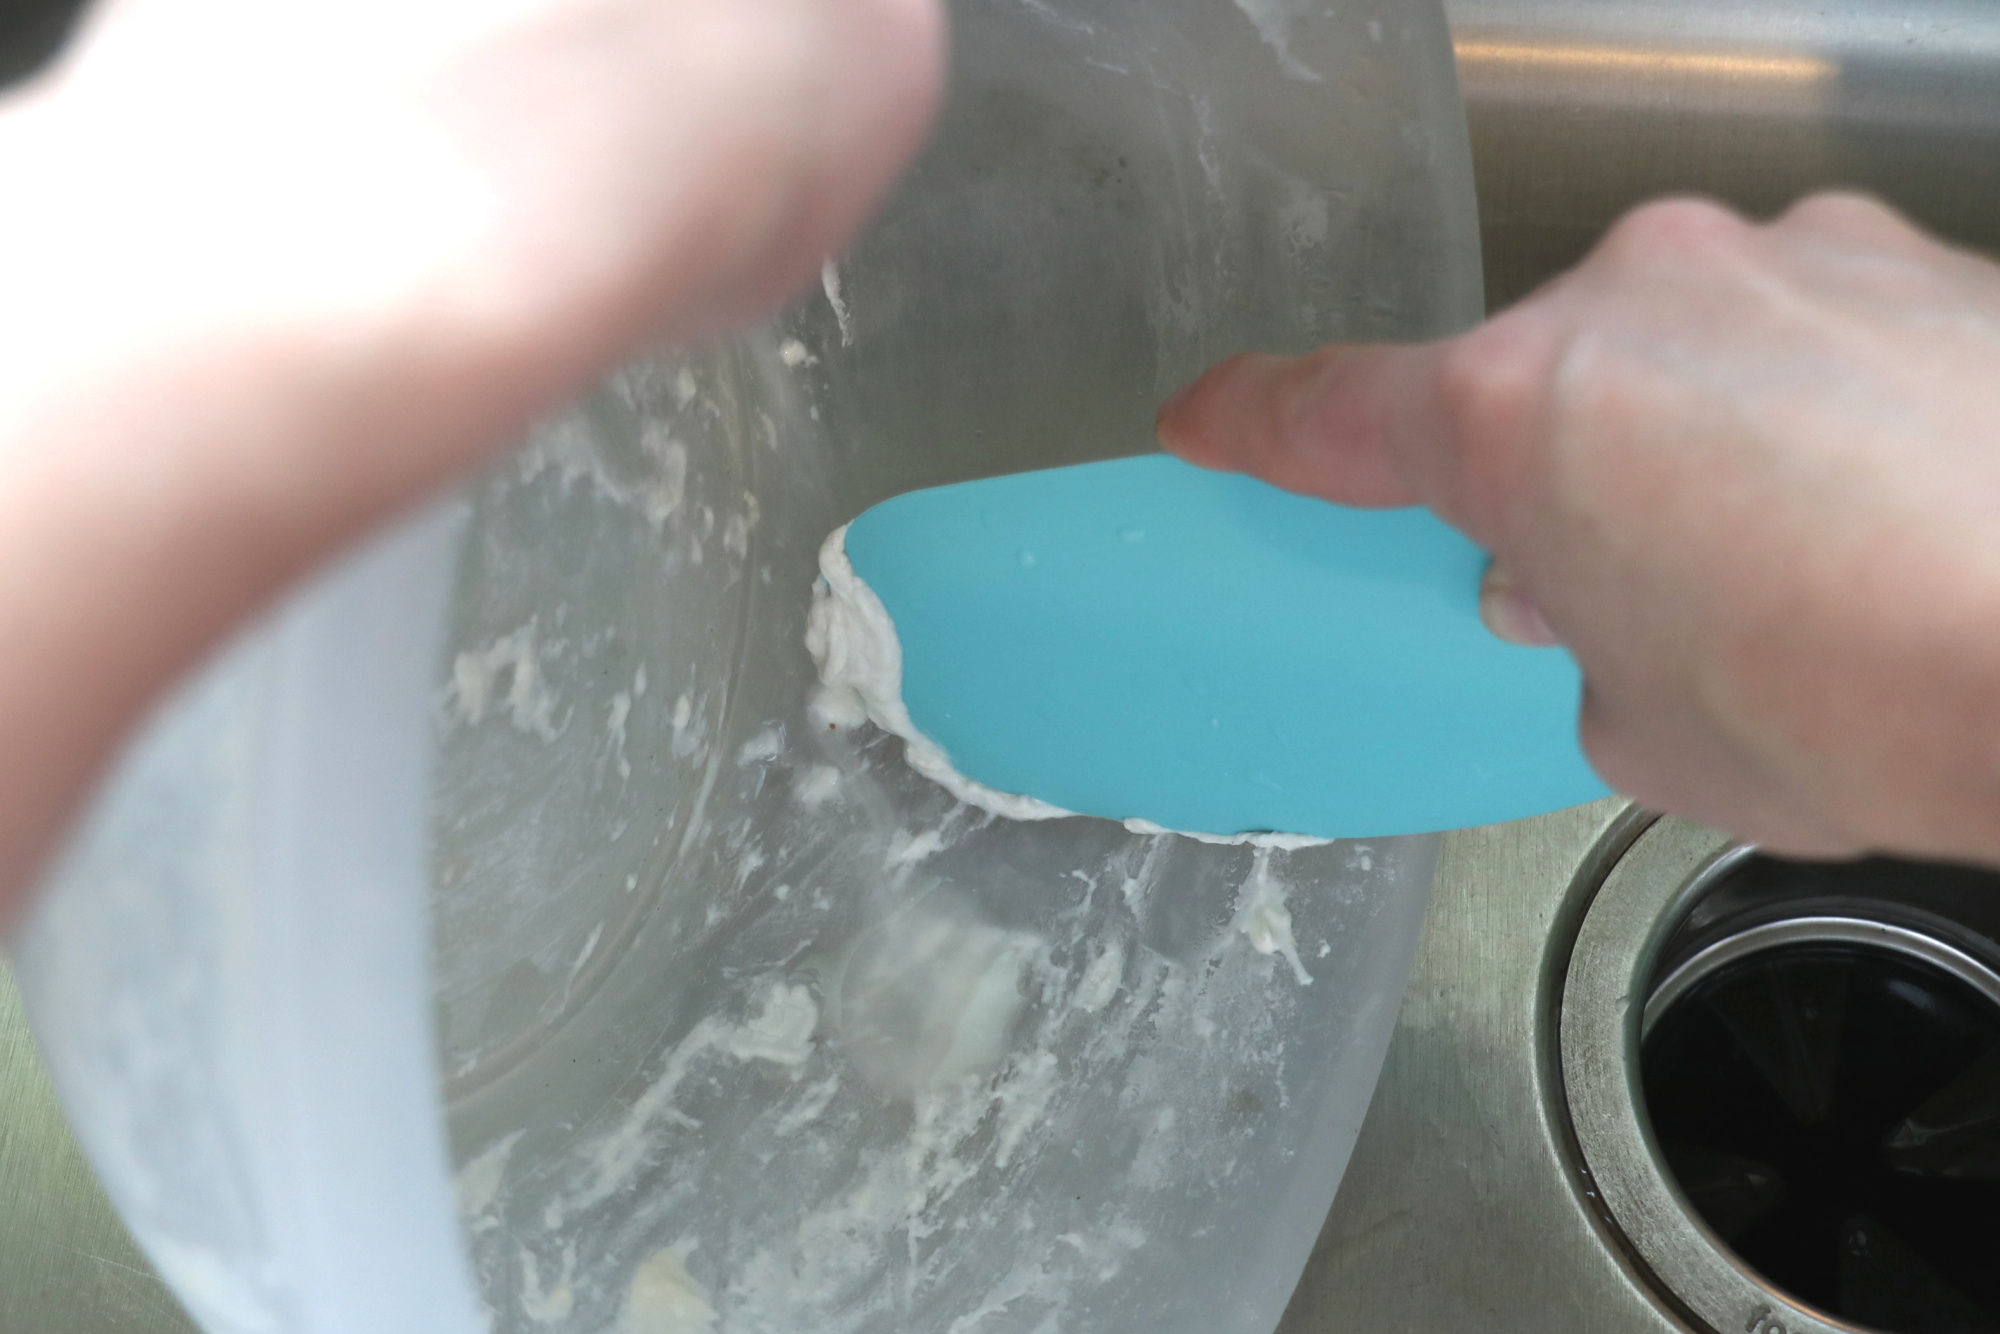
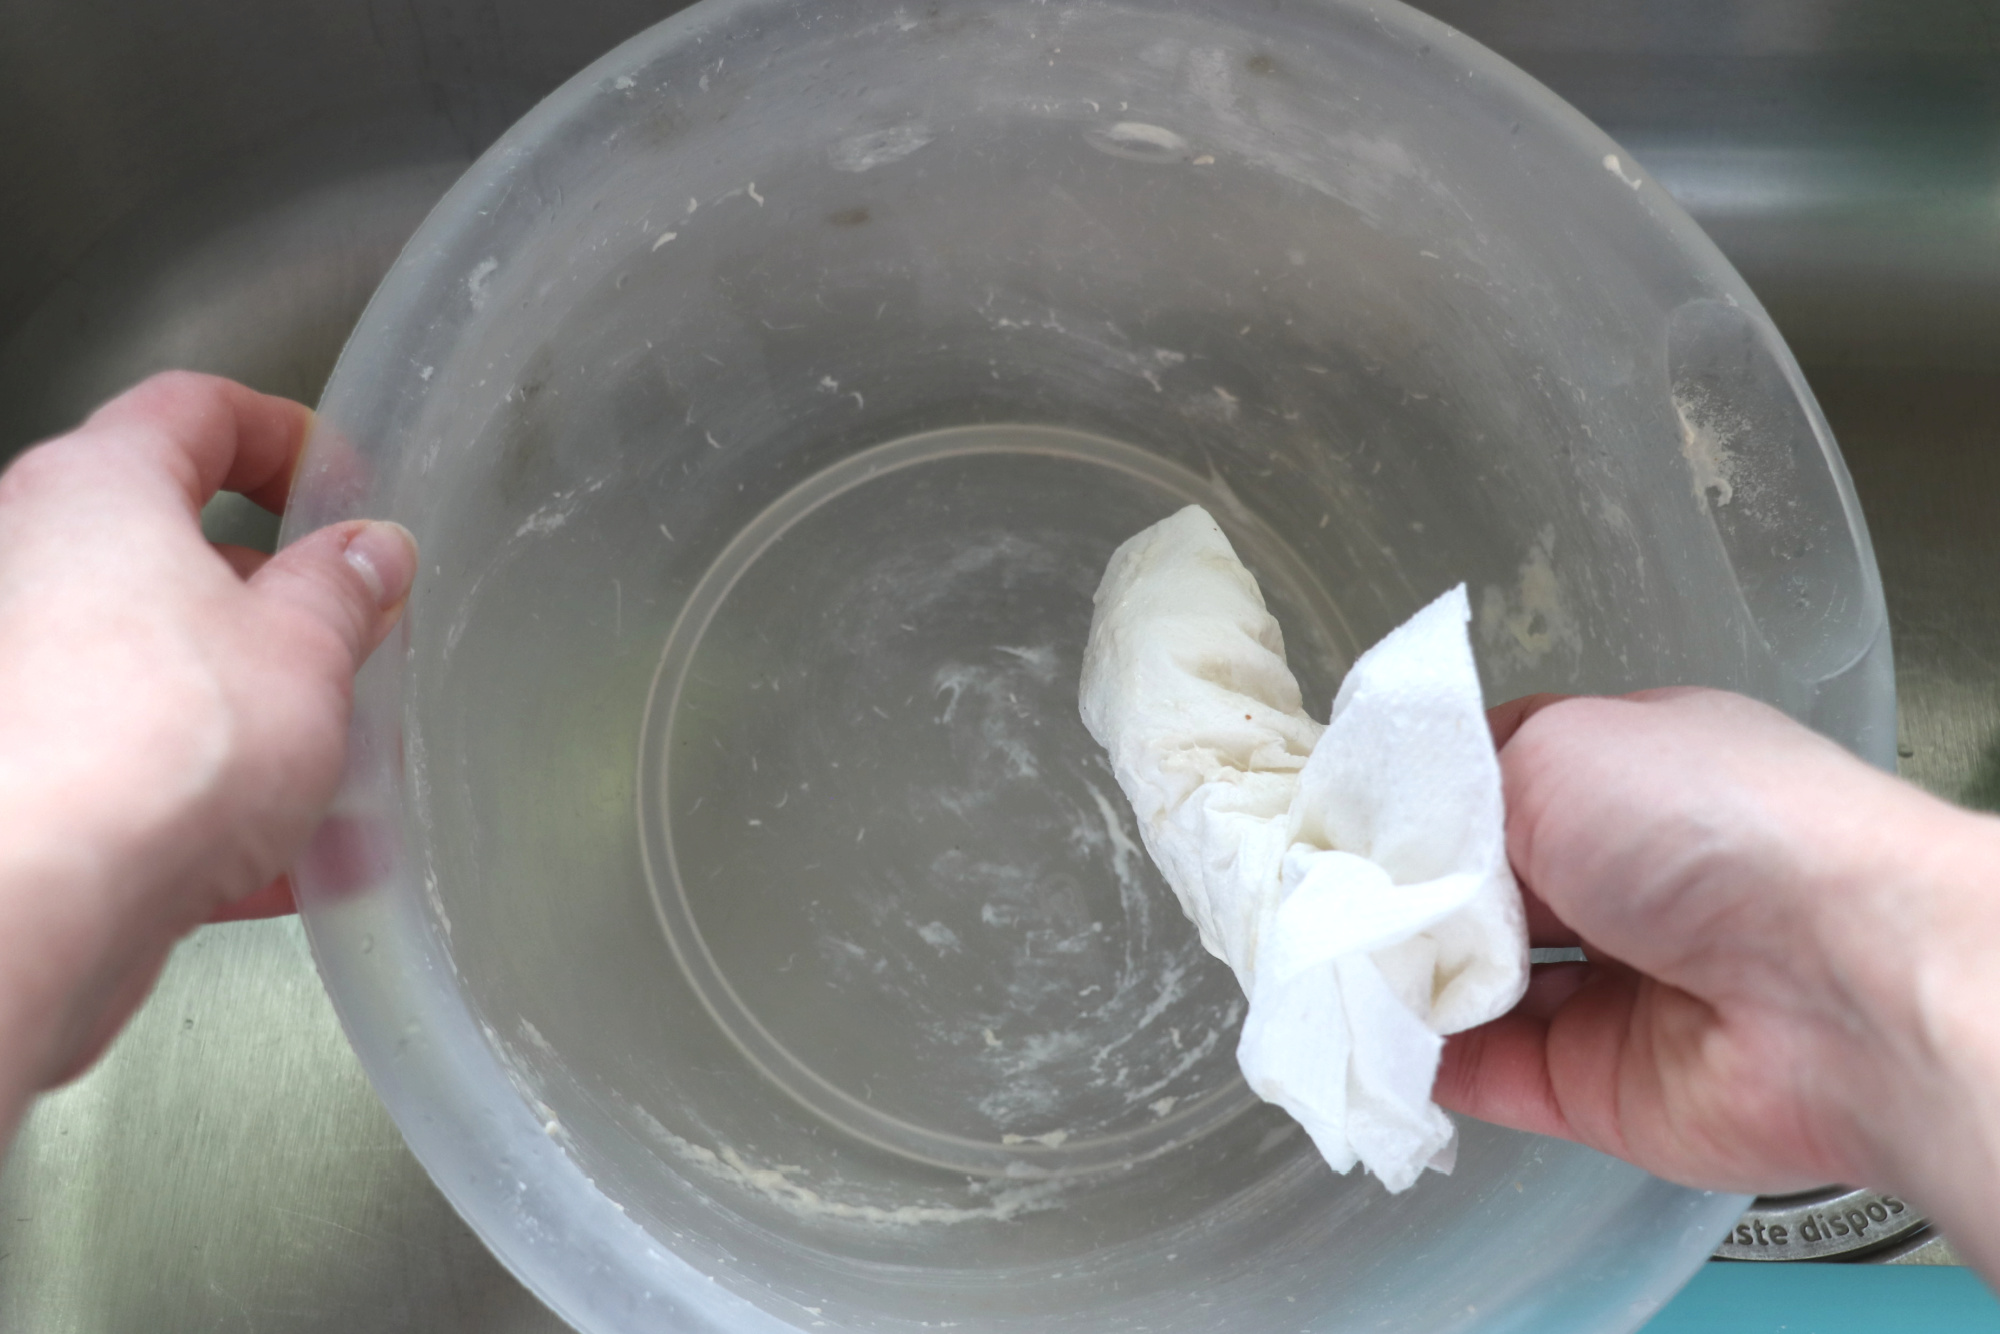
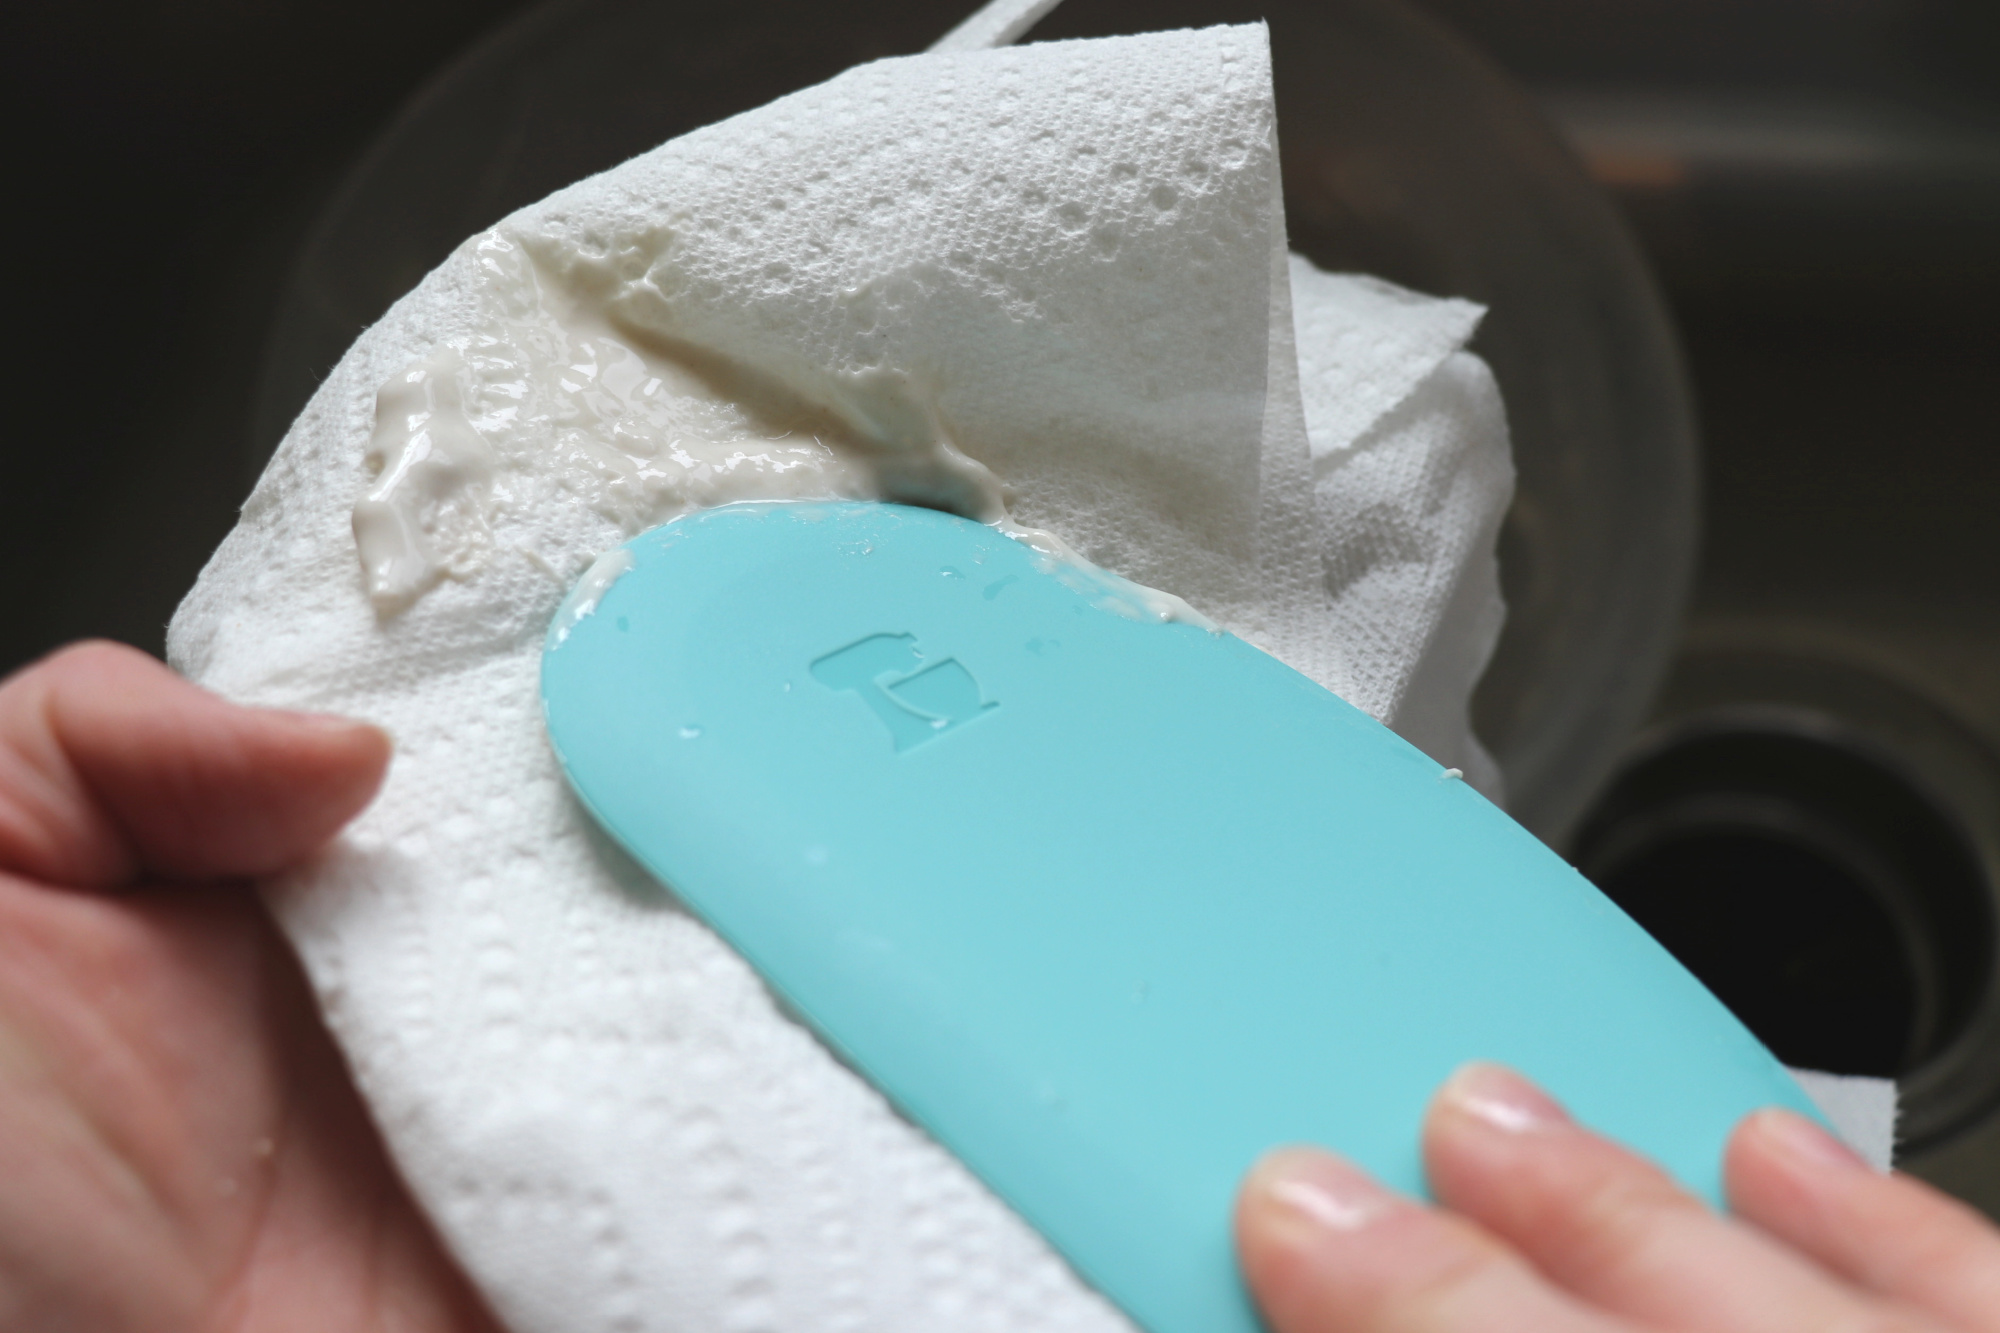
(13) Spatula Scrape and Paper Towel Everything.
Before moving your dishes to the sink, use a silicone spatula to remove as much dough as possible and then a paper towel to dry wipe the remainder. You can optionally use dry flour to rub out and dispose excess dough.
By the time the dishes are in the sink they should be mostly clean already. This is very helpful for keeping dough bits from drying onto the sink itself, clinging to your scrubbers or being rinsed down the drain.
This way you can also leave the dishes for someone else and pretend they aren’t yours. It’s like stealth mode for sourdough bakers. 😉
(14) Dry Your Bowls and Troughs.
Some bakers like to set their used bowls or mixing troughs out on the counter to dry for a day. If it’s just a thin layer of dough or batter it will dry and can be tapped out of the bowl as dry flakes. Teresa does this and saves the dough flakes as a starter back-up. Just make sure your container is plastic so the dried flakes will knock off easily. If your container is glass or metal you will only end up with a very difficult dish to wash.
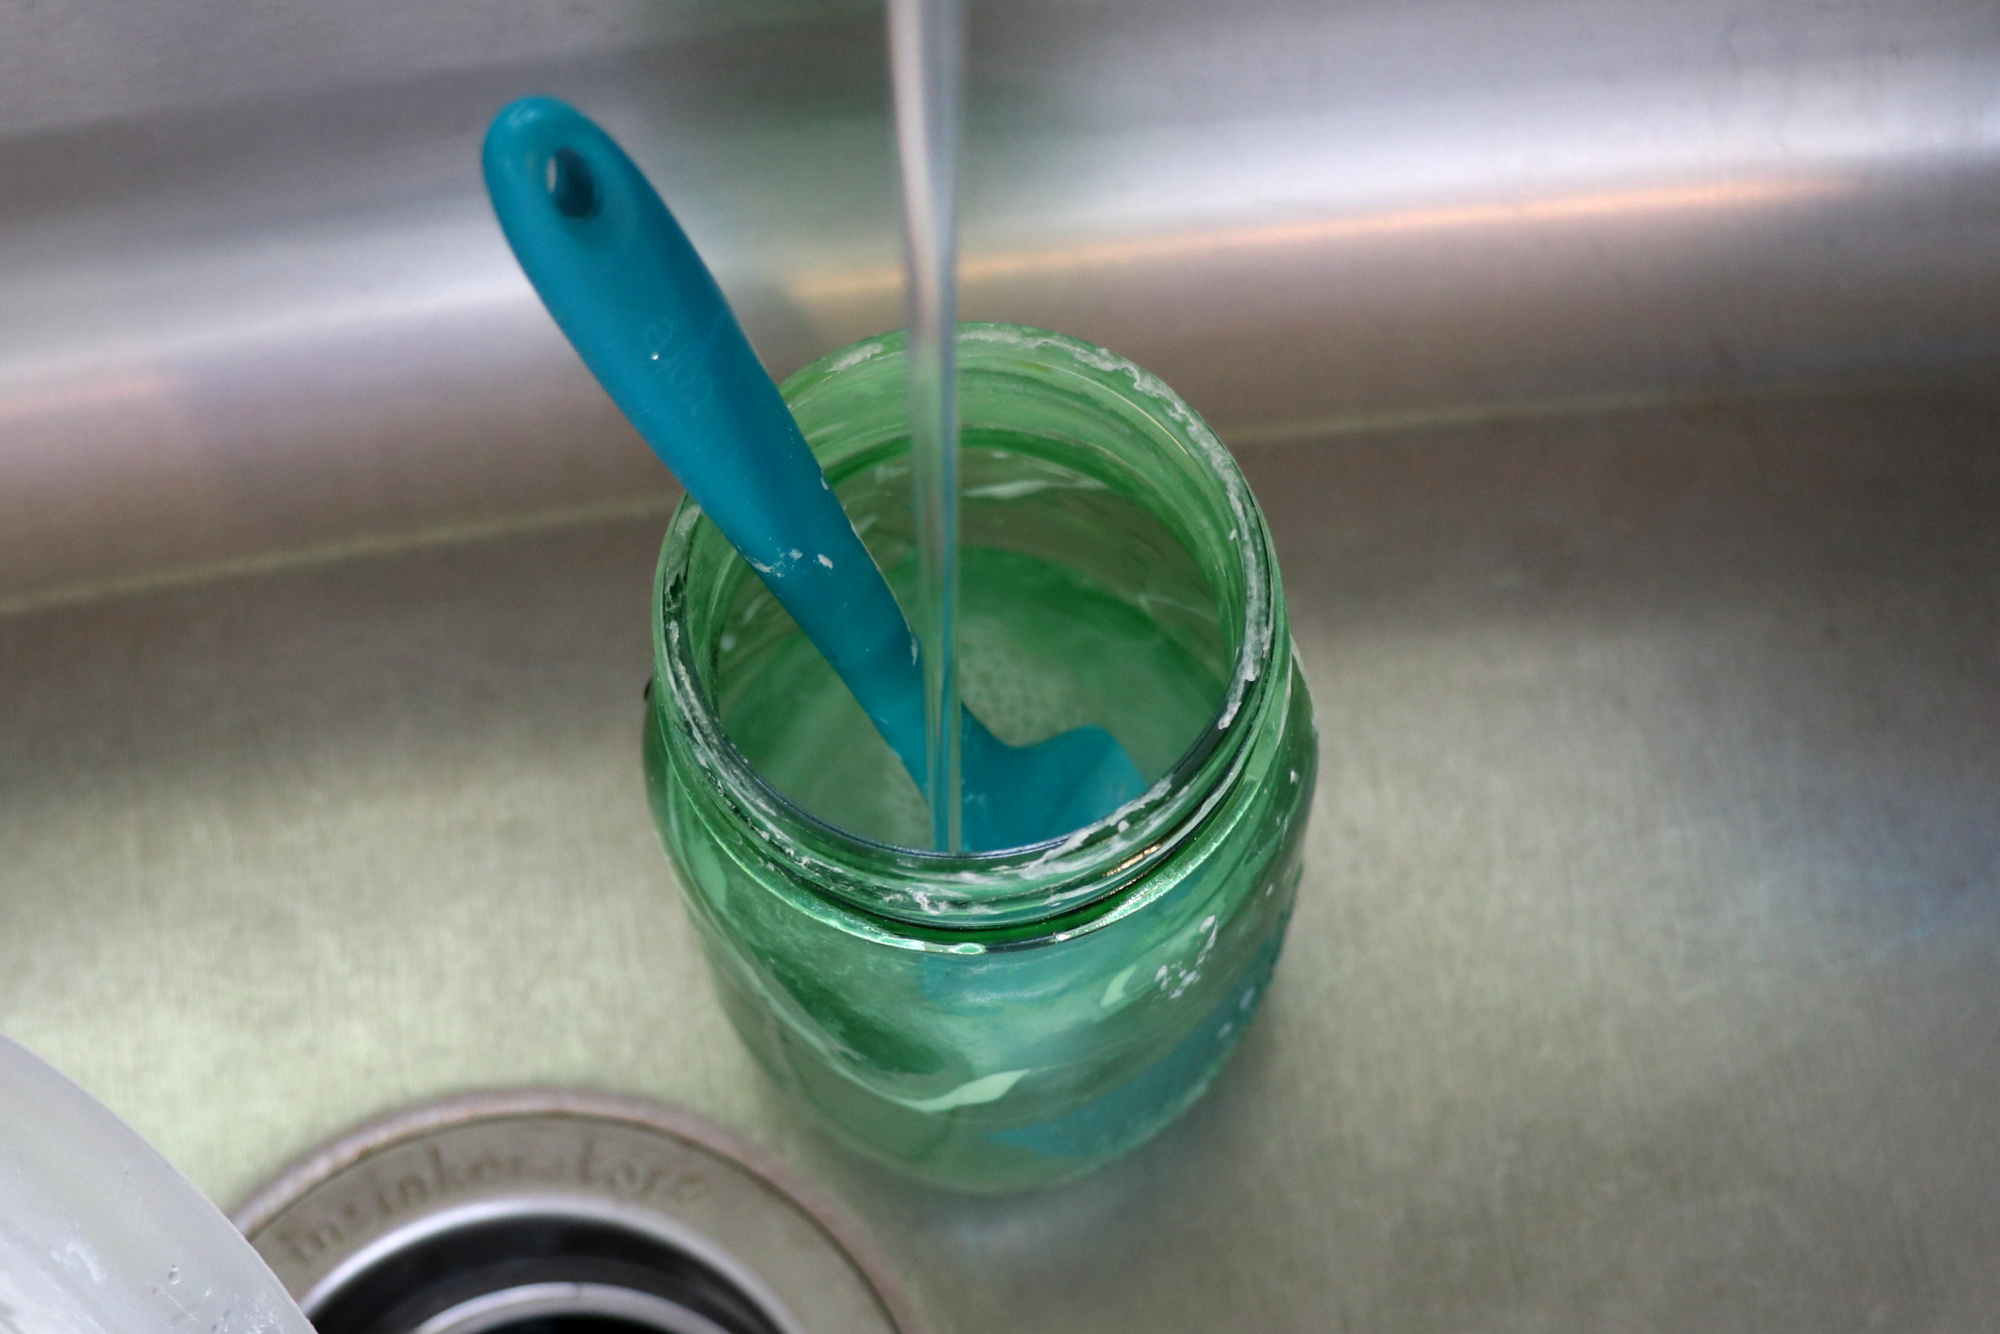
(15) Soak Dishes in Cold Water.
If you are cleaning out starter or dough make sure to use cold water at first, until all the dough bits are washed away. Hot water gelatinizes the starch and can make the dough grip even tighter.
(16) Use Scouring Pads or Bristle Brushes.
After your initial scraping, wiping, and soaking, anything left can be easily removed with a bristle brush or scouring pad. It’s much easier to rinse dough off of a scrubber than a rag.
(17) Use Your Faucet Sprayer
If you have a faucet sprayer use it! If your dishes are well soaked, the sprayer can eliminate the need for a scouring pad altogether.
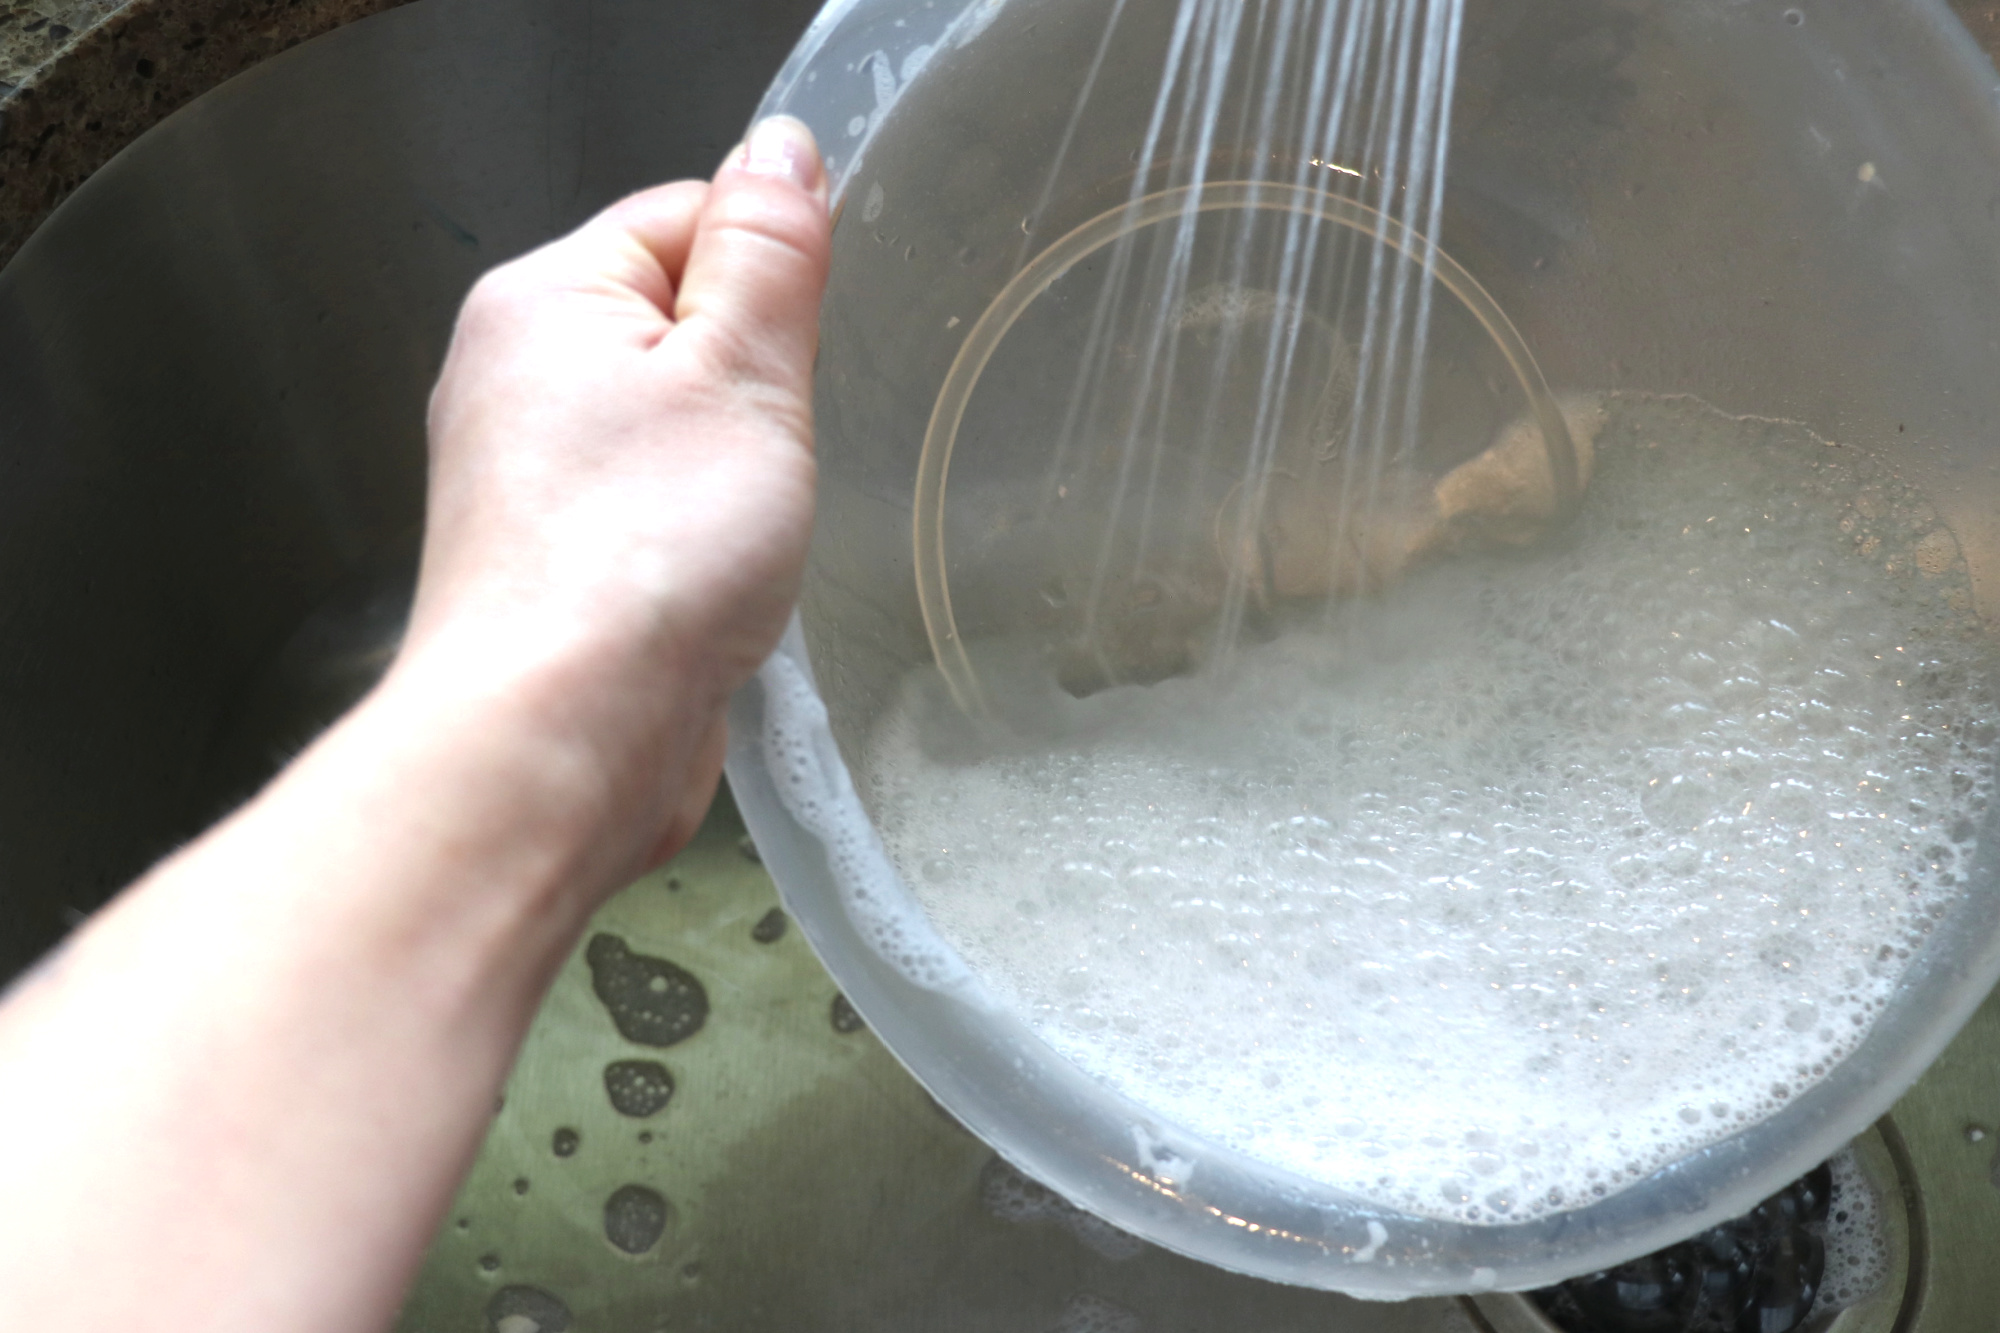
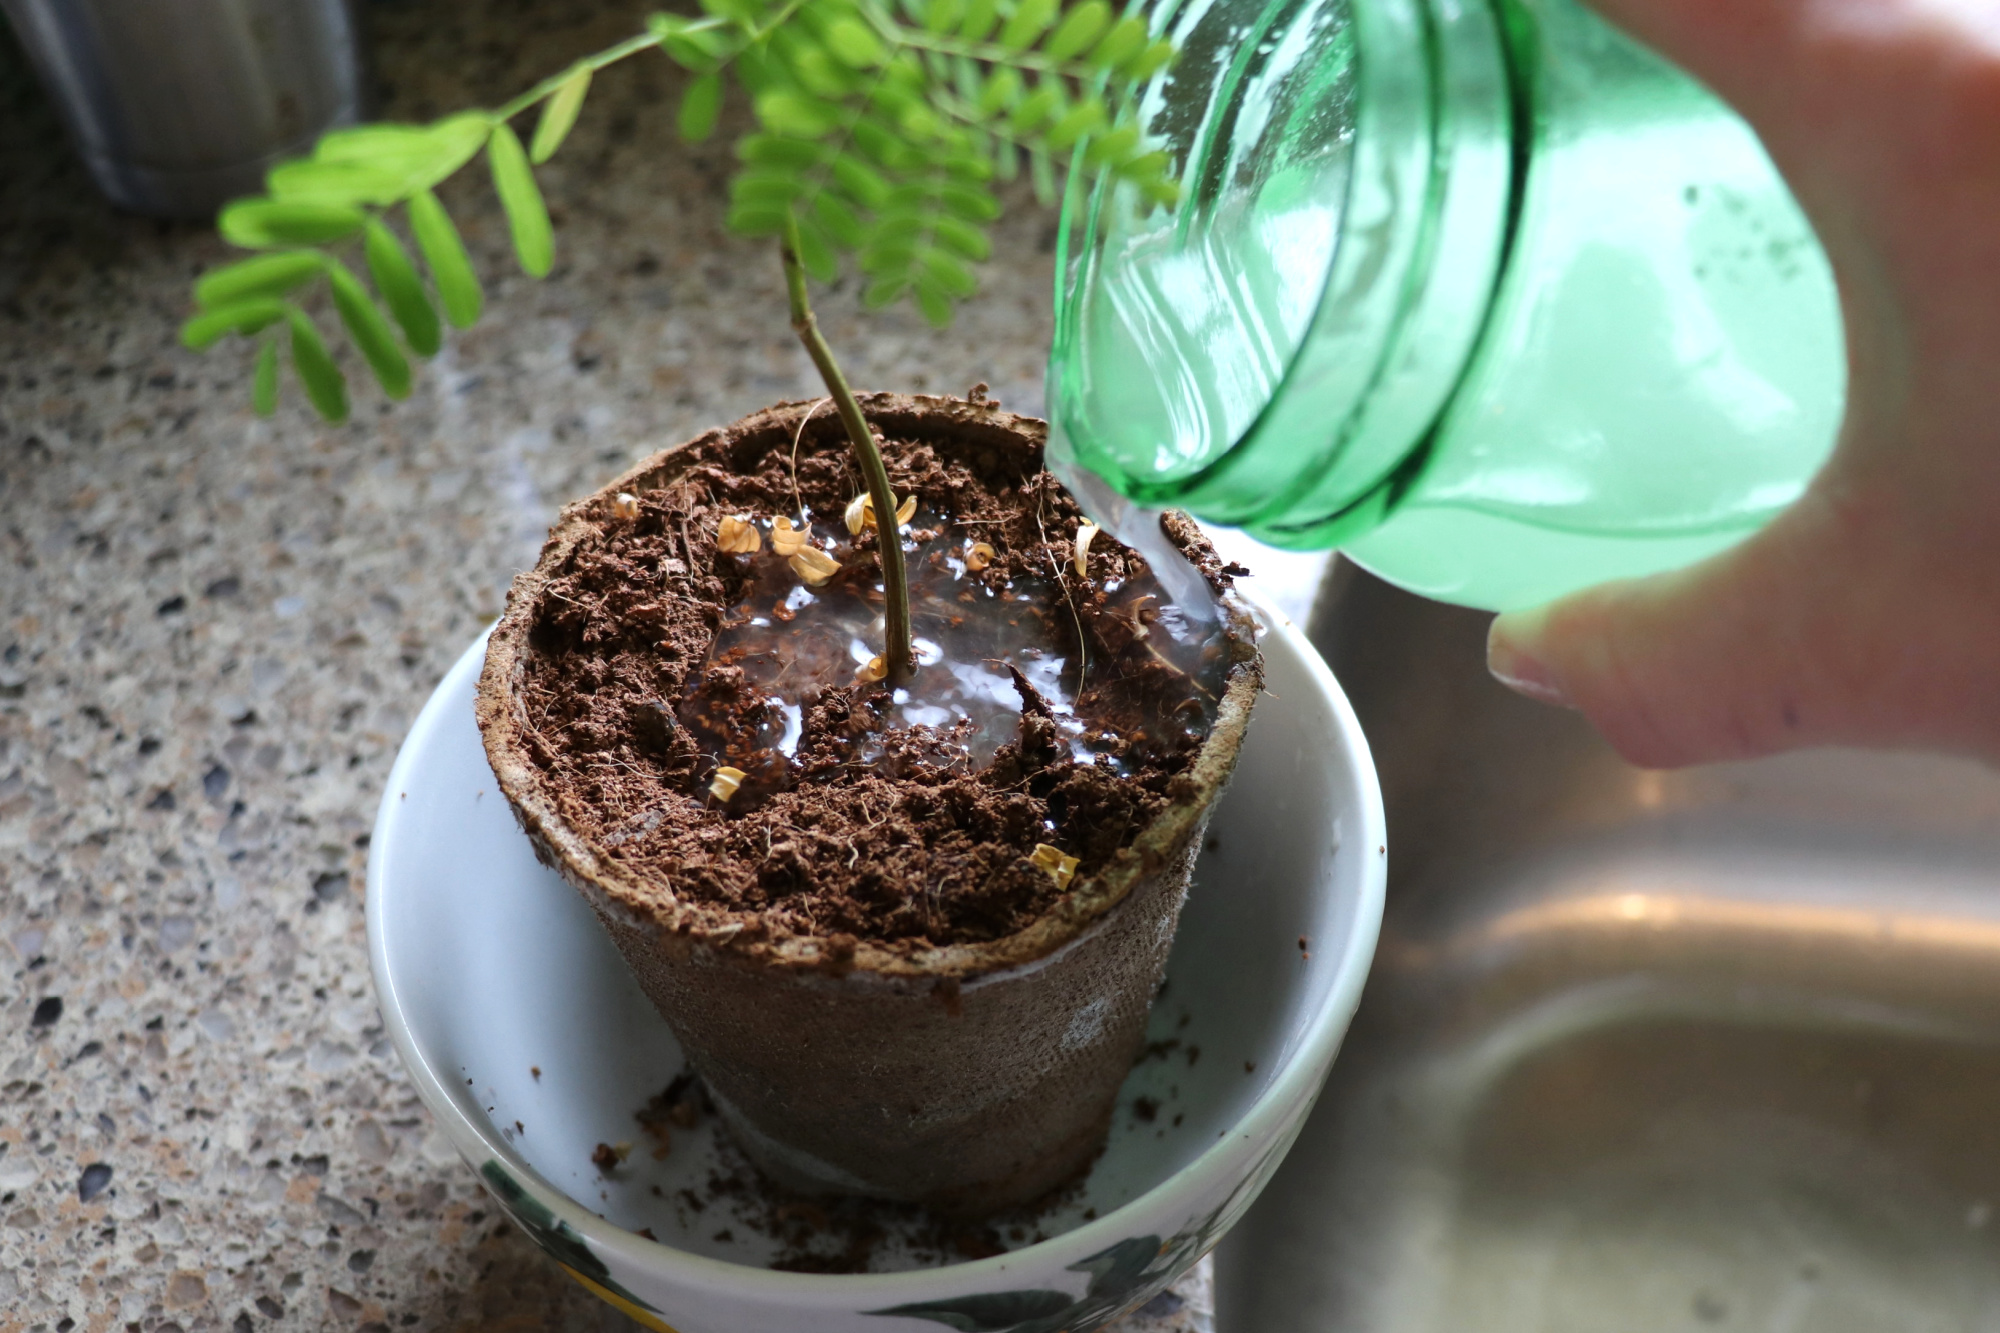
(18) Re-use Initial Cleaning Water
Sending lots of flour down the drain can eventually lead to clogged pipes. Many of the tips here are to prevent excess flour and dough from being rinsed down the drain. If the cleaning water is pretty clear and not soapy, I pour my initial scrub water in my potted plants on the landing or my houseplants.
(19) Chill Dough Before Shaping.
If you move your dough trough or bowl to the fridge for approximately an hour or so before shaping it makes the dough less sticky and much easier to handle. You will end up with less dough on your work-surface and on your hands.
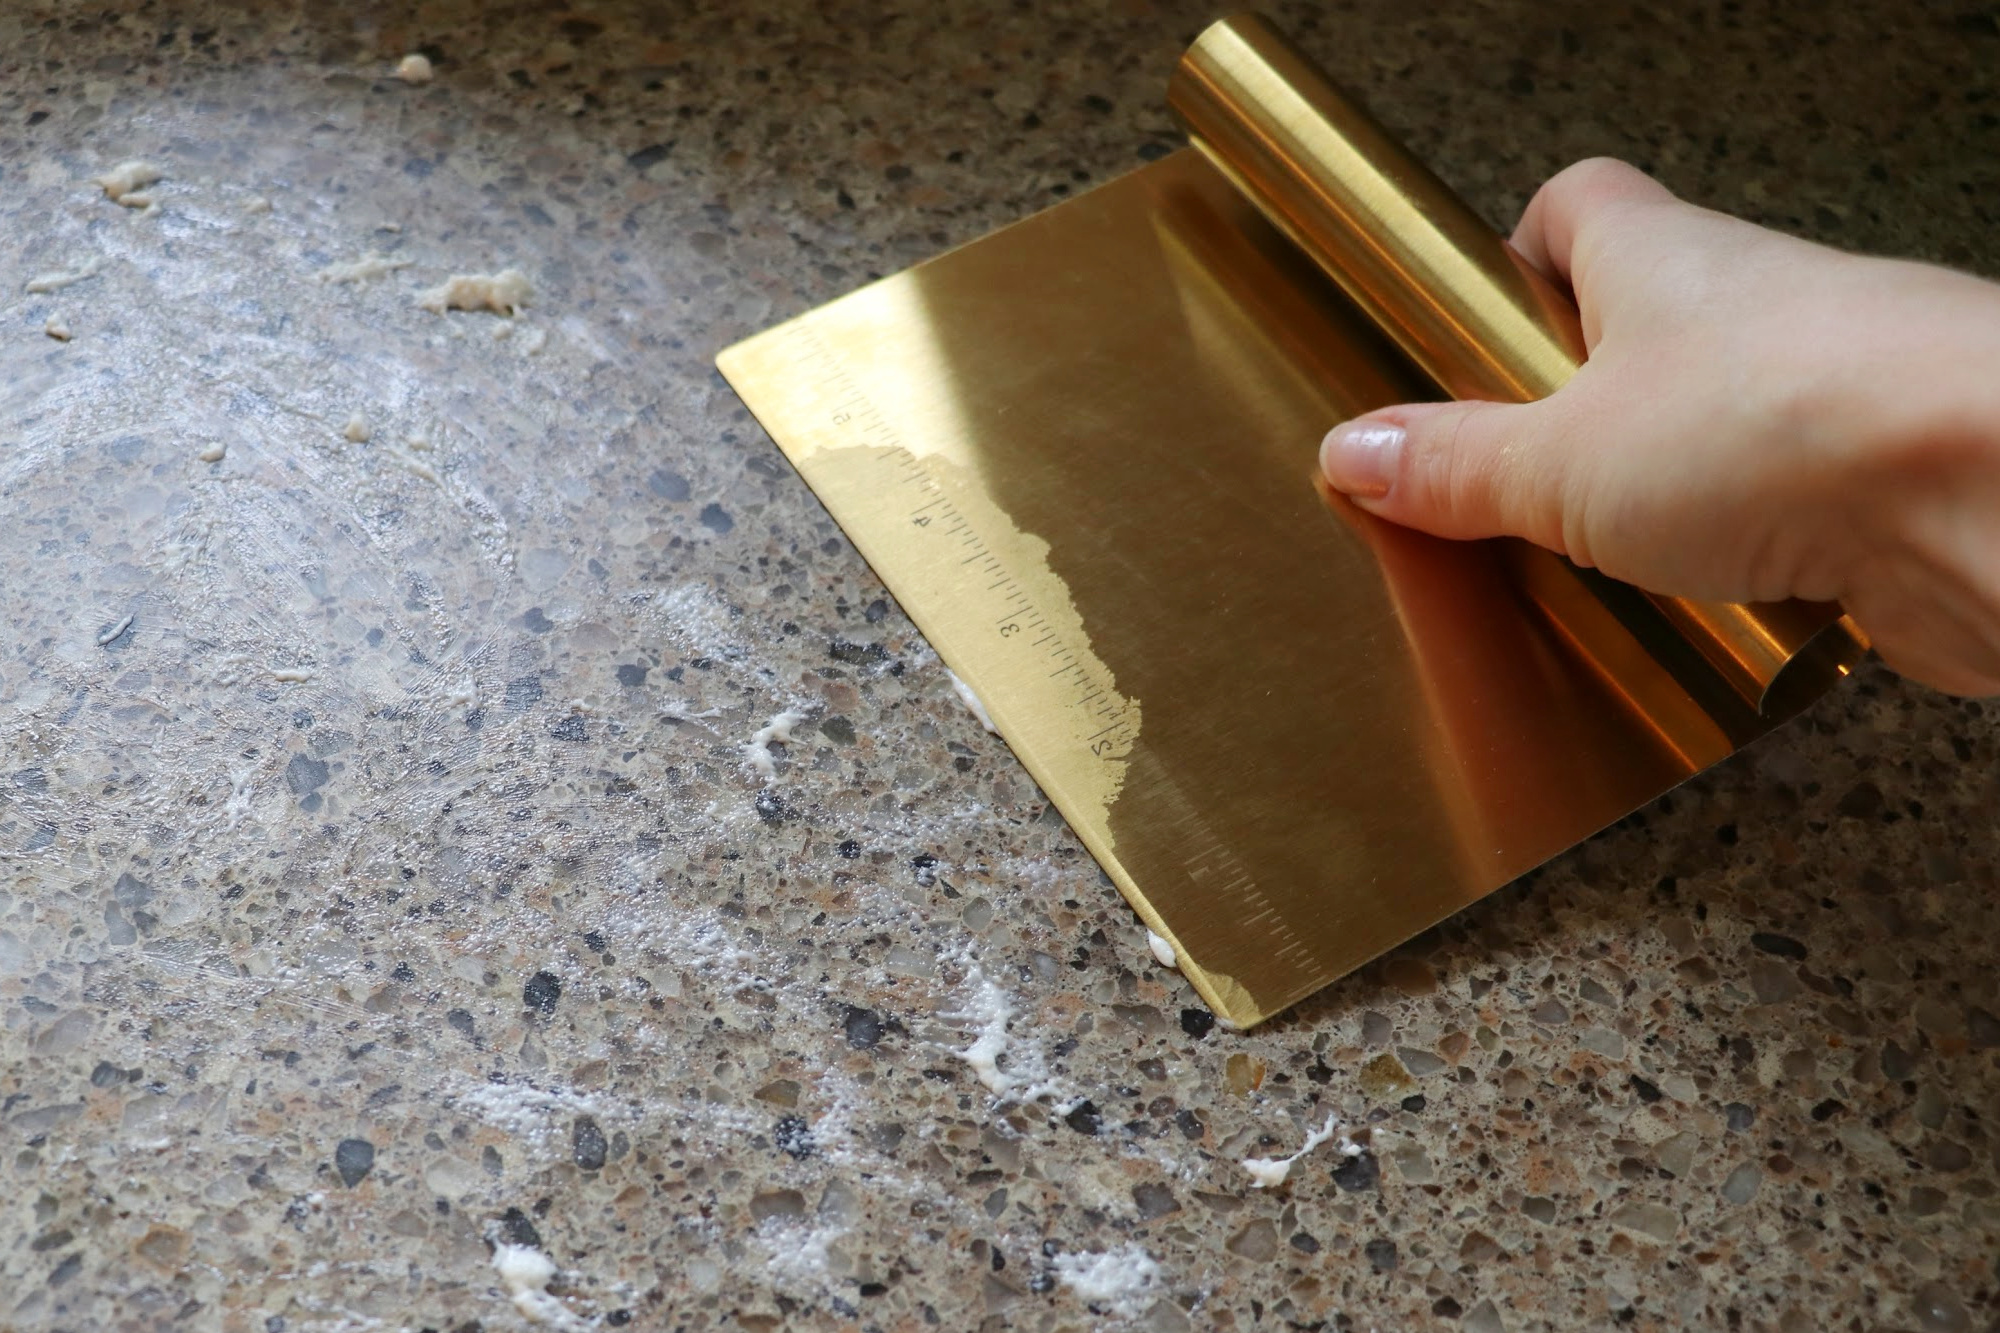
(20) Use a Pastry Scraper.
If you don’t have a pastry scraper, buy one quickly! They are incredibly handy for dividing dough and nearly indispensable for scraping down your work surfaces.
If you hold your garbage bin right under the edge of your counter or work surface you can scrape all of the extra flour and dough bits directly into the garbage and save your kitchen rags and scrubbers from being covered in sticky dough bits. It cleans so well that you will barely need a small damp rag to finish polishing up your work surface.
(21) Brush Out Banneton.
Use a dry plastic bristle brush to clean the excess flour out of your banneton. You can reserve the flour for another dusting use if you move it to a tub and keep the lid off until it’s fully dry. Tap the edge of the banneton on the garbage bin to knock off the last bit of four and then place the brushed banneton near your still-warm oven to dry fully before stacking and storing. It’s important to keep them as dry as possible to prevent mold. Keeping them free from excess flour also prevents the flour from knocking off in your cabinets and on the floor as you use them.

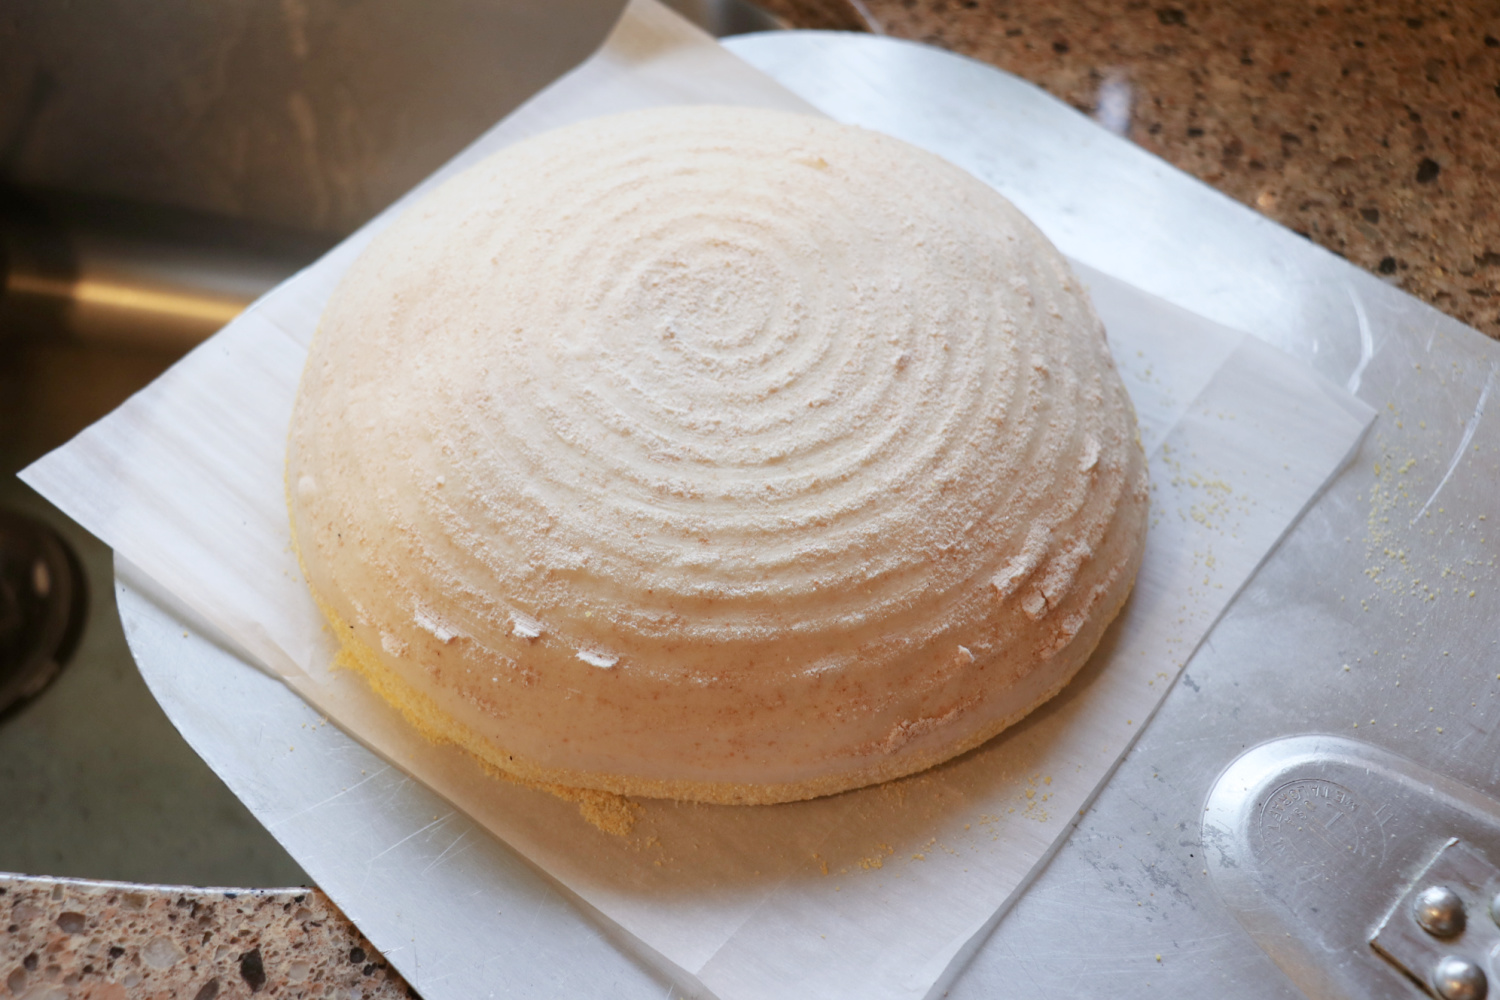
(22) Use Parchment Paper.
Before turning your shaped loaf out onto your stone or peel, place a small square of parchment paper underneath. The parchment catches excess flour that is knocked loose. It also allows you to baste freely without worrying that the basting liquid will make the loaf stick to your pizza peel, or the stone. I usually cut mine so that it juts out from the loaf 2-3″ but no more. If it’s very wide the edges can get dark brown or burnt and crumble up into your oven or on your counter and create a big mess or fire hazard.
The parchment also allows you a little more ease of mind as you put the loaf onto the stone. You can move the loaf into your desired position on the stone by tugging the corners of the paper. If my loaf is not centered I have a difficult time fitting my cover so positioning the loaf just right is very helpful for me.
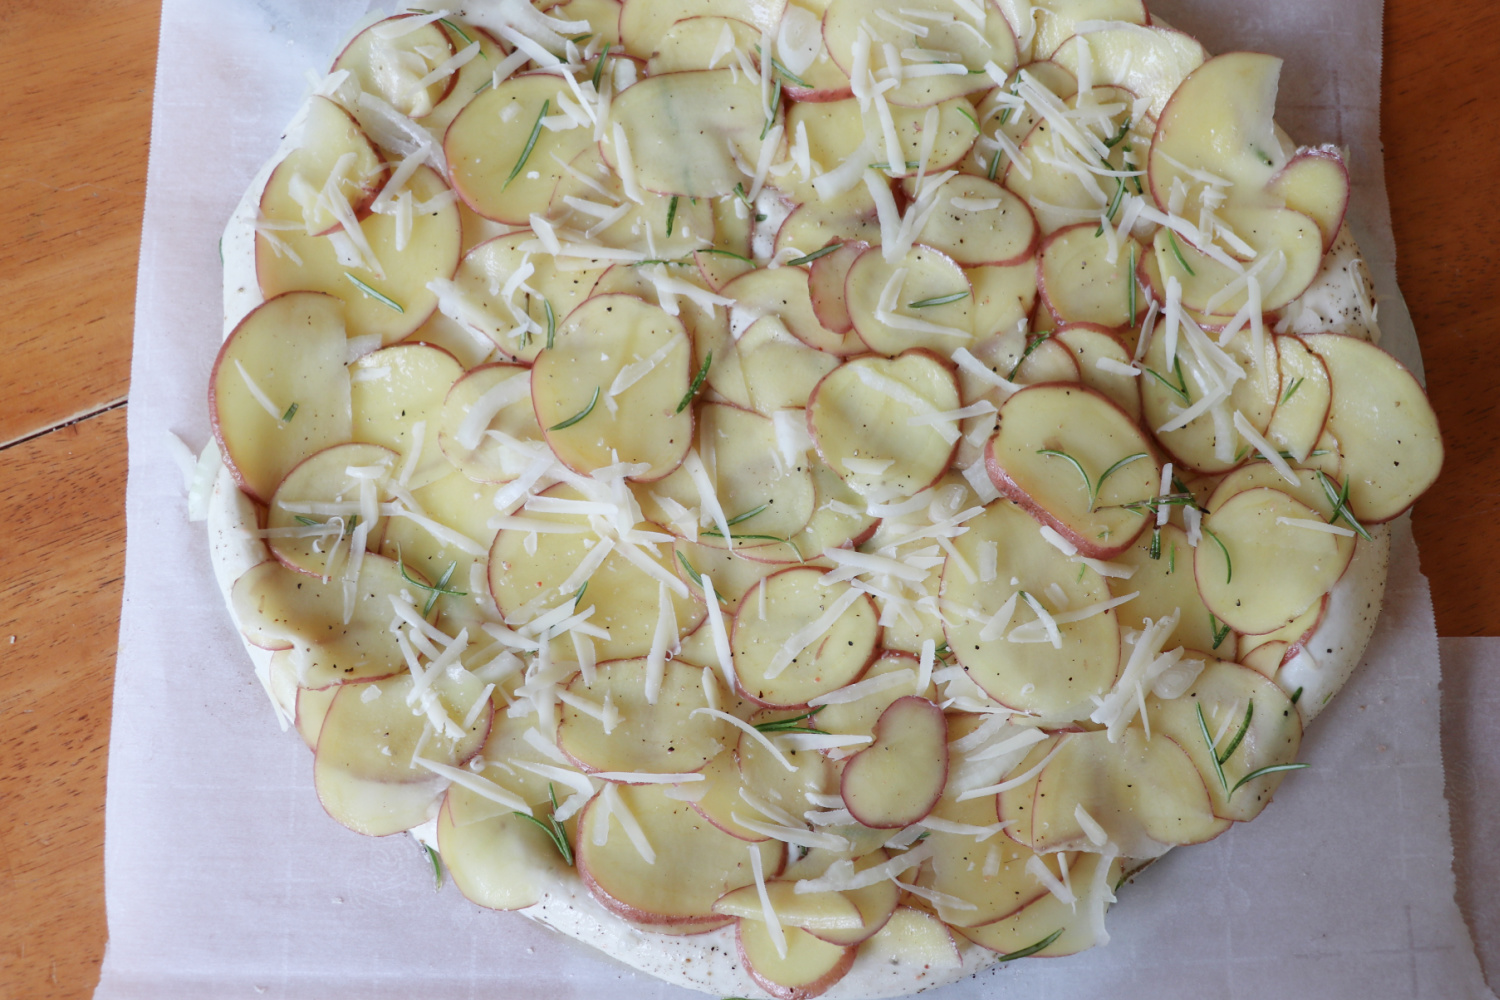
Parchment paper is handy for pizza as well. I use it to shape multiple pizzas at once directly on the counter and then I tug the corners to help me get my pizza perfectly positioned on the stone. Later, I removed the baked pizza, parchment paper and all, and I slice the pizza directly on the parchment paper (with scissors.) After the pizza is eaten we just gather up the parchment paper, crumbs included, and move it to the garbage bin.
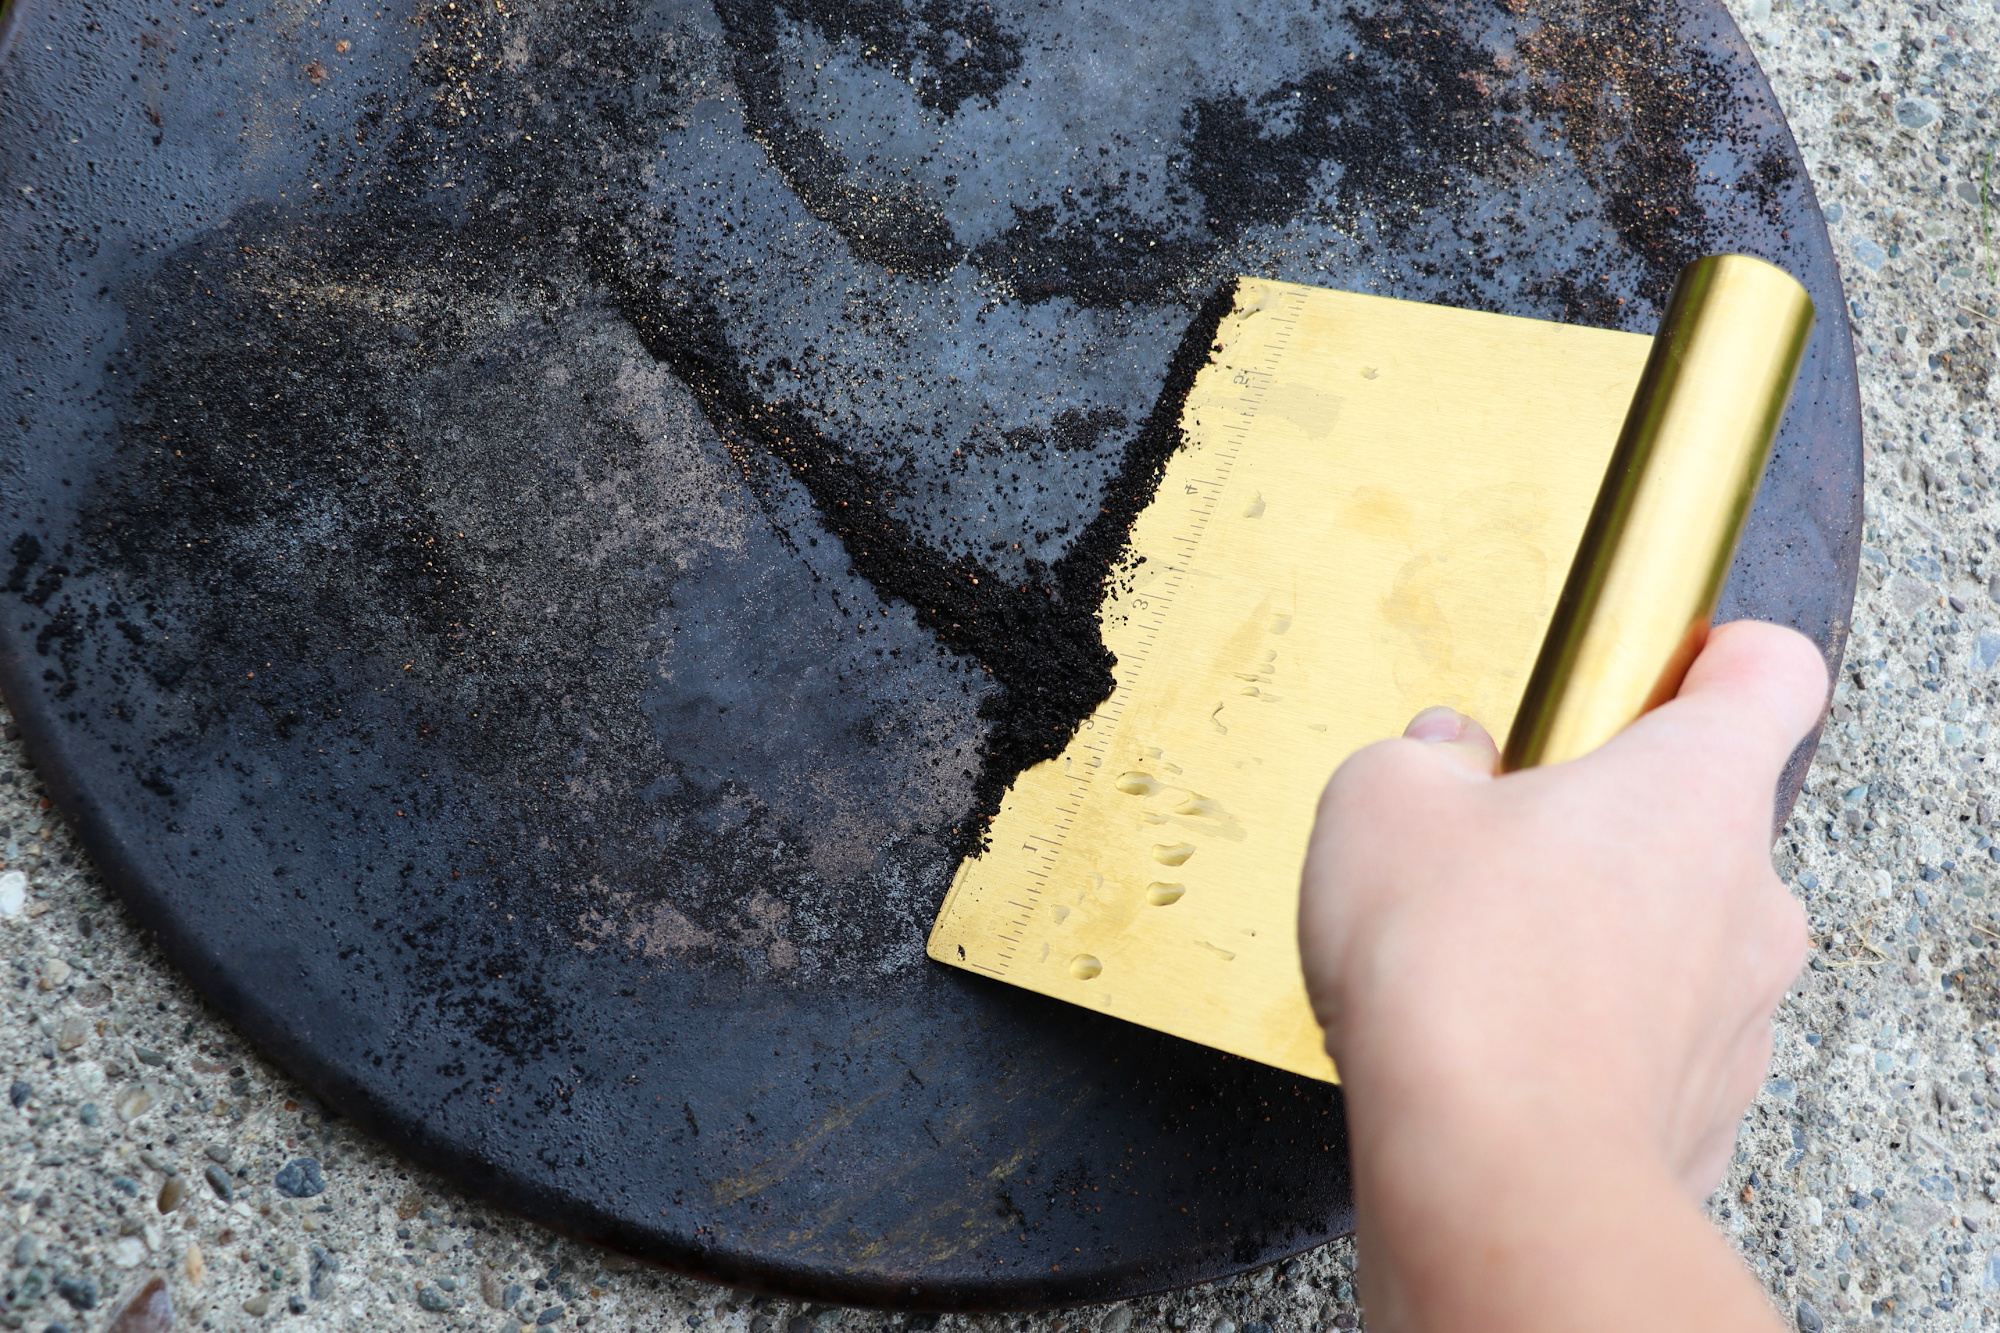
(23) Pastry Scrape Baking Stone.
Between bakes use a pastry scraper on your cold baking stone to remove the blackened flours, seeds or cornmeal. This will keep as much burnt debris as possible from falling into the bottom of your oven and oven drawer. I scrape mine from the landing directly into my lawn so that I don’t have to clean up the over-spray in my kitchen. Little bits of meal and seeds love to jump like they are alive.
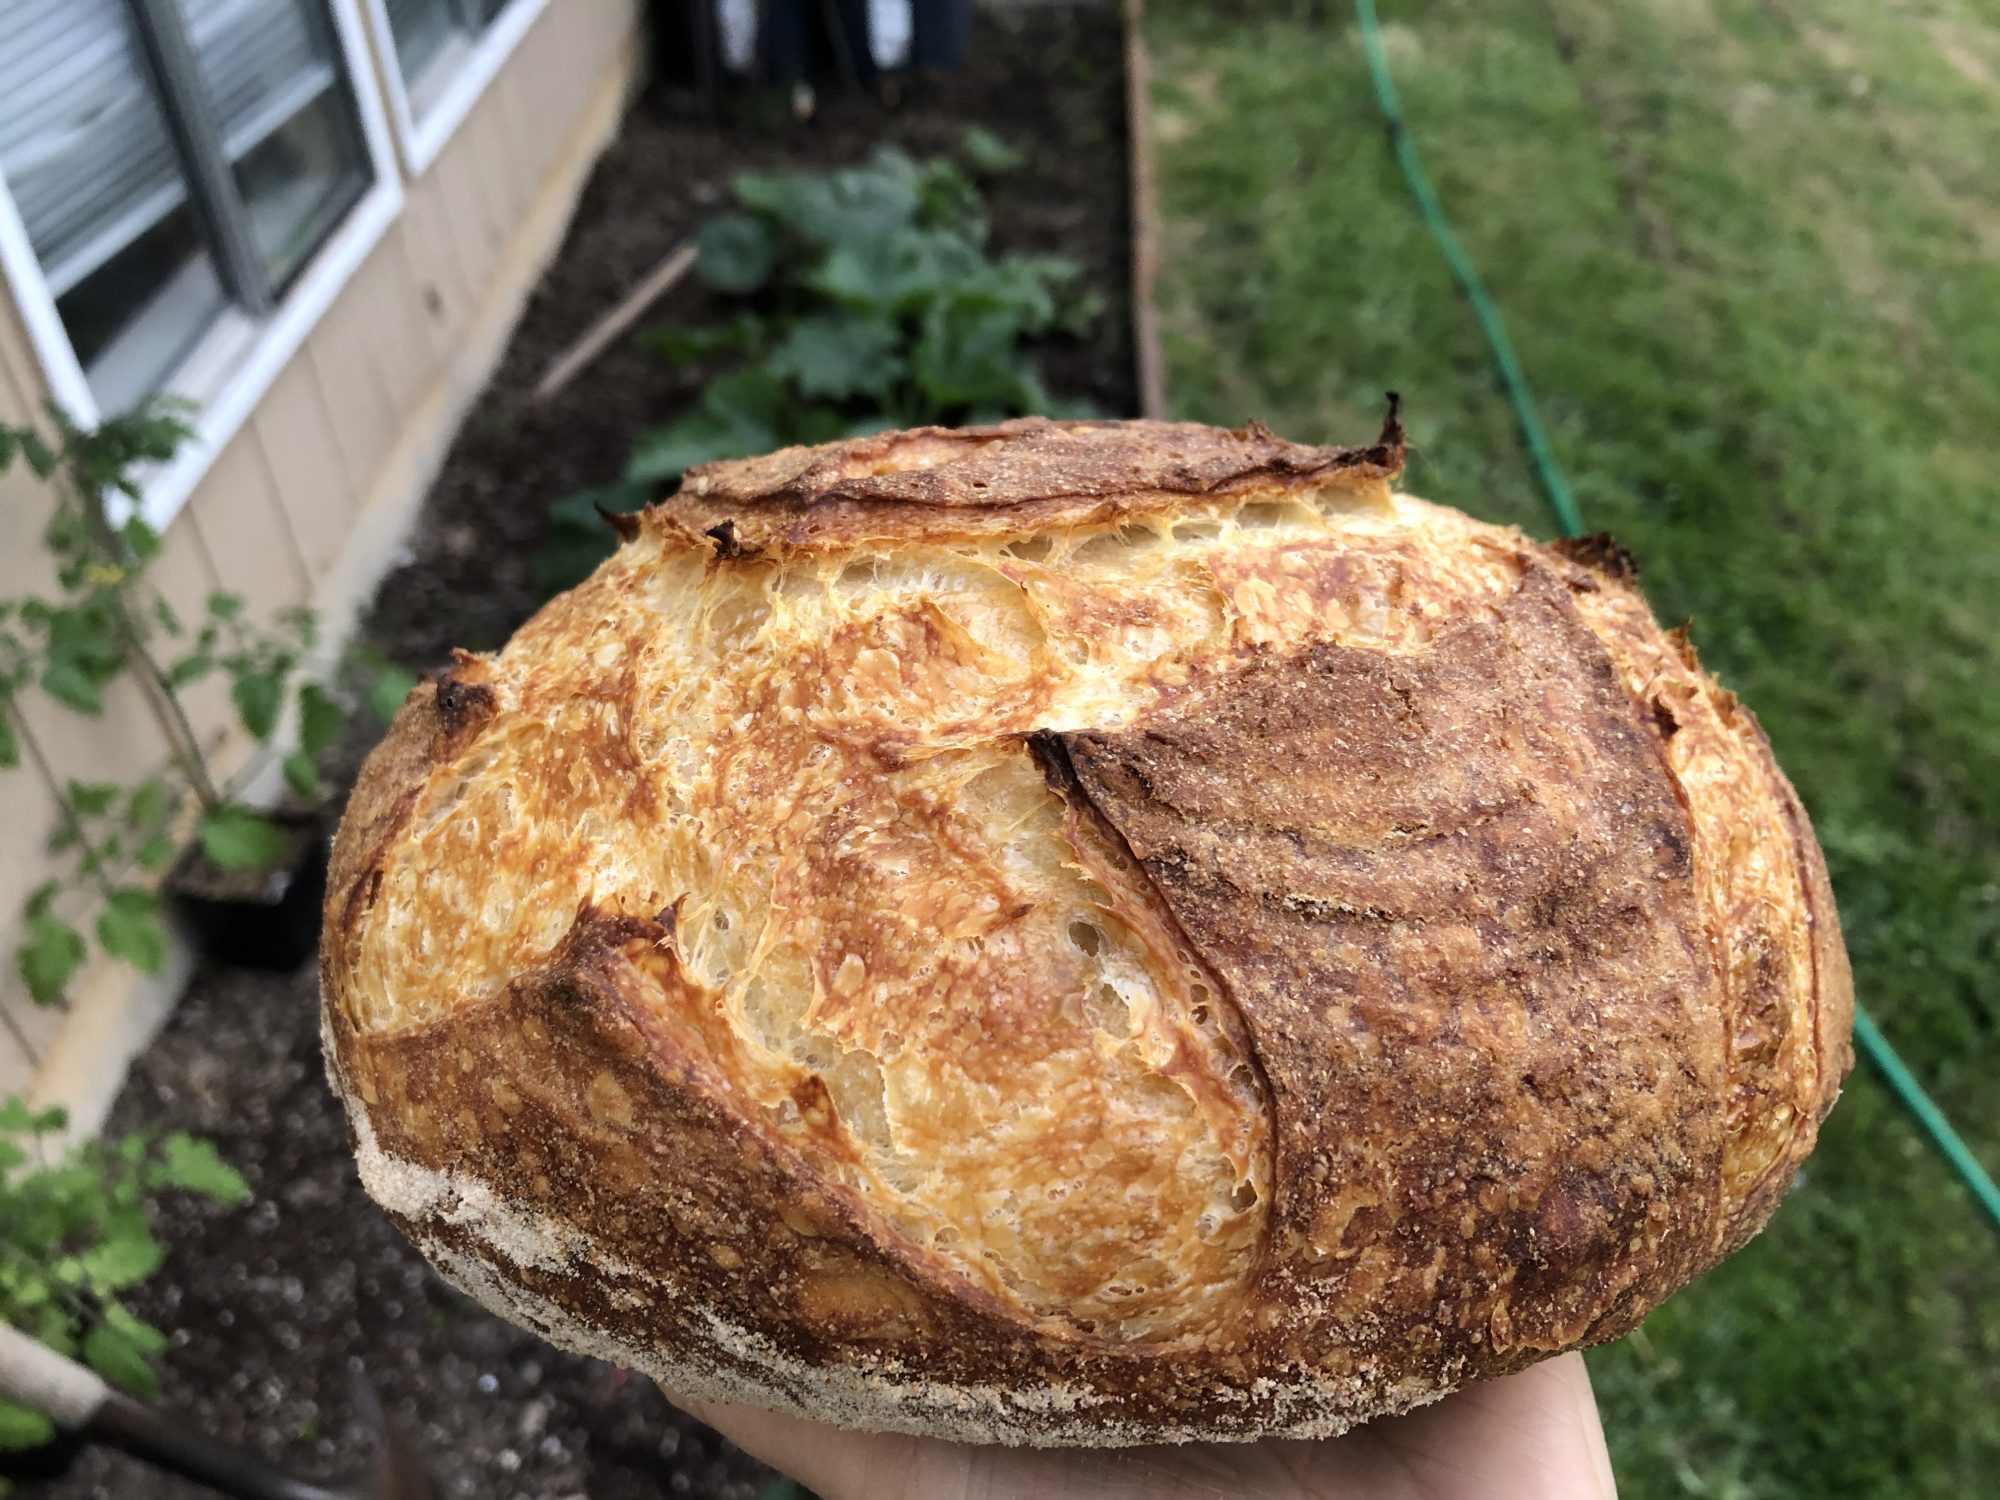
(24) Tap Your Baked Loaf.
After your loaf is baked and cooled, lift it gently and hold it over the garbage bin. Tap it firmly with your knuckles to shake off excess cornmeal and flour before slicing. I tap it off my back landing into the lawn for the birds. Especially if I’m planning on getting some outdoor photos anyhow.
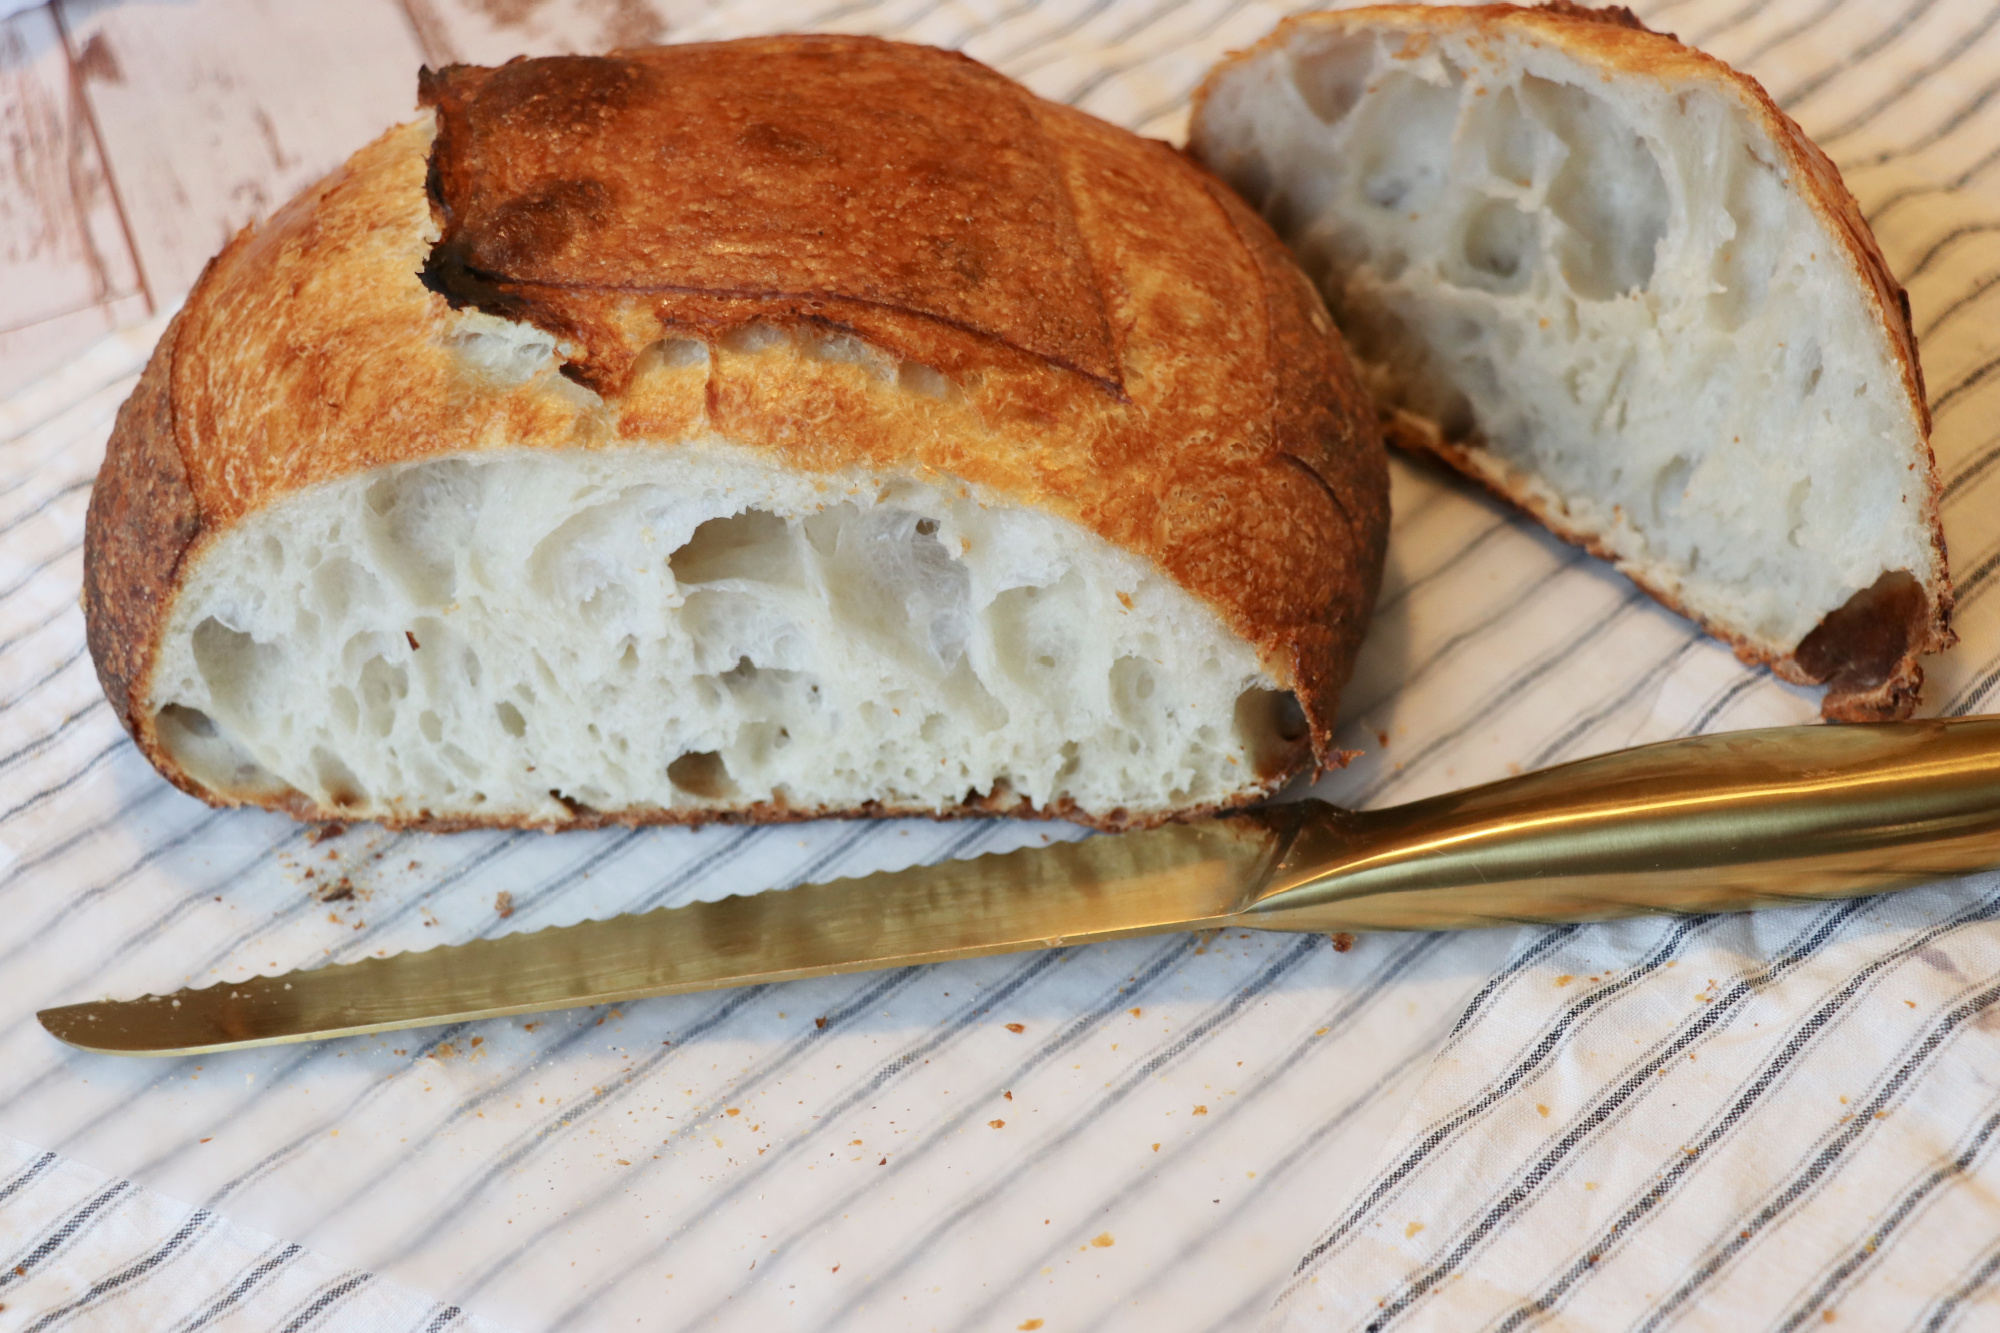
(25) Cut Bread Over a Large Tea Towel.
Before slicing your bread set a large tea towel under your cutting board. The towel will contain the bread crumbs and it’s easy to gather up and shake out. I shake mine out on the back landing for the birds.
You can also buy a crumb catching cutting board. Here is a link if you want to see what they look like:
https://amzn.to/2MN2NPe
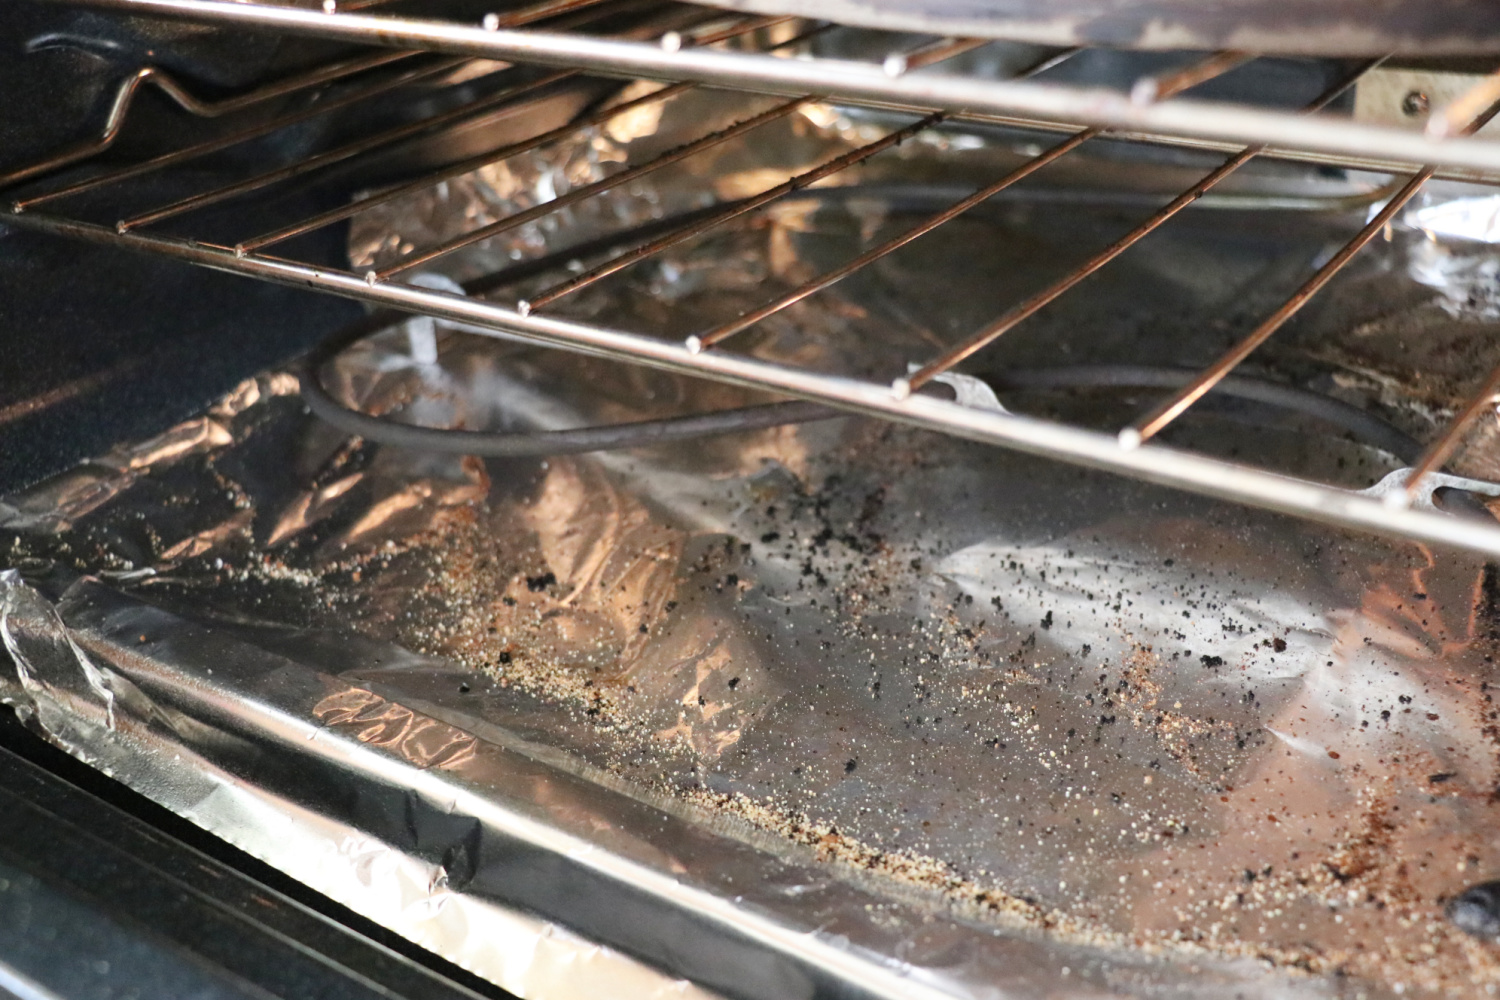
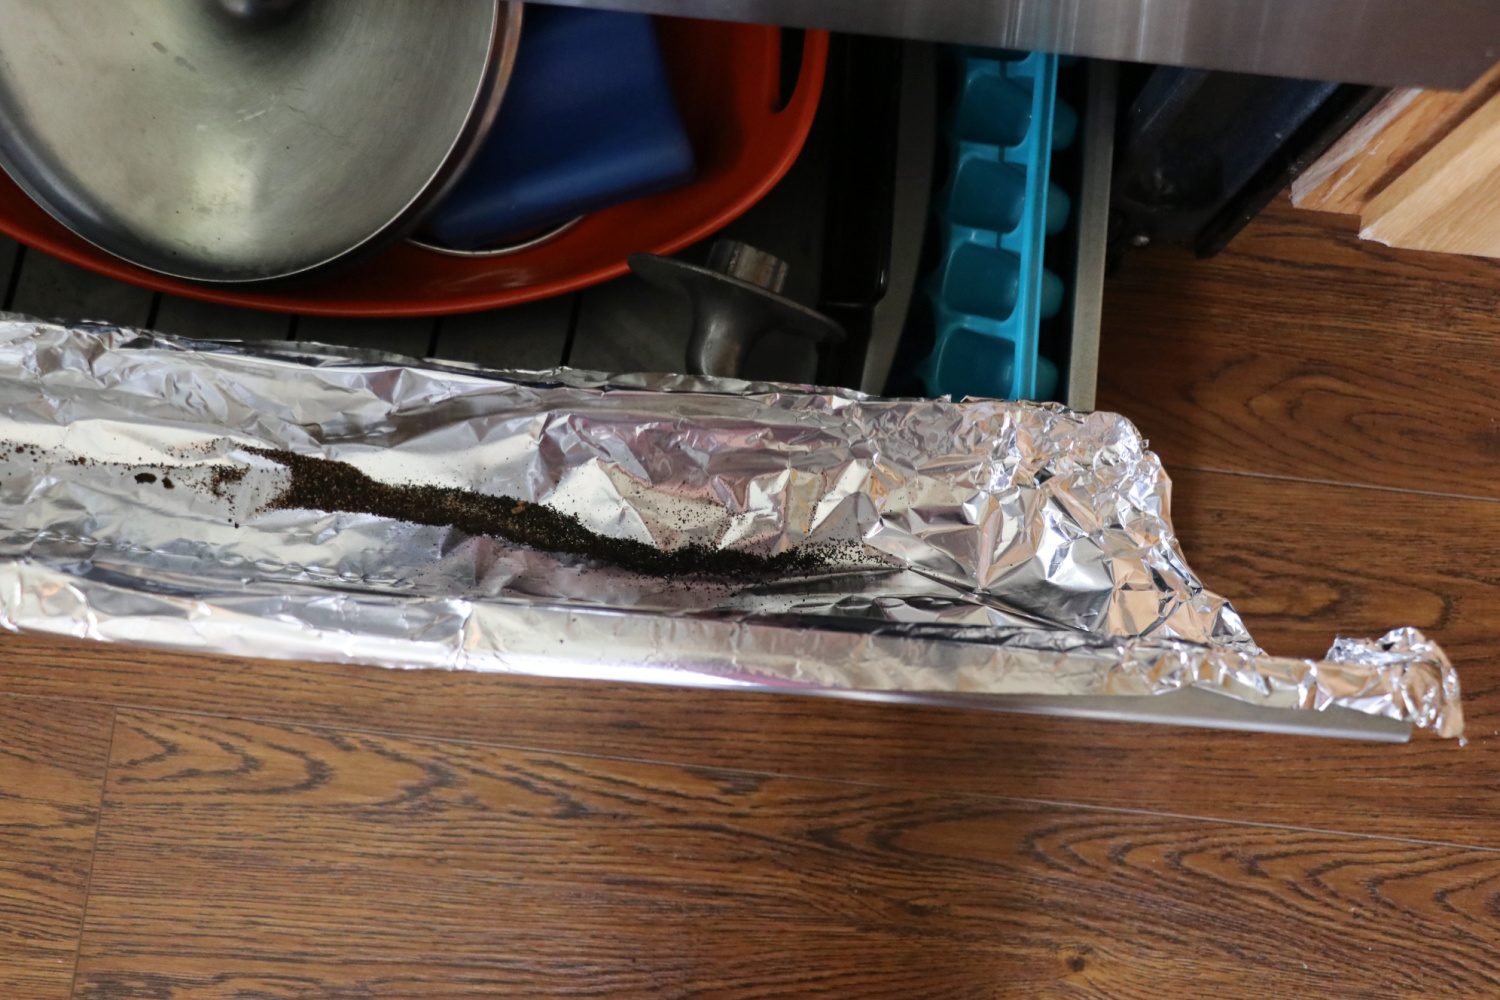
(26) Line Oven Bottom and Drawer With Tin Foil.
When your oven is cool and freshly cleaned, line the bottom with tin foil. The foil will catch all of the excess burnt flours, seeds and meals from baking and it’s easy to pull it out, roll it up and throw it away.
You can also place a small hammock of tin foil under your oven drawer as well to catch excess burnt crumbs.
I’m sure you already use a few of these methods. Comment below and tell us which ones you plan to start utilizing and tell us if you have any genius tips to add!
Flour has clogged my sewer pipes on a number of occasions. It creates nasty white blobs of hard chalky material that adhere to pipes as if they were glued. Plumbers are not cheap and using a rented drain auger is a chore. I now wipe all of my bowls and tools as clean as possible with paper towels. Then they are washed clean in a large bowl that is dedicated for any items that were used for the dough. After the bake is complete the milky flour water is thrown out and never put into the sewer system.