
Experiments With Freezing Dough (Sourdough)
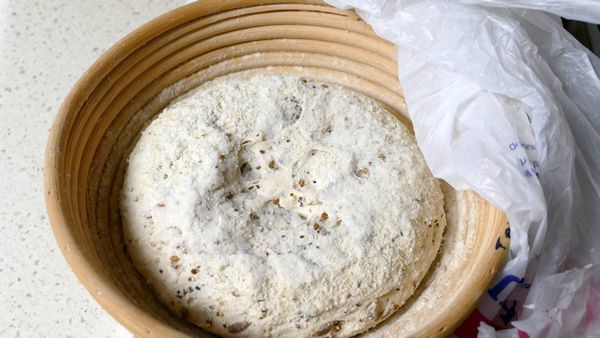
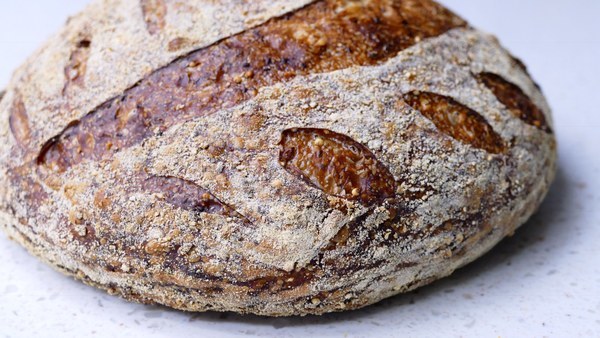
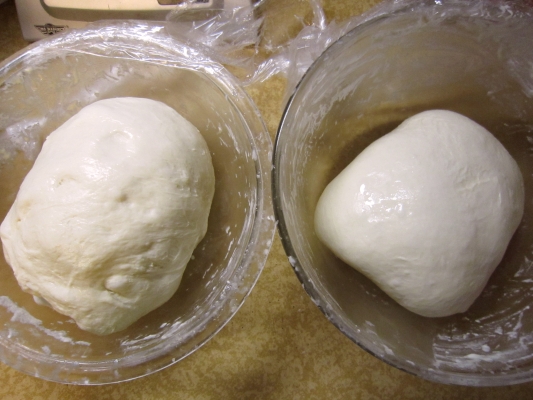
I’ve been experimenting with freezing dough. My first experiment was with a two loaf batch of seeded dough. After bulk ferment, I put the dough into the fridge to cool it down before shaping it. Chilling the dough minimizes excessive rising before it freezes. After refrigerating the dough for two hours, I shaped the loaves (about 700 grams each) and put them (in bannetons) into the freezer (covered with a plastic bag).
After three days of being frozen, I took out the first loaf in the evening and placed it into the fridge because I wanted to see how the dough performed with a slow even thawing period. The next day the dough was still frozen (when I pushed down into the middle of the dough it was hard) so I left it in another night. My fridge is at 39F. My freezer is at 0F.
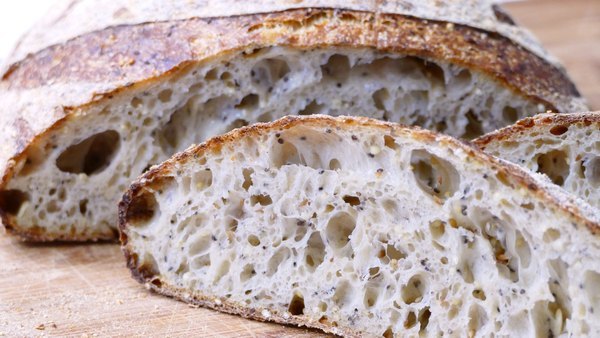
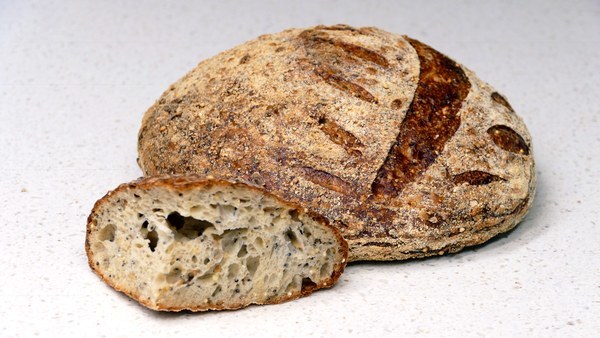
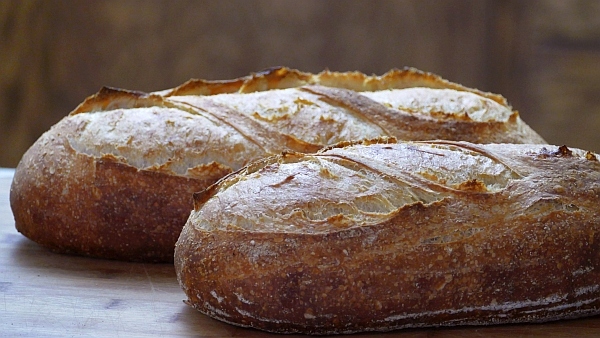
The following day the dough was no longer frozen (when I pushed down on the dough in the middle of the loaf, it was soft). So I put the dough into the proofer at 76F to final proof. It took three hours (36 total hours for thaw and proof) and the dough never really looked as if it has risen (I could have just baked it straight from the fridge). I baked the loaf. It tastes amazing but the loaf didn’t get much oven spring and acted like it was over-proofed (little oven spring, no opening of the scoring etc).
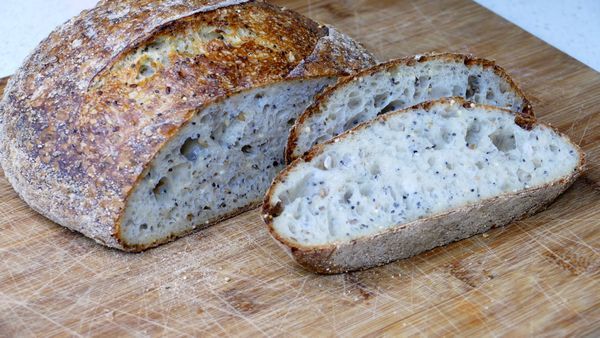
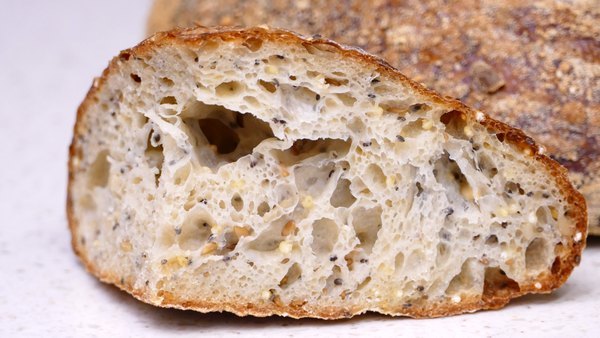
I took the second loaf out of the freezer after about a week. At 9:00 pm I placed the dough on my counter to proof overnight. It was 75F in my house. In the morning, I started up the oven at 8:00 am and baked at 9:00 am. So there were twelve hours of defrosting and proofing. The bread came out nice again, but still a disappointing oven spring and the scoring did not open up again.
The benefits of being able to freeze dough and have it final proof and bake are that you would have dough ready to use without the mixing and bulk fermentation. You just need to defrost and final proof plus the baking time. Of course defrosting, final proofing and baking times might not be very different than just mixing, bulk ferment, final proof and baking. But you would have dough ready if you didn’t have time/energy to mix and bulk ferment.
When you freeze dough it will experience some yeast die off. So freezing it during the time when the yeast amount is optimum seems to be a good idea (that’s why I chose after bulk ferment). However, since this is an experiment, who knows, maybe freezing it before optimum yeast production would work better. I will have to try that as well.
Since my dough acted over-fermented with both of the loaves in this batch, I want to work towards under proofing. I need to shorten the time between taking out the frozen dough and baking. So with my next experiment, I am planning on a shorter final proof. I will take the frozen dough out of the freezer later at night and bake earlier in the morning.
I will also try taking the frozen dough out in the morning and see how long it takes to final proof (in the past it was around 8 hours so getting started early is a good idea!). I might even try to hurry it up with the proofer (instead of a longer slow defrost).
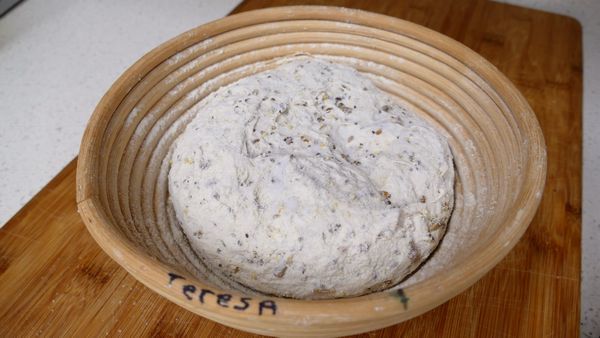
To freeze the dough, chill the dough in the fridge for two hours. Then final shape and place the dough into bannetons. Cover both the banneton and dough with a plastic bag and place into the freezer. When the dough is frozen, take it out of the banneton, wrap it well and mark what type of dough it is and the date. You can also line the banneton with plastic, place the dough into it, wrap the plastic around the dough and freeze it.
The dough should easily pop out of the banneton after freezing. Make sure to wrap the frozen dough well (I use two layers of plastic or one of plastic and one of foil) and place back into the freezer without the banneton.
That way you don’t have your bannetons all in the freezer when you need them. Wrap the dough tightly so it doesn’t get freezer burn and frost on it. I like to wrap it tightly with plastic wrap and then again with another bag or if I am hoping to freeze a bit longer, I might use foil as the second layer. Don’t forget to mark what type of dough it is and the date.
Use the dough as soon as possible (days or weeks instead of months), the longer it is frozen the worse it will perform because of yeast die off. To defrost, simply unwrap the frozen dough and place it back into a dusted banneton, allow it to defrost (covered), final proof and bake.
Keep in mind that results can vary from batch to batch, with different types of dough, with your particular freezer and even with different batches of flour. It’s not an easy thing to experiment with, but I thought it would be nice to get a general overview of what to expect when freezing sourdough.
When using commercial yeast for a dough, the outcome (after freezing the dough) is much better because you can add more commercial yeast to the dough to offset the die off of the yeast from freezing. Freezing a hybrid dough might offer a choice when you want a sourdough but need to freeze the dough and have it still perform. A hybrid dough would be a sourdough with commercial yeast added to it.
What has been your experience with freezing dough? Tell us in the comments below.
Happy Baking Everyone! Teresa
Responses